Proper Surface Cleaning For A Perfect Paint Job. What Pros Say
A perfect paint job relies heavily upon the proper surface cleaning before you even pick up a brush or roller. Achieving a flawless finish is well within your grasp, and we’re here to help you make it happen. With our expert advice and proven tips, you’ll confidently prepare surfaces for a paint job worthy of a professional.
Proper surface cleaning for a perfect paint job:
Proper surface cleaning for a perfect paint job involves identifying the surface type, removing dirt, dust, and debris, using a degreasing detergent, rinsing thoroughly, and allowing it to dry. Additionally, sanding, repairing surface damage, and applying a suitable primer is essential to ensure a long-lasting, quality paint job.

A flawless paint job begins with a clean surface, and we’ve got the tips and tricks to ensure you get it right. From choosing the right cleaning materials to mastering essential techniques, continue reading to discover everything you need to know for that perfect finish.
Contents
- 1 Effective Surface Preparation for Flawless Painting
- 2 Choosing the Right Pre-Painting Surface Cleaner
- 3 Steps to Cleaning Surfaces Before Painting
- 4 Mastering the Art of a Perfect Painting Project
- 5 Using Windex as a Pre-Paint Surface Cleaner: Is it Safe?
Effective Surface Preparation for Flawless Painting
• Importance of Surface Preparation
A quality paint job starts with proper surface preparation. Prepping the surface is a crucial step that determines the durability, appearance, and overall success of your paint project.
Think of it as the foundation of your masterpiece. It’s what transforms your piece from an average DIY job to a professional-looking finish.
• Identifying the Type of Surface
Different surfaces require different cleaning methods. It’s essential to determine what material you’re working with before you begin.
Some common surface materials include wood, metal, concrete, and drywall. You can always consult a paint specialist from your local store to determine the right type of paint and cleaning supplies for your specific surface.
• Cleaning and Degreasing the Surface
- Remove all dirt, dust, and debris: Before anything else, it’s essential to eliminate any loose dirt, dust, or debris from the surface. This can be done using a soft brush, cloth, or vacuum cleaner.
- Use a degreasing detergent or cleaner: Oily and greasy residues can significantly affect the paint adhesion quality. Using a degreasing cleaner or detergent can help in removing such residues. Ensure you follow the instructions on the product’s label for the best results.
- Rinse thoroughly with clean water: After cleaning with the recommended detergent, rinse the surface thoroughly with clean water to remove any remaining cleaning solution. Failing to rinse properly may result in a compromised paint job.
- Allow the surface to dry: Make sure to let the surface dry completely. Painting over damp surfaces can result in paint peeling or blistering. Depending on the material and weather conditions, drying time may vary.
• Sanding and Smoothing Out the Surface
- Choose the right sandpaper grit: Selecting the appropriate sandpaper grit is crucial for achieving a smooth surface. Coarser grits (80-100) are best for removing rough spots and existing paint, while finer grits (180-220) are ideal for smoothing and prepping the surface for primer and paint. Always consult the paint manufacturer’s guidelines or seek advice from your local paint store.
- Sand the surface using the recommended technique: Sanding involves various techniques, such as sanding in the direction of the wood grain (for wood surfaces), using a sanding block (for flat surfaces), or employing a power sander for large jobs. The goal is to create a smooth, uniform surface that promotes maximum paint adhesion.
- Remove sanding dust and debris: After sanding, it’s essential to remove all dust and debris. Use a vacuum cleaner or tack cloth for effective cleaning.
• Repairing Surface Damage
- Fill in cracks, dents, and holes: Identify any cracks, dents, or holes on the surface and repair them using the appropriate filler or patching compound. Each material and damage type requires a specific filler. Allow the filler to dry according to the manufacturer’s recommendations.
- Sand the repaired areas: Once the filler dries, sand the repaired areas to achieve a smooth and uniform surface. Carefully blend the edges of the patch with the surrounding surface so there isn’t a noticeable difference.
- Remove dust from the repaired areas: After sanding, clean the patched areas to eliminate dust and debris. This step is essential for a seamless finish.
• Applying Primer
- Select the appropriate primer: Based on your surface type and the desired paint finish, choose the right primer for your project. Primer helps to seal the surface, enhance paint adhesion, and improve the overall appearance of your paint job. Consult your paint store experts for primer recommendations.
- Apply the primer: Use a brush, roller, or sprayer to apply the primer evenly onto the cleaned and prepared surface. Let the primer dry completely as per the manufacturer’s recommendations.
With the surface appropriately cleaned, prepped, and primed, you are now ready for the final step: painting. By following these expert cleaning and preparation methods, you can ensure a long-lasting, quality paint job that will exceed your expectations.
Remember, it’s the attention to detail and commitment to proper surface preparation that sets apart an average paint job from a perfect one.
Choosing the Right Pre-Painting Surface Cleaner
• Importance of Surface Preparation
A crucial aspect of any painting project is proper surface preparation. It ensures that the paint adheres well, results in a smooth finish, and prolongs the paint’s durability. Without adequate cleaning and preparation, the paint may not stick to the surface or may chip, crack, and peel prematurely.
• Identifying the Type of Surface
Choosing the perfect cleaning method depends on the type of surface being painted. It is essential to identify whether the surface is wood, metal, concrete, drywall or masonry, as different materials require distinct cleaning approaches.
For instance, wood surfaces may need sanding and dust removal, while metal surfaces might need thorough degreasing.
• Cleaning Products and Techniques for Various Surfaces
– Wood Surfaces
For wooden surfaces, use a mixture of warm water and mild detergent to clean any grime, grease, or dirt build-up. To remove mildew and mold, you can use a diluted household bleach solution. Remember to rinse the surface thoroughly with water and allow it to dry before proceeding.
If the surface is old or rough, you may also need to sand it lightly using fine-grit sandpaper. After sanding, remove any dust or debris with a tack cloth or a vacuum cleaner.
– Metal Surfaces
Before painting metal surfaces, it is important to remove any rust, oils, or greases. For rust elimination, use a wire brush followed by fine-grit sandpaper.
To clean greasy and oily areas, you can use mineral spirits or acetone, applying them to a clean cloth and wiping the surface thoroughly. Always remember to wear gloves and safety glasses when using such chemicals.
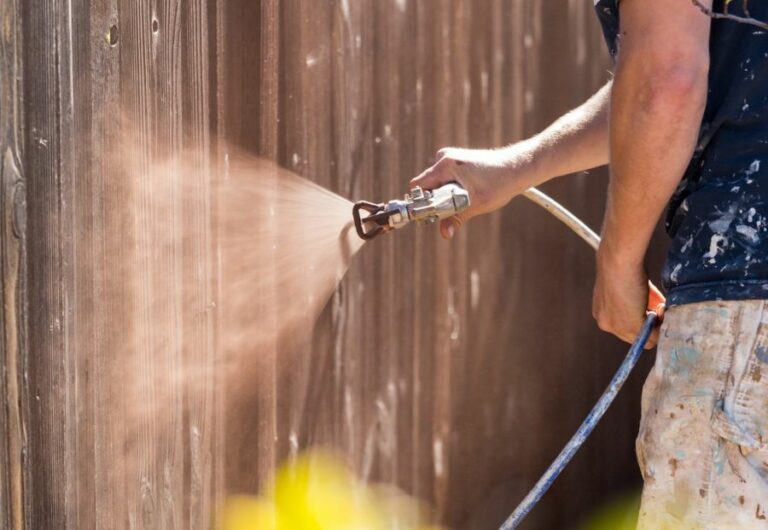
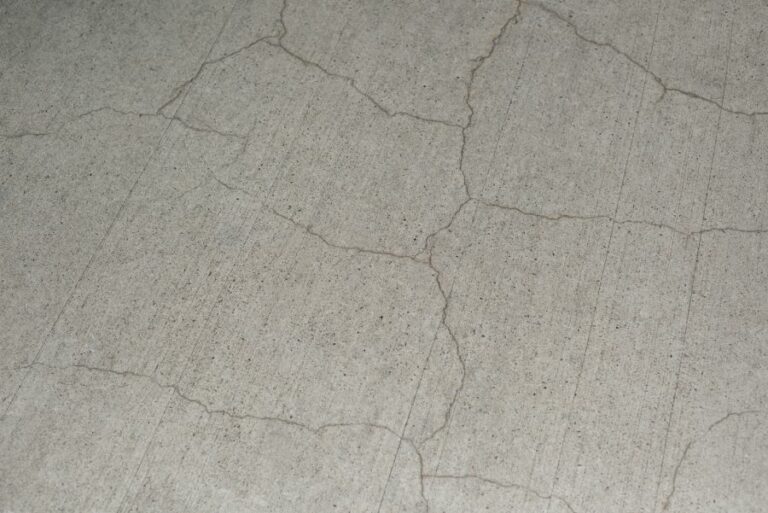
– Concrete and Masonry Surfaces
Concrete and masonry surfaces often accumulate dust and dirt due to their porous nature. To clean them effectively, use a pressure washer or a garden hose with a high-pressure nozzle. Ensure the surface is completely free of dust and dirt, as well as any chipping or flaking paint.
It is recommended to allow the surface to dry for at least 48 hours before painting. If mold or mildew is present, use a bleach solution to remove them before proceeding with the painting process.
– Drywall Surfaces
For new drywall surfaces, remove any dust from sanding the seams by vacuuming or wiping them gently with a tack cloth. In case of previously painted drywall, you can clean the surface using warm water and a mild detergent.
Ensure the walls are free of any dirt, grease, or stains before painting, as these may affect paint adhesion or show through the new paint layer.
• Additional Precautions
– Safety Measures
When using any chemicals or cleaning solutions, always ensure proper ventilation and follow the manufacturer’s instructions. Wear protective clothing, gloves, and safety glasses to minimize any potential risks.
Read the Occupational Safety and Health Administration (OSHA) guidelines on handling chemicals for more information.
– Test the Cleaning Method
Before applying any cleaning method to the entire surface, it is advisable to test a small inconspicuous area first. This test spot will help you determine if the cleaning technique is effective and whether it causes any damage to the surface material.
– Manufacturer’s Recommendations
It is also essential to follow manufacturer recommendations for the specific type of paint you plan to use. Some paints may have specific surface preparation requirements, which, if not met, may cause adhesion or durability issues.
• Conclusion
In summary, proper surface cleaning and preparation are vital to achieving a long-lasting and professional paint job.
By identifying the type of surface, using appropriate cleaning products and techniques, and following safety precautions, you will ensure an excellent foundation for your painting project.
Through proper preparation and attention to detail, the result will be a durable and visually appealing paint job that lasts for years to come.
Method | Description |
|---|---|
Soap and water | Mix a few drops of mild dish soap with water and use a sponge or cloth to clean the surface. |
TSP (Trisodium Phosphate) | Mix the TSP with water according to the instructions on the package and apply it to the surface with a sponge or cloth. Make sure to wear gloves and safety goggles. |
Denatured Alcohol | Apply denatured alcohol to a soft cloth and gently clean the surface. Make sure to wear gloves and safety goggles and work in a well-ventilated area. |
White vinegar | Mix equal parts white vinegar and warm water, and use a sponge or cloth to clean the surface. This is a safe, natural alternative to chemical cleaners. |
Abrasive Cleaner | For hard-to-remove stains or stubborn dirt, use an abrasive cleaner like fine-grit sandpaper or a scrub pad. Be sure not to damage the surface by scrubbing too hard. |
Steps to Cleaning Surfaces Before Painting
Properly cleaning surfaces before applying paint is essential for achieving a professional and long-lasting finish. This comprehensive guide provides step-by-step instructions on how to clean various surfaces, including walls, wood, and metal, to ensure that your painting project goes smoothly.
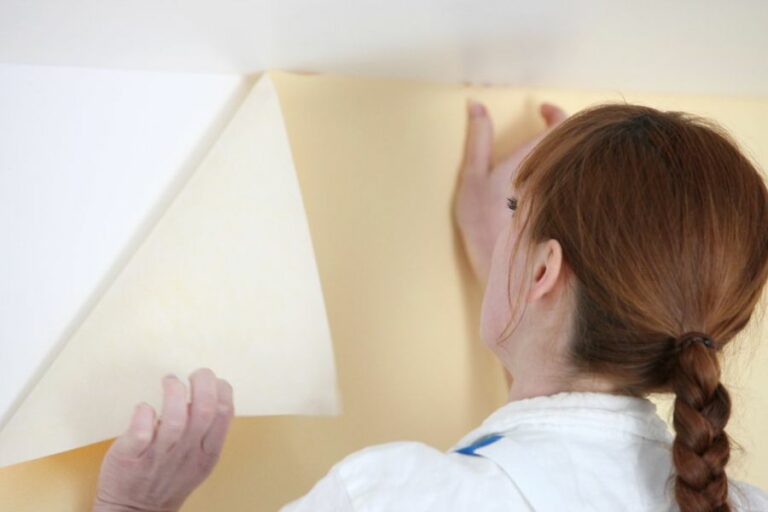
• Preparing Walls for Painting
Walls can accumulate dirt, dust, and other debris over time. Before painting, it’s crucial to clean the walls thoroughly to ensure that the paint adheres properly and results in a smooth, even finish.
– Remove Dirt and Dust
Begin by dusting the walls using a vacuum cleaner with a brush attachment or a soft, large brush. This will remove loose debris and dirt from the surface.
For stubborn dirt, you can use a mild detergent mixed with water and a soft sponge. Rinse the solution thoroughly with a damp cloth before allowing the walls to dry completely.
– Repair Imperfections
Once the walls are clean, it’s essential to repair any imperfections, such as cracks, holes, or damaged areas. Use a high-quality filler or spackle to level the uneven spots and sand the repaired areas once dry. Here is a useful guide from Family Handyman on repairing walls.
– Prime the Walls
Priming the walls is especially important if they have been previously painted with a darker color if there are stains, or if you are painting over new drywall. Use a primer that is specifically designed for the type of surface and paint you will be using.
• Cleaning Wood Surfaces for Painting
The wood surfaces you will be painting need to be free from dirt, grime, and wax to ensure proper paint adhesion. There are several steps involved in cleaning wood surfaces.
– Remove Dirt and Grime
First, use a vacuum cleaner with a brush attachment or a soft, large brush to remove dust and dirt from the wood surface.
For particularly dirty surfaces, mix a solution of mild detergent and water to clean the wood. Using a soft sponge and the detergent solution, scrub the wood thoroughly before rinsing it clean with a damp cloth. Allow the wood to dry completely before moving on to the next step.
– Sand the Wood
After the wood has dried, sand the surface using medium-grit sandpaper. Sanding wood removes any remaining dirt, debris, or old paint and creates a smooth surface for the new paint.
Make sure to sand in the wood’s direction to avoid scratches. Vacuum the surface or use a tack cloth to remove the sanding dust.
– Apply a Wood Primer
Choose a wood primer compatible with the type of paint you plan to use. Apply the primer according to the manufacturer’s instructions and allow it to dry fully before applying the paint.
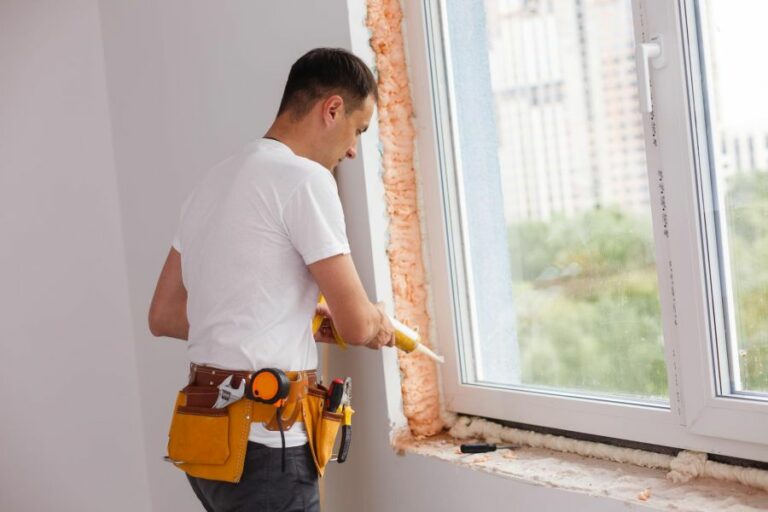
• Preparing Metal Surfaces for Painting
Properly preparing metal surfaces is crucial to prevent paint from peeling or chipping over time. There are a few important steps to follow when cleaning metal surfaces for painting.
– Remove Loose Paint and Rust
Begin by removing any loose paint, rust, or debris using a wire brush, scraper, or sandpaper. Sanding is essential to create a smooth surface and remove any existing imperfections.
– Clean the Metal Surface
Using a clean cloth, wipe down the metal surface to remove any dust from the sanding. For particularly dirty surfaces, create a solution of mild detergent and water, and use a soft sponge to clean the surface thoroughly. Rinse with a damp cloth, and allow the metal to dry completely.
– Apply a Metal Primer
Using an appropriate primer for metal surfaces will increase the paint adhesion and protect the metal from corrosion. Apply the primer according to the manufacturer’s instructions and allow it to dry before adding your preferred paint.
• Final Thoughts
Properly cleaning surfaces before painting is a critical step that should not be skipped. Following the steps outlined in this guide will ensure that your paint adheres properly, resulting in a professional and long-lasting finish.
Remember to always use high-quality materials, including paint, primer, and cleaning supplies, for the best results. Make sure to allow each step to fully dry before moving on to the next phase of the painting process.
Step | Action |
|---|---|
1 | Determine the type of surface to be painted (wood, metal, plastic, etc.). |
2 | Remove any loose debris, dirt, or dust from the surface using a brush or cloth. |
3 | For greasy or oily surfaces, clean with a degreaser or soap and water mixture. Rinse and allow to dry. |
4 | If necessary, remove any existing paint or finish using a paint scraper, sandpaper, or a paint stripper (for stubborn cases). |
5 | Sand the surface with fine-grit sandpaper to create a smooth and even surface. Be sure to wipe off any sanding dust with a tack cloth or damp rag. |
6 | Apply a primer to the surface to ensure proper paint adhesion and coverage. Allow the primer to dry according to the manufacturer’s instructions. |
7 | Clean any painting tools and equipment (brushes, rollers, etc.) before and after use with soap and water or a suitable cleaner. |
Mastering the Art of a Perfect Painting Project
A perfect paint job can instantly transform any space, adding style, personality, and visual interest. But, achieving a flawless finish requires proper planning, patience, and attention to detail.
• Selecting the Right Supplies for a Perfect Paint Job
– Choosing High-Quality Paint
When it comes to achieving a perfect paint job, investing in high-quality paint is essential. Higher-quality paints offer better coverage, a more durable finish, and a longer-lasting, more vibrant result. Look for a reputable brand with excellent reviews.
In general, it’s recommended to choose a paint with a satin or eggshell finish for walls, as these finishes offer a balance of durability and washability.
– Picking the Perfect Brush
Quality paint brushes make a world of difference in achieving a perfect paint job. For the best results, opt for a synthetic brush made from nylon or polyester for water-based latex paints, and select a natural bristle brush for oil-based paints.
Make sure to choose a brush with the appropriate width for your project. Generally, a 2-3 inch angled brush is ideal for cutting in and trim work, while a 3-4 inch brush is suitable for larger surfaces.
– Invest in a Good Roller
A good-quality roller will ensure smooth, even coverage and reduce the risk of shedding fibers. Choose a roller with a 3/8 to 1/2-inch nap for most wall surfaces. Extendable roller handles can make reaching high areas or ceiling work much more manageable.
• Properly Preparing Surfaces for a Flawless Finish
Thorough preparation is crucial in achieving an impeccable paint job. Take the time to prepare surfaces correctly before painting; otherwise, even the highest quality paint will not adhere and provide the desired finish.
– Repairing and Patching Damaged Areas
Inspect surfaces for any imperfections, such as holes, cracks or peeling paint, and repair them where necessary. For small holes, use a lightweight spackle and a putty knife to fill and smooth the damaged area.
For larger holes, a patching compound and mesh patch may be required to ensure a smooth, uniform finish.
– Sanding Surfaces Smooth
Sanding is necessary for promoting optimal paint adhesion, achieving a smooth surface, and removing any blemishes. Thoroughly sand surfaces using medium-grit sandpaper (such as 120-150 grit) until smooth. Remember to sand along the wood grain when working with wooden surfaces.
– Cleaning and Degreasing
Remove any dust or debris from surfaces using a vacuum or a microfiber cloth. For particularly dirty surfaces, use a non-abrasive cleaner or degreaser to ensure optimal paint adherence. Be sure to thoroughly rinse surfaces after cleaning and allow them to dry completely before proceeding.
– Applying Primer
Applying a high-quality primer is essential for a perfect paint job. Primer improves paint adhesion, provides a uniform base, and helps to cover any stains or color imperfections. Choose a primer that is compatible with your chosen paint, and apply it using a brush or roller in thin, even coats.
• Tips and Techniques for Applying Paint Like a Pro
– Cutting In: Painting Edges and Corners
Begin by “cutting in,” or painting the edges and corners of the room. Load the angled brush correctly, ensuring it is not dripping with paint, and apply paint in a straight, smooth line along the edges. Use a steady hand and take your time to ensure crisp, clean lines.
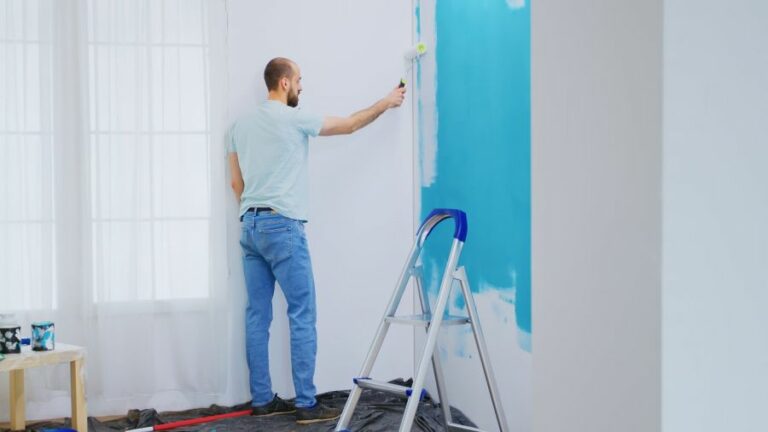
– Rolling: Applying Paint to Larger Surfaces
For larger surfaces, use a roller to apply paint in a consistent, even manner. Begin with a fully loaded roller and apply paint using a “W” or “M” pattern, evenly distributing the paint across the surface. Finish by rolling over surfaces in a single direction, ensuring a smooth and even finish.
– Ensuring Proper Coverage
Achieving the perfect paint job may require multiple coats. Allow each coat to dry thoroughly before reapplying. Use a bright light to inspect surfaces for any inconsistencies, addressing them before applying additional coats of paint.
• Finishing the Perfect Paint Job
– Protecting Your Work
Once the paint is dry, remove the painter’s tape carefully and slowly, pulling it away at a 45-degree angle. If any paint has seeped beneath the tape, use a small, angled brush and a steady hand to touch up any imperfections.
– Cleaning and Maintenance
After completing your perfect paint job, always clean brushes, rollers, and other tools thoroughly, following the manufacturer’s guidelines. Proper cleaning and storage will extend the life of your tools and ensure they are ready to use for your next paint project.
– Keeping Records for Future Touch-Ups
Finally, record the specific paint brand, color, and finish you’ve used for future touch-ups or repaints. Doing so will ensure consistent color and quality as needed.
In conclusion, a perfect paint job is achievable with the right tools, supplies, and techniques. Following the steps outlined in this article will help ensure fantastic results, whether you’re working on a small DIY project or completely revamping your living space.
Step | Description |
|---|---|
1 | Choose the right paint and tools, such as brushes, rollers, and paint trays. |
2 | Prepare the surface by cleaning it, removing any loose paint, and filling in holes or cracks. |
3 | Apply a primer to the surface to ensure even paint coverage and adhesion. |
4 | Use a cutting-in technique to paint the edges and corners of the room first, then move on to the larger surfaces. |
5 | Apply the paint in thin, even coats, allowing each coat to dry before applying the next. |
6 | Use a high-quality brush or roller to ensure a smooth, streak-free finish. |
7 | Clean up any drips or spills immediately to prevent them from becoming permanent. |
8 | Allow the paint to dry completely, then add any necessary touch-ups or additional coats. |
9 | Carefully remove any painter’s tape, and clean your brushes and rollers for future use. |
Using Windex as a Pre-Paint Surface Cleaner: Is it Safe?
Cleaning the surface before painting is a crucial step to ensure that your paint adheres to the surface and lasts for a long time. Many painters wonder if using Windex, a popular glass cleaner, is a suitable option for cleaning surfaces before painting.
• The Effectiveness of Windex as a Surface Cleaner
The primary ingredient in Windex is ammonia, an effective cleaning agent that can dissolve dirt, grime, and grease. This makes it a suitable option for cleaning various surfaces before painting, including glass, metal, and plastic.
Ammonia-based cleaners like Windex are known for their ability to remove stubborn stains and contaminants, which can interfere with paint adhesion.
However, it is crucial to note that Windex and similar ammonia-based cleaners should not be used on certain surfaces, particularly untreated wood. Ammonia can raise the grain of the wood, making it rough and unsmooth, resulting in a poor finish when painted.
• Potential Drawbacks of Using Windex
While Windex can effectively clean various surfaces, it is essential to be aware of some potential drawbacks when using it before painting.
– Residue
One potential issue when using Windex is that it can leave a residue on the surface if not rinsed off properly. This residue can create a barrier between the paint and the surface, resulting in poor adhesion and a less durable finish.
To avoid this issue, be sure to thoroughly rinse the surface with water after using Windex to remove any remaining residue.
– Compatibility
As mentioned earlier, Windex is not compatible with certain surfaces like untreated wood. Using Windex on incompatible surfaces can lead to issues like raised wood grain, compromising the paint job’s quality. Always make sure that the surface you are cleaning is compatible with the cleaning agent you are using.
– Toxicity
Windex contains ammonia, which can be harmful when inhaled or absorbed through the skin. Prolonged exposure to ammonia fumes can lead to respiratory issues and skin irritation.
Always use proper safety gear, such as gloves and a mask, when using ammonia-based cleaners like Windex. Additionally, ensure that you are working in a well-ventilated area to minimize exposure to harmful fumes.
• Alternatives to Windex for Surface Cleaning
Although Windex can be an effective option for some surfaces, it is essential to consider safer and more compatible alternatives for a broader range of surfaces.
– TSP (Trisodium Phosphate)
TSP is a heavy-duty cleaner that is often used for preparing surfaces for painting. It is highly effective for removing grease, grime, and mildew and can be used on various surfaces such as wood, metal, and masonry.
TSP is available in both powder and liquid forms and can be easily found in most home improvement stores. Be sure to follow the manufacturer’s instructions for proper dilution and application. Additionally, it is essential to wear protective gear and work in a well-ventilated area, as TSP can be corrosive.
– Water and Mild Detergent
For less severe cleaning needs, a simple solution of water and mild detergent can be an effective option for cleaning surfaces before painting. This method is safe for most surfaces, including untreated wood, and does not pose the same risks as ammonia-based cleaners like Windex.
Be sure to thoroughly rinse the surface after using a detergent solution to ensure no residue is left behind.
– Denatured Alcohol
Denatured alcohol is another option for cleaning surfaces before painting, particularly for removing grease and oil. It is less toxic than ammonia-based cleaners and compatible with a variety of surfaces, including metal, glass, and plastic.
However, denatured alcohol can be harsh on certain finishes, so always test it on an inconspicuous area before applying it to the entire surface. Be sure to wear protective gear and work in a well-ventilated space while using denatured alcohol.
• Conclusion
In summary, while Windex may be a suitable option for cleaning certain surfaces such as glass, metal, and plastic, it may not be the best choice for other surfaces like untreated wood.
When preparing surfaces for painting, it is essential to consider the safety, compatibility, and effectiveness of the cleaning agent you are using. Alternatives such as TSP, mild detergent solutions, and denatured alcohol are viable options for various surfaces.
If you are unsure which cleaning agent to use for your project, consult the paint manufacturer’s recommendations or seek expert advice from a local paint store or professional painter.
Additionally, consider referring to resources such as Bob Vila’s website for expert tips and advice on preparing surfaces for painting.