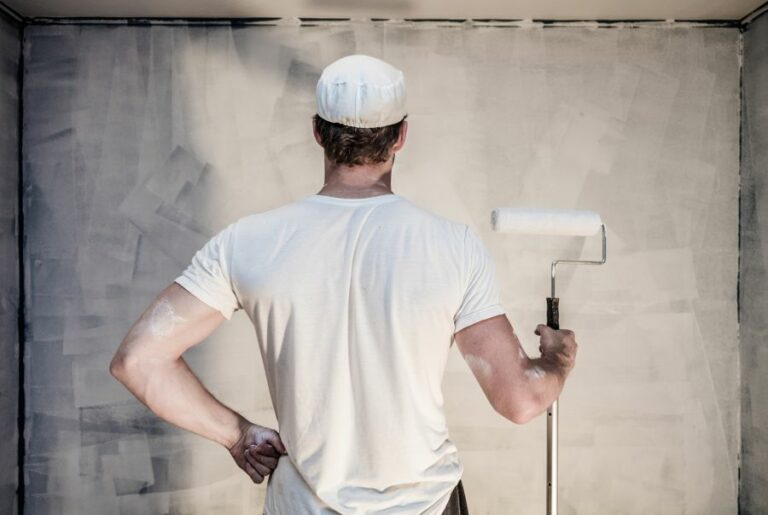
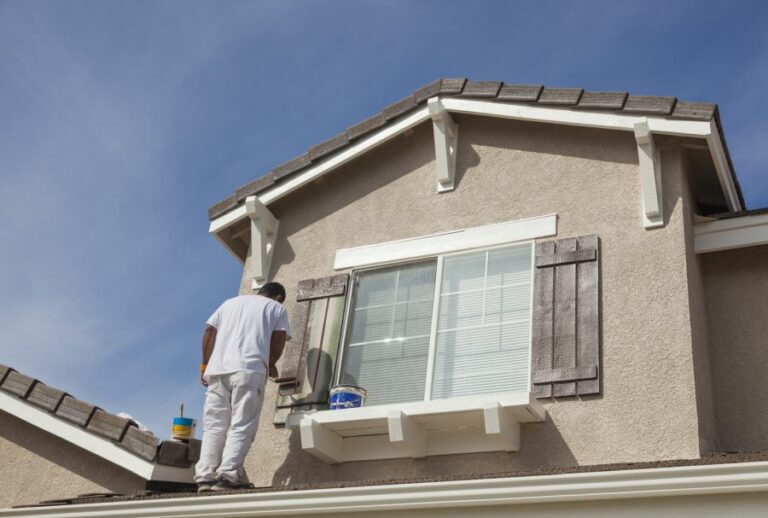
DIY Wallpaper Removal For A Fresh Paint Job. What Pros Say
Ready to create a fresh and updated look in your home by removing your old wallpaper? Don’t worry; we’ve got you covered! In this DIY wallpaper removal guide, we’ll walk you through the entire process step-by-step, providing tips, tricks, and expert advice to help you achieve the perfect canvas for that fresh paint job you desire. So, let’s roll up our sleeves and confidently tackle this project together for a stunning transformation!
Diy wallpaper removal for a fresh paint job:
To remove the wallpaper for a fresh paint job, first determine the wallpaper type (strippable or non-strippable). Gather tools such as plastic sheeting, a wallpaper scorer, a removal solution, a putty knife, and a wallpaper steamer (for stubborn cases). Protect floors and furniture, score the wallpaper, and apply the removal solution. Scrape away the wallpaper, clean the walls, and let them dry before sanding and applying primer for painting.

Ready to revamp your walls with a fresh paint job but dreading wallpaper removal? No worries! Our guide offers simple DIY methods to strip off old wallpaper and prep your walls for a stunning transformation. Read on to unveil our tried-and-true tips and tricks!
Contents
- 1 Easy Wallpaper Removal Guide for New Paint
- 2 Top Techniques to Remove Wallpaper Prior to Painting
- 3 Is it Possible to Remove Wallpaper Post-Painting?
- 4 Expert Tips for Wallpaper Removal Without Damaging Paint
- 5 Preparing Walls for Painting After Wallpaper Removal
Easy Wallpaper Removal Guide for New Paint
Wallpaper can be a stylish and attractive solution for your home, but there comes a time when you might want to remove it and give your walls a fresh paint job.
Removing old wallpaper can be a bit of a daunting task, but with the right tools, techniques, and guidance, you can achieve professional results with ease.
• Determine the Wallpaper Type
The type of wallpaper you have installed will dictate the removal strategy you use. There are two main categories of wallpaper: strippable and non-strippable. Strippable wallpapers are designed to be easily removed and can often be taken off in large sheets with minimal effort.
Non-strippable wallpapers, on the other hand, are more challenging to remove and require specific techniques and products.
To determine which type of wallpaper you have, try loosening a corner with a putty knife. If the paper peels away easily in large sections, it is likely strippable. If it tears or does not come away smoothly, it is probably non-strippable.
• Gather Your Tools and Supplies
Before starting the wallpaper removal process, it’s essential to gather the necessary tools and supplies. These may include:
- Plastic sheeting or drop cloths to protect your floors and furniture
- A wallpaper scorer or perforation tool to puncture small holes in the wallpaper
- Wallpaper removal solution or homemade mix (one part white vinegar to four parts water)
- A wallpaper steamer (for more stubborn wallpapers)
- A wide putty knife or scraper for removing the paper
- A bucket of water and a sponge for wiping the walls
- A trash bin or large plastic bag to collect the wallpaper as you remove it
• Protect Your Floors and Furniture
Before you begin, it’s vital to protect your floors and furniture from damage and debris. Lay down plastic sheeting or drop cloths to avoid any drips or spills from the wallpaper removal solution, and move furniture out of the room if possible.
• Score the Wallpaper
Using a wallpaper scorer or perforation tool, gently apply pressure to create small holes throughout the wallpaper. Scoring the paper allows your removal solution to penetrate the adhesive more effectively, making the paper easier to remove.
• Apply the Wallpaper Removal Solution
There are multiple approaches you can take when applying your wallpaper removal solution.
One common method is to use a spray bottle to generously mist the walls with the solution, starting at the top and working your way down. Alternatively, you can dip a sponge in the solution and wipe it across the walls.
If using a homemade vinegar solution, the ratio should be one part white vinegar to four parts water. Mixing equal parts of water and fabric softener is another effective solution for removing wallpaper.
Remember to give the solution a few minutes to soak into the paper before attempting to remove it.
• Scrape the Wallpaper Away
Using a wide putty knife, start at the edges and work your way inwards, gently scraping away the wallpaper. Be patient and avoid putting too much pressure on the putty knife to minimize the risk of damaging the wall underneath.
For more stubborn wallpapers that don’t loosen easily, you can use a wallpaper steamer. Follow the manufacturer’s instructions to ensure correct usage, and use the steam to loosen the adhesive while carefully scraping away the paper.
• Clean the Walls
Once the wallpaper has been fully removed, use a bucket of water and a sponge to clean your walls. This step ensures the removal of any residual adhesive that may interfere with your fresh paint job.
Allow the walls to dry completely before moving on to your painting project. This may take up to 24 hours, depending on the humidity and temperature in your home.
• Prepare the Walls for Painting
Following the wall cleaning and drying process, use sandpaper to gently smooth any rough areas before applying a primer. A high-quality primer will create an even surface for your fresh paint job and ensure a professional-looking finish.
By following these steps and using appropriate tools and techniques, you can achieve professional-quality DIY wallpaper removal for your fresh paint job. Remember to practice patience and allow ample time for the process to ensure the best possible result.
Top Techniques to Remove Wallpaper Prior to Painting
• Preparation and Gathering of Materials
Before you begin the process of removing wallpaper, it is crucial to prepare the workspace and gather all necessary materials. The first step is to remove any furniture, curtains, and other decorative items from the room.
Next, give your walls a thorough cleaning using warm soapy water. This will help to loosen the wallpaper adhesive, making it easier to remove.
For this task, you will need to gather the following materials:
- Drop cloth or plastic sheeting to protect your floor
- Wallpaper scorer or utility knife
- Wallpaper steamer or a stripping solution
- Spray bottle or garden sprayer
- Wide putty knife or scraper
- Large sponge
- A bucket filled with warm water
- Soft bristle brush
- Clean cloth
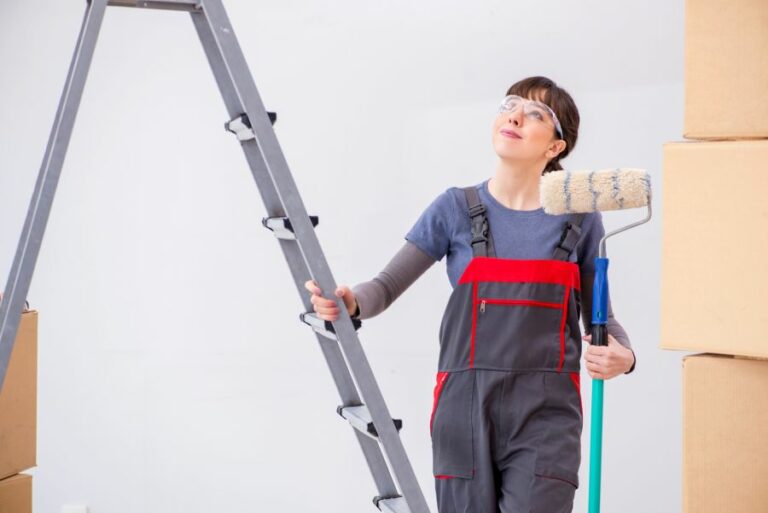
- Ladder, if needed
• Scoring the Wallpaper
To make the removal process easier, you should begin by scoring the wallpaper. This involves making small cuts in the paper, allowing the stripping solution or steam to penetrate the adhesive more easily. You can use a wallpaper scorer or a utility knife for this task.
When scoring, be careful not to press too hard, as this can damage the wall underneath the paper. Lightly score the entire surface of the wallpaper in a grid or crisscross pattern.
• Applying the Stripping Solution or Steam
Depending on the type of wallpaper and adhesive used, you may either choose to use a wallpaper steamer or a stripping solution. Both methods are effective for softening the adhesive and making it easier to remove the paper.
– Wallpaper Steamer
A wallpaper steamer uses heated water to create steam, which is then applied to the wallpaper. The steam penetrates through the paper and softens the adhesive, allowing you to easily scrape away the wallpaper.
To use a wallpaper steamer, start at the top of the wall and hold the steamer plate against the paper for 20-30 seconds or until the paper starts to bubble. You may find it helpful to use a ladder for this step. Once the paper is loosened, use the scraper to remove it from the wall.
– Stripping Solution
If you prefer not to work with steam, you can opt to use a stripping solution instead. These solutions are usually sold in concentrated form and can be diluted using water. You can then apply the mixture to the walls using a spray bottle or garden sprayer.
Instead of a commercial stripping solution, you might also use a homemade solution, such as a mix of equal parts white vinegar and warm water or a combination of one cup of fabric softener to one gallon of water.
After creating the solution, apply it generously to the wallpaper, making sure to saturate the paper thoroughly. Allow the solution to sit for 15-20 minutes or until the paper bubbles and peels away from the wall.
• Scraping the Wallpaper
With the wallpaper softened and the adhesive loosened, you can begin to scrape away the paper using a wide putty knife or scraper.
Be careful not to gouge or damage the walls while scraping. If you encounter any stubborn areas, apply additional steam or stripping solution to help loosen the adhesive further.
• Removing Residual Adhesive and Cleaning the Walls
Once the wallpaper has been removed, you may still see some residual adhesive on the walls. Use a large sponge and warm water to remove any remaining adhesive, scrubbing gently with a soft bristle brush if needed.
Rinse the walls thoroughly with clean water and some mild soap to remove any lingering residue.
After washing the walls, use a clean cloth to wipe them dry. Allow the walls to air dry completely before proceeding with any additional prep work or painting.
If you are concerned about potential mold or mildew growth under the wallpaper, consider using a mold-resistant primer before painting.
• Final Thoughts
Removing wallpaper before painting is an essential step to ensure a smooth and professional-looking paint job. By using the appropriate materials and methods, you can effectively remove wallpaper and prepare your walls for a fresh coat of paint.
Patience and persistence are key during this process, as different wallpapers and adhesives will require varying amounts of time and effort to remove. With thorough preparation and the right tools, you can transform your walls and create a beautiful, updated space.
Step | Description |
|---|---|
1 | Clear the room and cover the floor with drop cloths or plastic sheeting. |
2 | Turn off the electricity in the room and remove any wall fixtures, outlet covers, switch plates, etc. |
3 | Score the wallpaper using a wallpaper-scoring tool, making small holes or tears in the surface. |
4 | Apply a wallpaper removal solution or warm water mixed with vinegar using a spray bottle, sponge or paint roller, and let it soak for a few minutes. |
5 | Scrape the wallpaper off using a wallpaper scraping tool or a plastic putty knife, starting from the edges and working inwards. |
6 | Continue the process, applying more solution or water as needed, until all wallpaper is removed. |
7 | Wash the walls with warm, soapy water to remove any remaining adhesive and residue, then rinse with clean water and let dry. |
8 | Repair any damaged areas of the wall with spackling compound or joint compound, sanding smooth and wiping clean with a damp cloth when dry. |
9 | Prime the walls using an appropriate primer for your wall type, according to the manufacturer’s instructions. |
10 | Once the primer is dry, paint the walls with your desired paint color and finish. |
Is it Possible to Remove Wallpaper Post-Painting?
Removing wallpaper after painting can be a challenging task. However, with the correct tools and methods, it is possible to safely and effectively remove painted wallpaper.
• The Challenges Involved in Removing Painted Wallpaper
When wallpaper is painted over, the paint forms a barrier that makes it more difficult to penetrate and dissolve the wallpaper adhesive. This barrier can affect how easily the wallpaper comes off the wall and may involve additional steps to ensure successful removal.
– Potential Damage to the Wall Surface
During the process of removing the wallpaper, there is a risk of damaging the surface underneath. This could involve gouging the wall material or tearing off the top layer of drywall or plaster. To prevent this, care must be taken during the removal to minimize the risk of damage.
• Preparing Your Workspace
Before starting the process of removing painted wallpaper, gather the necessary tools and materials. These may include:
- Drop cloths or plastic sheeting to protect your floor and furnishings
- A scoring tool or coarse sandpaper to penetrate the paint layer
- A wallpaper steamer or a mixture of water and wallpaper stripper
- A wallpaper scraper or putty knife
- A bucket filled with warm soapy water and a sponge (optional)
Cover the floor and any furniture in the room with drop cloths or plastic sheeting to protect them from potential water damage.
• Scoring the Painted Wallpaper
The first step in removing painted wallpaper is to score the surface. This can be done using a scoring tool or coarse sandpaper. By doing this, you create tiny holes or abrasions in the paint, allowing the wallpaper stripper or water to penetrate and reach the adhesive underneath.
Work in small sections and be careful not to apply too much pressure, as this may damage the wall surface.
• Applying Wallpaper Stripper or Steam
There are two main methods for loosening the adhesive on painted wallpaper: using a wallpaper steamer or a mixture of water and wallpaper stripper.
– Using a Wallpaper Steamer
A wallpaper steamer is an effective method for removing painted wallpaper. Follow the manufacturer’s instructions, and work in small sections, holding the steamer against the wall surface for the recommended amount of time.
The heat and moisture from the steamer will help break down the adhesive, making it easier to remove the wallpaper.
– Using Water and Wallpaper Stripper
Alternatively, you can use a mixture of water and a wallpaper stripper. Follow the manufacturer’s instructions for creating the mixture, and then apply it to the scored surface using a spray bottle or sponge.
Allow the mixture to sit on the surface for the recommended amount of time before moving on to the next step.
• Scraping Off the Painted Wallpaper
Using a wallpaper scraper or a putty knife, carefully start to remove the wallpaper from the wall. Work in the same small sections you scored, and try to keep the scraper or putty knife at a low angle to avoid damaging the wall.
Be patient during this process, as it may take some time and can be labor-intensive.
As you remove the wallpaper, you may notice some adhesive residue left behind. This can be removed by scrubbing the walls with warm soapy water and a sponge. Be sure to rinse the surface thoroughly to remove any soap residue.
• Repairing the Wall After Wallpaper Removal
After the painted wallpaper has been successfully removed, and the walls are dry, assess the wall surface for damage.
You may need to repair gouges or holes with a patching compound or joint compound. Follow the manufacturer’s instructions for these products and sand the surface smooth before moving forward with any painting or new wallpaper application.
Bob Vila offers a comprehensive guide to repairing damaged walls after wallpaper removal.
• Conclusion
Removing wallpaper after it has been painted can be a challenging project. However, with the proper tools, techniques, and patience, it is possible to successfully remove the painted wallpaper and prepare the wall surface for your next project.
Remember to work in small sections, avoid damaging the wall, and follow manufacturer instructions for all products used.
Expert Tips for Wallpaper Removal Without Damaging Paint
Removing wallpaper can be a daunting task, especially if you want to avoid damaging the paint underneath. With the right tools and techniques, it’s possible to successfully remove wallpaper without ruining the existing paint job.
• Tools and Supplies You’ll Need
Before diving into the wallpaper removal process, it’s important to gather the necessary items to make the job easier and more efficient. Here’s a list of tools and supplies that you’ll need:
- Wallpaper scorer or perforating tool
- Wallpaper steamer or hot water
- Spray bottle
- Putty knife or scraper
- Clean cloth or sponge
- Ladder or step stool (if necessary)
- Drop cloth or newspaper for floor protection
• Preparing the Work Area
Before starting, it’s essential to properly prepare the work area. Protect the floor and any furniture by laying down a drop cloth or newspaper. Turn off any power in the room and remove any electrical outlets and switches covers.
• Method 1: Using a Wallpaper Steamer
Wallpaper steamers can be an effective and safe way to remove wallpaper without damaging the paint. These devices use hot steam to soften the wallpaper adhesive, making it easy to peel or scrape the wallpaper away. Follow these steps to use a wallpaper steamer:
– Step 1: Perforate the Wallpaper
Use a wallpaper scorer or perforating tool to create tiny holes in the wallpaper. This will allow the steam to penetrate and soften the adhesive. Avoid pressing too hard and damaging the wall underneath.
– Step 2: Fill and Heat the Steamer
Fill the wallpaper steamer with water, following the manufacturer’s instructions. Turn the device on and allow it to heat up.
– Step 3: Apply Steam to the Wallpaper
Hold the steamer plate against the wallpaper, starting from the top of the wall and working your way down. Hold each section for 20-30 seconds or until the wallpaper becomes soft and easy to peel away.
– Step 4: Remove the Wallpaper
Use a putty knife or scraper to gently lift the edges of the softened wallpaper, then slowly pull or scrape it away from the wall. Work in small sections and avoid using too much force to prevent damage to the paint.
– Step 5: Clean the Residue
Once the wallpaper has been removed, use a clean cloth or sponge to wipe away any remaining adhesive residue from the wall.
• Method 2: Using Hot Water
If you prefer not to use a wallpaper steamer or don’t have access to one, hot water can also be an effective method for removing wallpaper without damaging the paint.
This method is particularly useful for removing water-soluble wallpaper adhesives. Follow these steps to use hot water to remove your wallpaper:
– Step 1: Perforate the Wallpaper
Just like with the wallpaper steamer method, use a wallpaper scorer or perforating tool to create small holes in the wallpaper to help the water penetrate and soften the adhesive.
– Step 2: Mix Hot Water and Dish Soap
Fill a spray bottle with hot water and a few drops of dish soap. This will help the water better dissolve the adhesive. Alternatively, you can fill a bucket with hot water and dish soap and use a sponge to apply the mixture.
– Step 3: Apply the Hot Water Mixture
Spray or sponge the hot water mixture onto the wallpaper, saturating it thoroughly. Allow the water to sit and soften the adhesive for 10-15 minutes.
– Step 4: Remove the Wallpaper
Using a putty knife or scraper, gently lift the edges of the wallpaper and peel or scrape it away from the wall. Work in small sections and use caution to avoid damaging the paint underneath.
– Step 5: Clean the Residue
Lastly, use a clean cloth or sponge to wipe away any remaining adhesive residue from the wall.
• Tips and Recommendations
By following these methods, you should be able to effectively remove your wallpaper without damaging the paint underneath.
However, keep in mind that different types of wallpaper and adhesive may require additional techniques, so it’s always advisable to test a small inconspicuous area before proceeding with the entire wall.
Remember to exercise patience during this process, as rushing the wallpaper removal can result in damage to your paint job. Taking your time and using the right tools and techniques will help ensure the best possible outcome.
Step | Description |
|---|---|
1 | Prepare the area by covering the floor with a drop cloth and turning off any electrical outlets in the room. |
2 | Loosen the wallpaper by scoring it with a wallpaper scoring tool, creating small holes for the stripping solution to penetrate. |
3 | Mix a wallpaper stripping solution (either a commercial product or a homemade mixture of water and dish soap) in a spray bottle or garden sprayer. |
4 | Apply the stripping solution to the wallpaper by spraying it generously, ensuring all areas are covered. Allow the solution to sit and soak into the wallpaper for 15-20 minutes. |
5 | Using a wallpaper scraper or plastic putty knife, gently remove the wallpaper by scraping it away from the wall. If necessary, apply more stripping solution to stubborn areas and let it soak in before continuing. |
6 | Once all wallpaper is removed, clean the walls using a sponge or cloth and warm, soapy water to remove any residue. |
7 | Wipe down the walls with a clean cloth and allow them to dry completely before applying any paint or new wallpaper. |
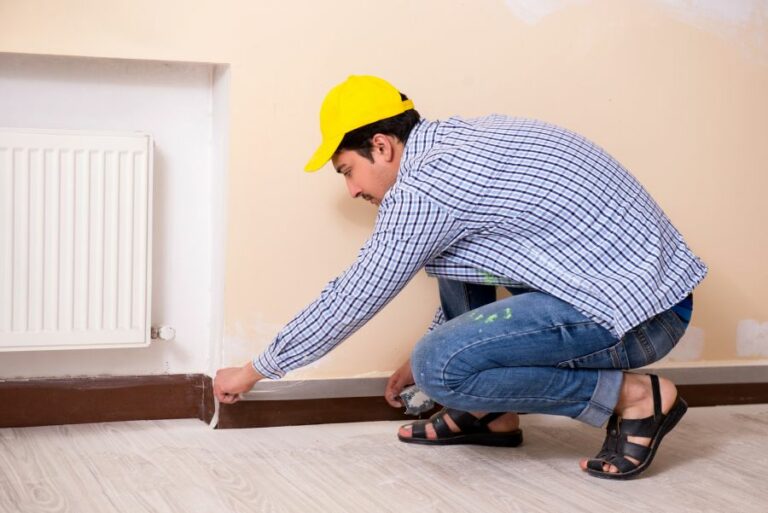
Preparing Walls for Painting After Wallpaper Removal
Painting your home can be an exciting and refreshing home improvement project. A crucial part of the process, especially when dealing with walls that have wallpaper, is prepping them for a smooth and long-lasting paint job.
• Step 1: Remove All Traces of Wallpaper Adhesive
After removing the wallpaper, there might still be traces of adhesive left on the walls. It is essential to remove any remaining adhesive to ensure a smooth and professional paint finish.
– Tools and Materials Needed:
- Warm water
- Liquid dish soap
- Sponge or cloth
- Wallpaper adhesive removal solution (optional)
- Wallpaper scoring tool (optional)
- Putty knife or scraper
– Instructions:
- Mix warm water and a few drops of liquid dish soap in a bucket. If the adhesive is stubborn, you can use a wallpaper adhesive removal solution or mix vinegar and water at a 1:3 ratio.
- If needed, use a wallpaper scoring tool to create small punctures in the adhesive layer, allowing the soap solution to penetrate it better.
- Soak a sponge or cloth in the solution and apply it generously to the walls, working in sections. Let the solution soak for 10-15 minutes.
- Use a putty knife or scraper to gently remove the softened adhesive residue from the walls. Be careful not to damage the wall surface.
- Rinse the walls with clean water and let them dry completely before moving on to the next step.
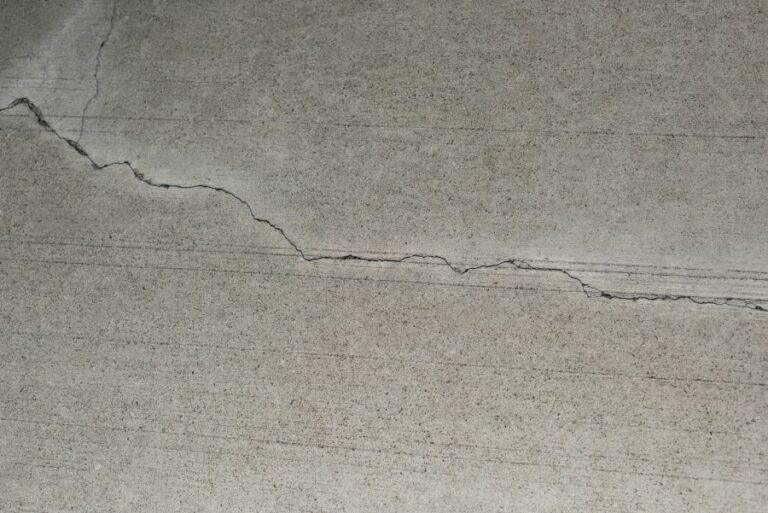
• Step 2: Repair Wall Damage
After removing the adhesive, you may notice some wall damage, such as tiny perforations, gouges, or uneven surfaces. It is vital to repair these damages to ensure a high-quality paint finish.
– Tools and Materials Needed:
- Patching compound or spackling paste
- Putty knife
- Sandpaper (100-120 grit)
- Optional: Fiberglass mesh tape and joint compound for larger damages
– Instructions:
- Apply patching compound or spackling paste to small holes and gouges using a putty knife. For larger damages, apply fiberglass mesh tape over the hole and cover it with joint compound. Smooth the compound with the putty knife, feathering the edges to blend it with the surrounding wall.
- Allow the compound to dry as specified in the product instructions.
- Once dry, use sandpaper to sand the repaired area until it is smooth and even with the surrounding wall surface.
- Wipe down the walls with a damp cloth to remove any dust from the repairs.
• Step 3: Clean the Walls
Thoroughly cleaning the walls after removing wallpaper is critical to ensure proper paint adhesion and a smooth finish.
– Tools and Materials Needed:
- Warm water
- Liquid dish soap
- Sponge or cloth
– Instructions:
- Mix warm water and a few drops of liquid dish soap in a bucket.
- Use a sponge or cloth to wash the walls with the soap solution, working from top to bottom. Be sure to rinse the sponge or cloth frequently to avoid spreading dirt.
- Rinse the walls with clean water to remove any soap residue.
- Allow the walls to dry completely before moving on to the next step.
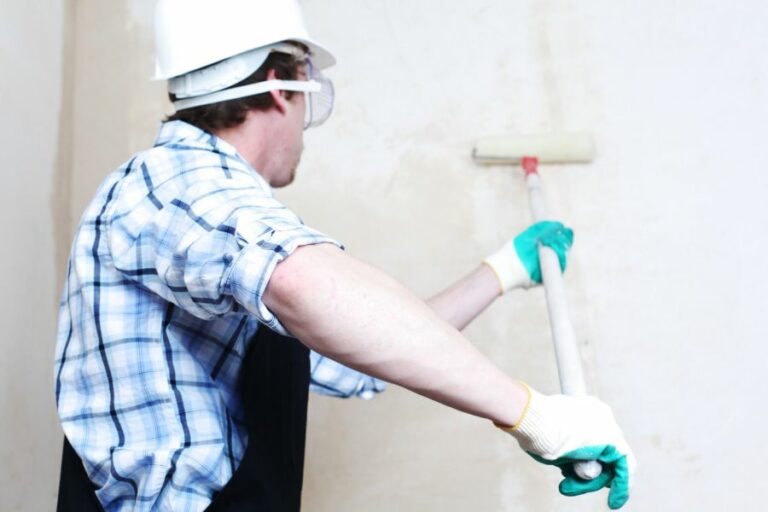
• Step 4: Prime the Walls
Priming the walls ensures proper paint adhesion, prevents stains from bleeding through, and provides a uniform base for the paint.
– Tools and Materials Needed:
- High-quality acrylic primer
- Paint roller and tray
- Paintbrush for cutting in edges
– Instructions:
- Pour the primer into a paint tray and use a paint roller to apply it evenly on the walls, working in a “W” or “M” pattern.
- Use a paintbrush to cut in the edges and corners where the roller cannot reach.
- Allow the primer to dry according to the manufacturer’s instructions.
The University of Missouri has an excellent guide on painting and priming that provides additional tips and insights.
• Step 5: Paint the Walls
After following all the steps mentioned above, your walls should be well-prepared for a fresh coat of paint.
Choose high-quality paint and follow the manufacturer’s recommendations for application and drying time. With proper wall preparation, your paint job should look professional and last many years.
Step | Description |
|---|---|
1. Remove the remaining wallpaper adhesive | Use a wallpaper removal solution, warm water, or a mix of warm water and vinegar to remove any remaining adhesive from the wall. Be sure to scrub the wall with a sponge or cloth to remove any residue. |
2. Repair wall damage | Identify and repair any damage to the wall, such as holes or dents, by filling them with a joint compound or patching material. Allow the compound to dry and sand it smooth. |
3. Clean the walls | Once all the adhesive residue has been removed and the patches are dry, clean the walls with a mild soap and water solution to remove any remaining dirt or grease. Rinse with clean water and let the walls dry completely before proceeding. |
4. Sand the walls | Lightly sand the walls with fine-grit sandpaper to ensure that the paint adheres properly. Wipe down the walls with a damp cloth to remove any sanding dust. |
5. Apply primer | Apply a high-quality primer to the walls to create a smooth and even surface for painting. This will help to prevent any remaining wallpaper adhesive from bleeding through the paint. |
6. Paint the walls | Once the primer is dry, you’re ready to paint the walls with your desired color. Apply the paint in even coats using a roller or brush, and allow it to dry completely between coats. |