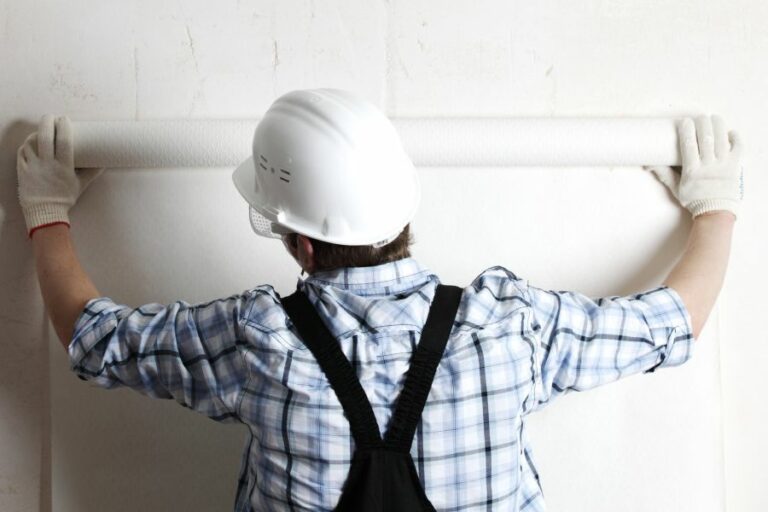
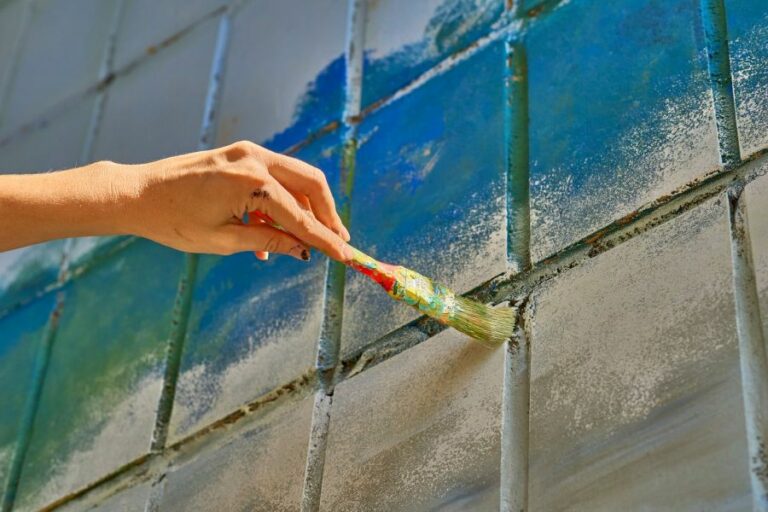
Painting Different Materials Surface Prep. What Pros Say
Are you looking to create a stunning piece of art but unsure how to properly prepare different materials for painting? Look no further; we have the expertise to guide you through surface prep for various materials. With our assistance, you’ll confidently apply paint on unconventional surfaces in no time, allowing your creativity to shine.
Painting different materials: surface prep:
To properly prepare surfaces for painting, follow these steps: For wood, remove old paint, repair imperfections, sand the surface, clean it, and apply primer. For metal, remove rust and old paint, sand the surface, clean it, and apply rust-inhibiting primer. For plastic, clean and sand the surface, apply an adhesion promoter, and use paint designed for use on plastic.

Discover the secrets to painting various materials like a pro! Uncover essential surface preparation techniques tailored to different substrates, ensuring your paint adheres well and lasts. Read on to elevate your painting skills and bring new life to your projects!
Contents
- 1 Preparing Various Surfaces for Painting: A Guide
- 2 Essential Steps for Metal Surface Preparation Prior to Painting
- 3 Exploring Diverse Techniques of Surface Preparation
- 4 Surface Preparation Methods for Multiple Substrates
- 5 Consequences of Skipping Surface Preparation Before Painting
Preparing Various Surfaces for Painting: A Guide
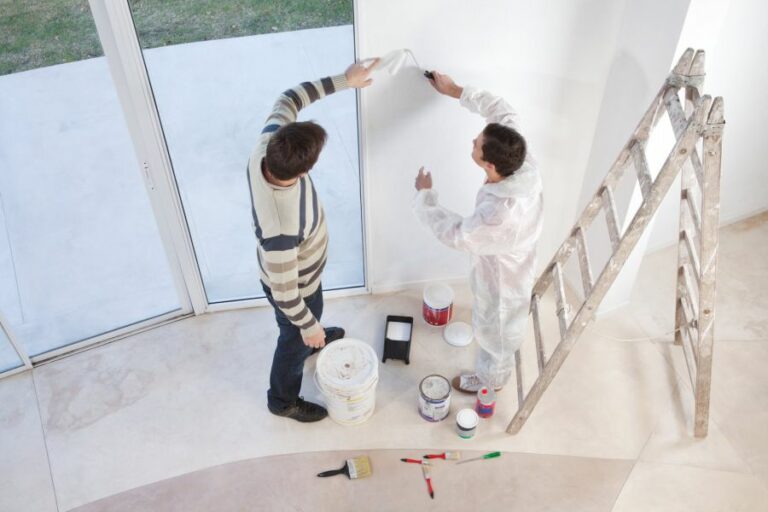
When it comes to painting different materials, proper surface preparation is crucial for a successful and lasting paint job.
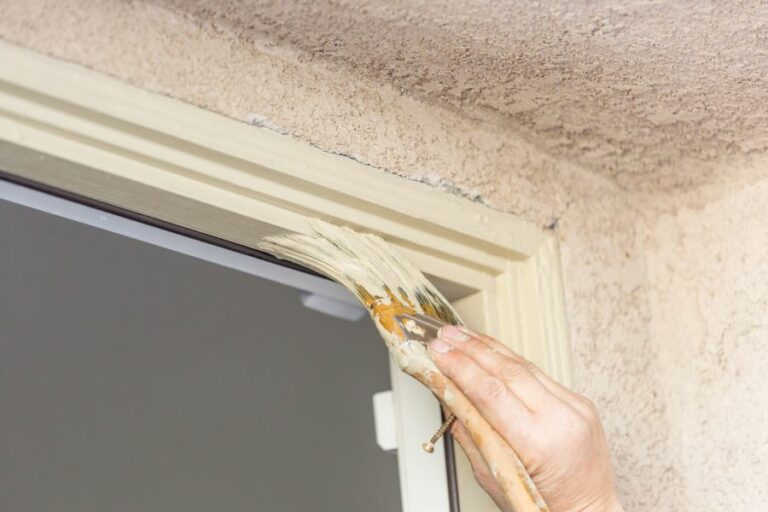
• Painting Wood: Tips for a Smooth Finish
Painting wooden surfaces can be a rewarding experience if done correctly. The following steps will ensure the surface is well-prepared and ready for a fresh coat of paint.
– Remove Old Paint
To achieve a smooth, even finish, it’s essential to remove any old, flaking, or peeling paint from the wooden surface. You can use a paint scraper or a sanding block to do this. For larger jobs, consider using a power sander.
– Repair Imperfections
Wooden surfaces may have imperfections such as cracks, holes, or gouges. Fill these areas with wood filler and allow it to dry completely, following the manufacturer’s instructions. Once it has dried, sand the surface smooth to blend in with the rest of the wood.
– Sand the Surface
Sanding the surface is crucial for achieving an even, smooth finish. Start by sanding with coarse-grit sandpaper (e.g., 80-grit) and progress to finer grits (e.g., 150-grit) until the surface feels smooth to the touch. Don’t forget to sand in the direction of the wood grain.
– Clean the Surface
Before painting, thoroughly clean the surface to remove any dust, dirt, or debris. You can use a tack cloth, a slightly damp cloth, or a vacuum with a brush attachment to clean the surface.
– Prime the Surface
Wood is porous, and therefore it’s essential to apply primer to seal the surface and provide an even base for the paint.
The type of primer used will depend on the type of paint you plan to use (i.e., oil-based or water-based). Consult the manufacturer’s recommendations for the appropriate primer.
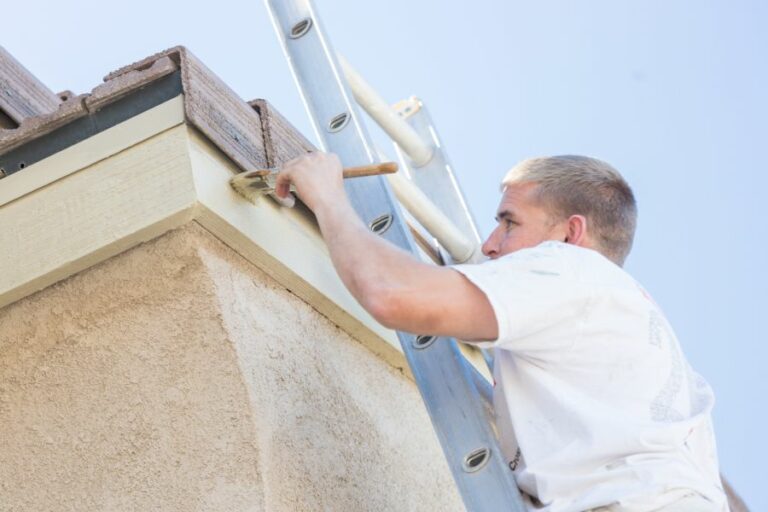
• Painting Metal: Achieving a Durable Finish
Painting metal surfaces require specific techniques and products for a lasting and durable finish. Follow these tips for proper surface preparation.
– Remove Rust and Old Paint
Using a wire brush, remove any loose rust, paint, or debris from the metal surface. For flat surfaces, using a paint scraper might be more efficient.
– Sand the Surface
Sanding is necessary to create a smooth surface for paint adhesion. Use fine-grit sandpaper (e.g., 220-grit) for sanding the surface evenly.
– Clean the Surface
Wipe down the metal surface with a clean cloth dampened with mineral spirits or a similar cleaner to remove dust, dirt, and grease. Allow the surface to dry completely before proceeding.
– Apply a Rust-Inhibiting Primer
Metal surfaces are prone to rust if not treated properly. Apply a rust-inhibiting primer, following the manufacturer’s instructions, as protection against rust and a base for the paint to adhere to.
• Painting Plastic: Techniques for Adhesion
Plastic surfaces can be challenging to paint, but with proper surface preparation and appropriate paint products, a successful finish can be achieved.
– Clean the Surface
Use a mild detergent and a soft-bristle brush to scrub the surface and remove any dirt, debris, or greasy residues.
– Sand the Surface
Sanding plastic surfaces can help promote paint adhesion. Use fine-grit sandpaper (e.g., 220-grit) to lightly scuff the surface.
– Apply an Adhesion Promoter
An adhesion promoter, designed specifically for painting plastic, can provide a base for the paint to adhere to. Follow the manufacturer’s instructions for using the adhesion promoter.
– Use the Proper Paint
Choose a paint designed for use on plastic, such as a paint that contains a flex agent or a paint specifically formulated for plastic surfaces.
• In Conclusion
Surface preparation is a critical step in the painting process, regardless of the material being painted. Properly preparing wood, metal, or plastic surfaces will ensure a smooth, lasting, and durable finish.
Don’t skip this important step, and you’ll be rewarded with a professional-looking paint job that will stand the test of time.
Essential Steps for Metal Surface Preparation Prior to Painting
Proper surface preparation is crucial for achieving a long-lasting, attractive finish on metal surfaces.
• Cleaning and Degreasing
The first step in preparing your metal surface for paint application is to remove any dirt, grease, oil, or other contaminants that could hinder the paint’s ability to adhere to the surface.
Typically, this is done using a degreaser specially designed for use on metal surfaces. It is essential to thoroughly clean the surface, as any remaining contaminants will prevent proper paint adherence.
– Using Solvents for Degreasing
To remove grease, oil, or other organic contaminants, you can use solvents such as acetone, methyl ethyl ketone (MEK), or mineral spirits. Apply a generous amount of the solvent to a clean, lint-free cloth and gently wipe the surface of the metal until all contaminants are removed.
Remember, always use solvents in a well-ventilated area and wear proper protective gear (gloves, goggles, etc.) during application.
I recommend using disposable, lint-free cloths to avoid transferring any dirt or debris back onto the surface.
– Alkaline Cleaners for Degreasing
Alkaline cleaners are another effective method for degreasing metal surfaces. These powerful chemicals break down and emulsify contaminants, allowing for easy removal.
They are typically applied using a spray or dip method and then rinsed off with water. Be sure to follow the manufacturer’s instructions for proper dilution and application methods.
• Removing Rust and Mill Scale
After cleaning and degreasing, the next step in surface preparation is removing any rust or mill scale present on the metal surface.
– Hand Tools for Rust and Mill Scale Removal
Manual methods, such as wire brushing, sanding, or scraping, can effectively remove loose rust and mill scale without causing significant damage to the metal surface. These methods, however, can be time-consuming and labor-intensive.
– Power Tools for Rust and Mill Scale Removal
Power tools such as sanders, grinders, and wire-wheel-equipped power drills can significantly speed up the rust and mill scale removal process.
Remember to use caution while using these tools, as their high power can potentially damage the metal surface or result in an uneven finish.
Always wear safety goggles, gloves, and ear protection while using power tools.
• Abrasive Blasting
Abrasive blasting, also known as sandblasting, is an effective method for removing rust, paint, and other contaminants from metal surfaces.
This process involves using compressed air or water to propel abrasive particles (such as sand, steel grit, or crushed glass) against the metal surface, effectively cleaning and roughening the surface.
There are several types of abrasive blasting methods available, including dry blasting, wet blasting, and vacuum blasting. Each has its advantages and disadvantages, so it is essential to choose the right method based on your specific project requirements.
Always follow proper health and safety guidelines when performing abrasive blasting, as the high-pressure and abrasive material can pose significant hazards.
• Chemical Surface Preparation
Chemical surface preparation methods such as acid pickling, passivation, and phosphate conversion coatings are sometimes used to prepare metal surfaces for paint application.
These methods involve applying a chemical solution to the metal surface, allowing it to react, removing rust, and forming a protective layer. These methods typically require a thorough rinse with clean water following application to remove any residual chemicals.
Ensure that the chemical solutions used for your project are compatible with your specific metal type and follow all manufacturer instructions for safe use and disposal.
• Applying a Primer
Before applying your chosen paint, it may be necessary to apply a primer to the metal surface. Primers create a barrier between the metal surface and the paint, enhancing paint adhesion and providing additional protection against corrosion.
Different types of primers are available for use on metal surfaces, such as epoxy primers, zinc primers, and polyurethane primers. It’s essential to choose the appropriate primer for your specific metal type and paint system.
Remember to allow the primer to fully cure according to the manufacturer’s recommendations before applying your paint coat.
• Conclusion
In conclusion, a multitude of steps and methods are involved in surface preparation before painting metal surfaces. It is crucial to follow a thorough and well-ordered process to achieve the best results in both appearance and longevity of the final paint finish.
By following the steps outlined in this article, you can ensure a successful and lasting paint job on metal surfaces.
Step | Description |
|---|---|
1. Cleaning | Remove loose dirt, dust, grease, and other contaminants from the metal surface. |
2. Rust removal | Eliminate rust using mechanical methods (such as sanding or wire brushing) or chemical methods (such as rust converters or rust removers). |
3. Degreasing | Use a suitable degreaser to remove oil, grease, and other similar contaminants from the metal surface. |
4. Surface profiling | Create a suitable roughness and profile on the metal surface to improve the adhesion of paint or coatings. This can be achieved through sandblasting, abrasive blasting, or acid etching. |
5. Priming | Apply a suitable primer to the prepared metal surface to enhance adhesion, prevent corrosion, and provide a base for the topcoat of paint. |
6. Painting | Apply the desired topcoat paint to the primed metal surface using brush, roller, or spray equipment, ensuring even and adequate coverage. |
7. Curing | Allow the paint to dry and cure according to the manufacturer’s recommendations, ensuring a proper bond to the metal surface and optimal performance. |
Exploring Diverse Techniques of Surface Preparation
Proper surface preparation is a crucial step in ensuring the success of any coating, painting, or adhesive application. The goal is to create a clean, dry, and structurally sound surface with the ideal profile to allow adhesion and promote the longevity of the applied product.
• Cleaning Methods
– Solvent Cleaning
Solvent cleaning, also known as degreasing, is the process of removing oil, grease, and other contaminants from a surface using solvents, emulsions, or alkaline cleaners. This is a recommended initial step for surface preparation, as it effectively removes contaminants that can negatively affect adhesion and performance.
There are various solvent-cleaning methods, including wiping or scrubbing with a solvent-soaked cloth, brush, or sponge or immersing the surface in a solvent bath.
The solvent choice depends on the contaminant being removed, and some solvents may require proper ventilation and personal protective equipment.
– Water Cleaning
Water cleaning uses pressurized water to remove dirt, loose paint, rust, and other contaminants from a surface. This method can be an effective and eco-friendly alternative to chemical cleaning or abrasive blasting.
The use of high-pressure water jets or steam cleaning systems ensures efficient cleaning for large surfaces or difficult-to-reach areas
– Chemical Cleaning
Chemical cleaning employs acids, alkalis, or other chemicals to dissolve or react with unwanted surface contaminants. This method is particularly useful for removing layers of rust, scale, or corrosion, which can be challenging to remove using mechanical means alone.
This method can be aggressive and may require careful handling and disposal of hazardous materials, so it is essential to consult safety requirements and local regulations.
• Abrasive Methods
– Abrasive Blasting
Abrasive blasting, commonly referred to as sandblasting, is a process of forcibly propelling a stream of abrasive material against a surface using high-pressure air or water.
Different types of abrasive media are available, such as sand, glass beads, steel shot, or slag, each tailored to create specific surface profiles and finishes.
Abrasive blasting efficiently cleans and roughens the surface, allowing better adhesion of applied materials. It is recommended for the removal of rust, scale, old coatings, and contaminants from surfaces such as metal, brick, or concrete.
– Grinding
Grinding involves using abrasive discs, wheels, or stones to remove material from the surface. The grinding process is excellent for smoothing rough spots, leveling high points, or creating a specific surface profile to promote better adhesion.
Suitable for metal, concrete, or wood surfaces, grinding requires careful attention to prevent damage or unevenness.
– Brushing and Scraping
Brushing and scraping are manual techniques to remove loose or flaking material from a surface. Wire brushes, scrapers, chisels, or other hand tools effectively loosen rust, scale, and old coatings from metal or wood surfaces.
Although labor-intensive, brushing and scraping are recommended for surfaces where abrasive blasting or water cleaning may be undesirable, such as delicate or hard-to-reach areas.
• Surface Profiling
Creating an ideal surface profile is crucial for promoting adhesion between the applied material and the substrate. Surface profiling techniques include acid etching, mechanical methods like shot peening or needle scaling, and the application of bonding promoters.
– Acid Etching
Acid etching uses a mild acid solution to create microscopic pits or roughness on the surface. This method is particularly effective for preparing concrete or metal surfaces for painting or adhesive applications.
Be sure to neutralize and rinse the surface thoroughly to prevent any residual acid from interfering with the applied materials.
– Shot Peening
Shot peening is a mechanical method that bombards a surface with small, spherical media at high velocity to create a uniform surface texture. This process is particularly effective for preparing metal surfaces and can help relieve stress and improve the fatigue life of a component.
– Bonding Promoters
Bonding promoters, also known as primers or adhesion promoters, increase adhesion between the surface and the applied material. These products are available in a wide variety of formulations, each designed for specific types of surfaces or applications.
Follow the manufacturer’s recommendations and apply bonding promoters after proper surface cleaning and profiling.
• Conclusion
Surface preparation is an essential aspect of many industrial, automotive, and construction applications. Choosing the right surface preparation method depends on the type of material, the desired finish, and the intended application of the product being applied.
A thorough understanding of the various methods will ensure the success and longevity of any coating, painting, or adhesive project.
Type | Description |
|---|---|
Cleaning | Removal of dirt, grease, and contaminants using detergents, solvents, or other cleaning methods. |
Abrasive Blasting | Using high-pressure air to propel abrasive particles against the surface to remove rust, scale, and old coatings. |
Grinding | Using abrasive wheels or discs to remove unwanted material and achieve the desired surface profile. |
Scarifying | Removing the top layer of a surface using rotating cutters, often used for removing old coatings or contaminants. |
Acid Etching | Applying an acid solution to dissolve and remove surface contaminants and create a rough surface profile. |
Chemical Stripping | Using chemical solutions to dissolve and remove old paint, varnish, or other coatings from a surface. |
Pressure Washing | Using high-pressure water to clean and remove loose paint, mold, grime, and other contaminants from a surface. |
Hand Tool Cleaning | Using hand tools like wire brushes, scrapers, and sandpaper to remove rust, scale, and loose paint from a surface. |
Surface Preparation Methods for Multiple Substrates
Surface preparation is a critical step in any application process that involves coatings, adhesives, or other materials. It is crucial for achieving a durable bond, maximizing performance, and ensuring longevity.
• Metal Surface Preparation
Metal surfaces must be adequately prepared before applying adhesives, coatings, or other treatments to achieve strong adhesion and prevent failures. Proper surface preparation entails removing contaminants, such as oils, dirt, and rust, and creating an ideal surface profile for adhesion.
– Abrasive Blasting
Abrasive blasting, also known as sandblasting, uses high-velocity pressurized air to propel abrasive media against a metal surface.
This process effectively removes mill scale, rust, and old coatings while creating an anchor pattern for coatings to grip onto. Common blasting media include steel grit, aluminum oxide, and glass beads.
For delicate or thin substrates, gentler abrasive media, such as plastic or walnut shells, can be used. The SSPC-SP (Society for Protective Coatings – Surface Preparation) standards provide guidelines on the appropriate level of cleanliness and anchor profile for different applications.
– Chemical Cleaning
Chemical cleaning involves the use of solvents, acids, or alkalis to either dissolve or loosen contaminants from metal surfaces. Solvents can be used for degreasing and removing oils, while acidic and alkaline solutions help remove rust, mill scale, and other contaminants.
After chemical cleaning, the surface must be thoroughly rinsed with clean water and dried to prevent the formation of iron-containing compounds.
– Hand and Power Tools
Hand and power tools, such as wire brushes, scrapers, and grinding discs, can be used to remove loose rust, paint, and other contaminants from metal surfaces.
While the use of hand and power tools may not be as thorough as abrasive blasting or chemical cleaning, they can be suitable for small-scale or localized surface preparation.
• Plastic Surface Treatment
Plastics can be challenging substrates for adhesion due to their low surface energy and, often, the presence of mold-release agents. Proper surface preparation is essential to ensure strong adhesion of coatings and adhesives.
– Abrasive Cleaning
Using abrasive materials, such as sandpaper or abrasive pads, can help promote adhesion by roughening the plastic surface, increasing its surface area, and providing mechanical interlocking for coatings.
– Solvent Cleaning
Cleaning plastic substrates with solvents, such as isopropanol, acetone, or specialized degreasing agents, can effectively remove contaminants, including mold-release agents. Using a solvent compatible with the plastic substrate is crucial to avoid damaging or deforming the material.
– Corona and Plasma Treatment
Corona and plasma treatment techniques use high-energy gas discharges to chemically modify the plastic surface by increasing its surface energy, and promoting adhesion.
In corona treatment, an electrical discharge from a high-voltage electrode ionizes the surrounding air, creating an energetic plasma. In contrast, plasma treatment uses a controlled, low-pressure environment to generate plasma.
• Concrete Surface Preparation
Proper surface preparation is crucial when applying coatings, overlays, or adhesives to concrete substrates. The proper preparation ensures the removal of contaminants while creating a suitable surface profile.
– Mechanical Methods
Mechanical methods for concrete surface preparation include shot blasting, scarifying, and diamond grinding. Shot blasting uses steel shot propelled at high velocities to remove the top layer of concrete, creating an ideal surface profile for adhesion.
Scarifying involves using rotating cutters to remove the top layer of concrete, while diamond grinding uses a diamond-tipped abrasive disc to grind the concrete surface, creating a smooth profile.
– Chemical Methods
Chemical techniques for concrete surface preparation involve the use of acidic or alkaline substances to remove contaminants and etch the substrate. For example, muriatic acid or phosphoric acid can be used to etch concrete surfaces, providing a rougher texture to improve adhesion.
• Wood Surface Preparation
When preparing wood surfaces for coatings, adhesives, and other applications, it is crucial to consider the characteristics of the specific wood species, such as grain structure and moisture content.
– Sanding
Sanding is the most commonly used method for preparing wood surfaces. Sandpaper or sanding pads with the appropriate grit must be used to ensure a smooth surface free of scratches, which can impact coating performance. A progression of finer grits creates the desired surface finish.
– Cleaning
Before applying coatings or adhesives, it is essential to remove any dust or contaminants from the wood surface. Vacuuming, compressed air, or tack cloth can be used to remove dust, while solvents can be used to degrease oily wood.
In conclusion, proper surface preparation is a critical component of achieving strong adhesion and optimal performance for coatings, adhesives, and other applications.
Understanding the techniques involved with preparing various substrates, from metal and plastic to concrete and wood, enables successful application processes and enhanced performance of the applied materials.
Consequences of Skipping Surface Preparation Before Painting
Proper surface preparation is a critical step in the painting process. Failing to prepare a surface before painting can lead to a variety of issues, including poor adhesion, uneven surfaces, and premature paint failure.
• Problems Caused by Skipping Surface Preparation
– Poor Adhesion of Paint
When the paint is applied to a surface without proper preparation, it can result in poor adhesion between the paint and the surface. This can cause the paint to peel, chip, or flake off in a short amount of time.
According to a study from Auburn University, the adhesion of paint can be significantly affected by the cleanliness of the surface being painted. By skipping crucial surface preparation steps, you risk poor paint adhesion and an overall poor-quality paint job.
– Uneven Surfaces
Failing to properly prepare a surface before painting can result in an uneven surface. Dirt, dust, grease, and other contaminants left on the surface can cause the paint to appear patchy or uneven.
Additionally, any existing imperfections on the surface, such as cracks, holes, or dents, will still be visible if not addressed during the preparation stage.
– Premature Paint Failure
One of the most significant issues that can result from not preparing a surface before painting is premature paint failure. This can occur in the form of peeling, blistering, or cracking paint, which not only looks unattractive but also exposes the underlying surface to potential damage.
• Steps to Take for Proper Surface Preparation
– Cleaning the Surface
Thoroughly cleaning the surface before painting is essential to ensure proper paint adhesion. This includes removing any dirt, dust, and debris that may have accumulated on the surface. Use a gentle cleaning solution and a soft cloth or sponge to avoid damaging the surface underneath.
For particularly dirty surfaces, a pressure washer can be a helpful tool for removing built-up grime.
– Removing Old, Loose Paint
Before applying new paint, it’s important to remove any loose, peeling, or flaking paint from the surface you plan to paint. This can be done using a paint scraper or a wire brush to gently lift the old paint away from the surface.
Be sure not to apply too much pressure, as this can cause damage to the underlying material.
– Repairing Surface Imperfections
Pocket holes, cracks, dents, and other imperfections on the surface should be addressed during the preparation stage. These imperfections can be filled using a suitable filler, such as wood filler, spackle, or even a mixture of fine sand and paintable caulk.
Once the filler has dried, sand the area smooth to create an even surface.
– Sanding the Surface
Sanding the surface before painting can not only help smooth out imperfections but also promote proper paint adhesion. Depending on the type of surface, use sandpaper with an appropriate grit (roughness) to ensure a smooth finish.
After sanding, be sure to remove any dust created during the process by wiping the surface with a tack cloth or lightly damp rag.
– Priming the Surface
Applying a primer before painting can significantly improve the adhesion and coverage of the paint. A primer can also help seal porous surfaces, such as wood or concrete, which can help prevent the absorption of paint and result in a more uniform finish.
Choose a primer appropriate for the type of surface being painted and follow the manufacturer’s instructions for proper application.
• Conclusion
In conclusion, without proper surface preparation, your paint job can turn out uneven, have poor adhesion, and experience premature failure. Not only can this lead to an unattractive finish, but it can also lead to increased costs due to repairs and repainting.
By taking the time to properly prepare a surface before painting, you can ensure a long-lasting, professional-looking result.