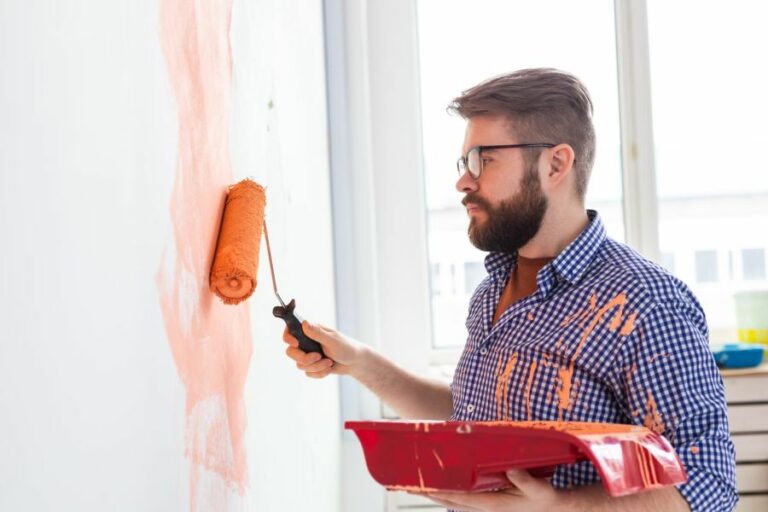
Best Surface Prep Methods For Painting In And Out
Are you ready to give your home a fresh new look, both inside and out? Look no further because we’ve got you covered with the best surface prep methods for painting. Achieving a flawless paint job begins with diligent surface preparation, and by following our tried and tested techniques, you’ll soon be on your way to a stunning makeover that will leave your neighbors green with envy.
Best surface prep methods for painting in & out:
The best surface preparation methods for indoor and outdoor painting include thorough cleaning, repairing damaged surfaces, sanding, and priming. Key steps involve removing dust, mold, and mildew, filling holes and cracks, sanding surfaces with appropriate sandpaper grit, and applying a suitable primer for enhanced adhesion, durability, and an even finish.

Discover the top surface preparation techniques for both interior and exterior painting projects! Learn how to properly clean, repair, and prime surfaces, ensuring a flawless paint job every time. Read on to find out about essential tools and expert tips you won’t want to miss.
Contents
- 1 Top Surface Preparation Techniques for Indoor & Outdoor Painting
- 2 Most Popular Surface Preparation Methods Explained
- 3 Effective Ways to Prepare Surfaces for a Paint Job
- 4 Key Techniques for Surface Preparation in Painting
- 5 Leading Method for Steel Surface Preparation in Painting
Top Surface Preparation Techniques for Indoor & Outdoor Painting
• Introduction
A successful paint job relies heavily on proper surface preparation before applying paint. The result heavily depends on the care taken during this crucial step. This comprehensive guide will provide you with the best surface prep methods for painting both interior and exterior surfaces.
• Cleaning the Surface
– Interior Cleaning
When it comes to preparing interior surfaces, a thorough cleaning is essential. This helps to ensure that the paint adheres well and provides a smooth finish.
- Dust Removal: Use a vacuum cleaner, a dry cloth, or a duster to remove dust and cobwebs from the surface to be painted. This is particularly important for walls and ceilings.
- Washing: Mix a mild detergent with warm water, and use a cloth or sponge to wash the surface. This helps remove dirt, grease, and grime that may have accumulated over time. For heavily soiled areas, a degreaser may be necessary. Rinse the surface with clean water and allow it to dry completely before proceeding.
- Mold and Mildew Removal: If you notice any mold or mildew on the surface, use a commercial mold-killing product or a solution of 1 part bleach to 3 parts water. Apply the solution to the affected areas and scrub with a brush, then rinse thoroughly and allow to dry. It is essential to wear protective gear like gloves, goggles, and a mask while dealing with mold and mildew.
– Exterior Cleaning
Thoroughly cleaning the exterior of your home is crucial for proper paint adherence.
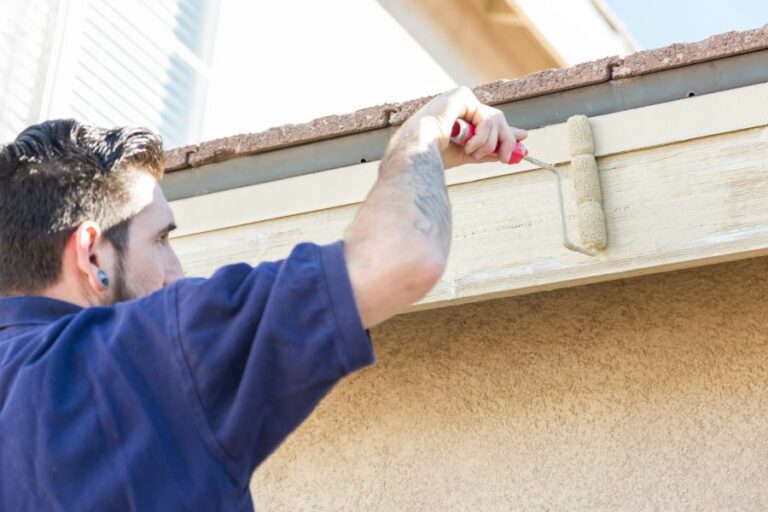
- Pressure Washing: Using a pressure washer, thoroughly wash the exterior of your home. This removes dirt, mildew, and loose paint, providing an ideal surface for the new paint to adhere to.
- Hand Washing: In some cases, hand washing with a detergent solution may be necessary to remove stubborn dirt, grime, or mildew.
- Mold and Mildew Treatment: As mentioned in the interior cleaning section, use a mold-killing solution to treat any areas affected by mold and mildew.
• Repairing Damaged Surfaces
– Interior Repairs
Before painting an interior surface, you must address any damage to ensure a flawless end result.
- Filling Holes and Cracks: Use a pre-mixed patching compound or lightweight spackle to fill any holes or cracks in the surface. Apply the compound using a putty knife, and then allow it to dry according to the manufacturer’s instructions. Once dry, sand the patched areas smooth and wipe away any dust with a damp cloth.
- Repairing Textured Surfaces: If you have textured walls or ceilings, use a textured patching compound to repair any damaged areas. Follow the manufacturer’s instructions for application and drying times.
– Exterior Repairs
Similar to interior surfaces, exterior surfaces must be repaired before painting.
- Filling Holes and Cracks: Use an exterior-grade patching compound to fill any holes or cracks in the siding or stucco. Apply using a putty knife and allow it to dry according to the manufacturer’s instructions. Once dry, sand the patched areas smooth.
- Replacing Damaged Siding: If any siding is damaged beyond repair, remove and replace it before continuing with your painting project.
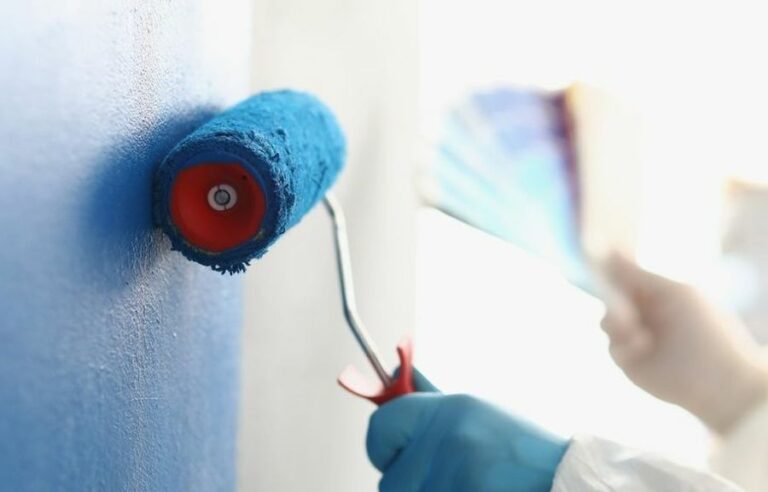
• Sanding and Priming
– Sanding
Sanding is an essential step in surface preparation as it removes any remaining loose paint, smoothes rough spots, and helps the new paint adhere to the surface.
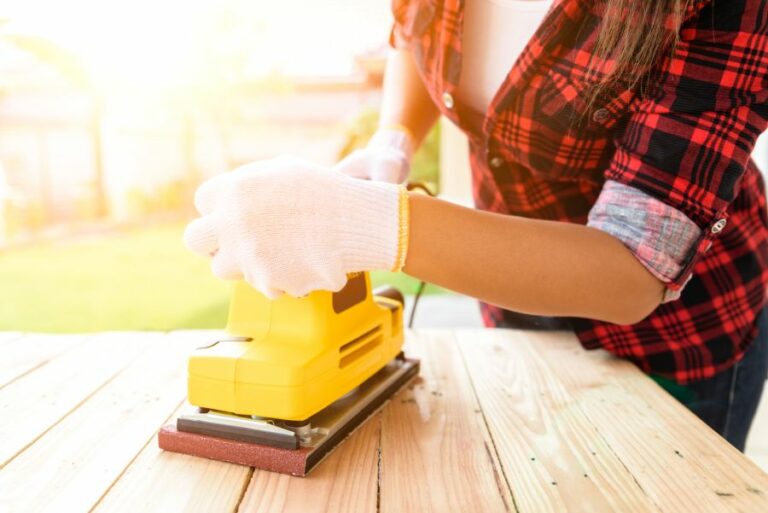
- Interior Sanding: Using fine-grit sandpaper (around 120 to 150 grit), sand the surface to be painted. Pay particular attention to any areas that were patched or repaired. Wipe away any dust with a damp cloth.
- Exterior Sanding: Use medium-grit sandpaper (around 80 to 100 grit) for exterior surfaces. After sanding, remove any dust or debris with a clean, dry cloth.
– Priming
Applying a primer before painting enhances the paint’s ability to adhere, increases durability, and contributes to an even finish.
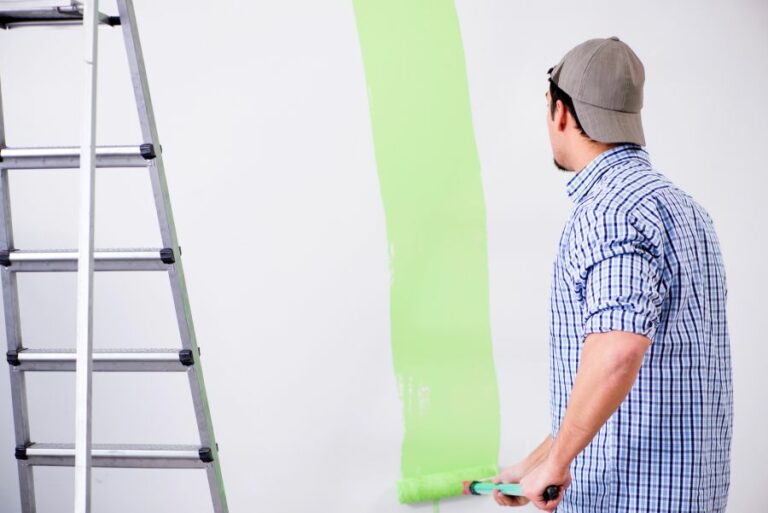
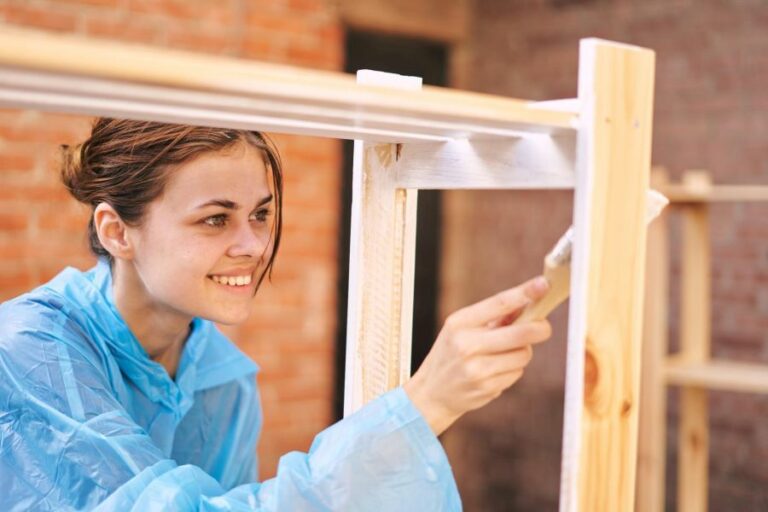
- Interior Priming: For interior surfaces, use a high-quality, latex-based primer. Apply with a brush or roller, and allow it to dry according to the manufacturer’s instructions.
- Exterior Priming: I recommend using an acrylic-based primer for exterior surfaces. This type of primer provides excellent durability, mildew resistance, and adhesion. Apply using a brush or roller, and allow it to dry according to the manufacturer’s instructions.
• Final Tips for Painting Success
- Choose High-Quality Paint: Investing in high-quality paint pays off with a smoother, more durable finish. This is especially true for exterior painting projects, as good-quality paint can better withstand weathering and fading.
- Don’t Rush: Proper surface preparation takes time and patience, but the results are worth the effort. Allow each step to dry completely before moving on to the next, and always follow the manufacturer’s instructions.
- Protect Surroundings: Cover the floor and any furniture near the painting area to protect them from spills and splatters. Use painter’s tape to protect trim, ceilings, and doors.
By following these best surface prep methods for painting in and out, you can ensure a professional-looking result that lasts for years to come.
| Surface Prep MethodDescriptionIndoor/Outdoor | ||
|---|---|---|
| Cleaning | Remove dirt, dust, and grime with a mild detergent solution and a soft brush or sponge. Rinse with clean water and let dry. | Both |
| Sanding | Smooth rough surfaces and remove old paint by sanding with a coarse-grit sandpaper, followed by a fine-grit sandpaper. Wipe away sanding dust with a damp cloth. | Both |
| Scraping | Use a scraper or putty knife to remove loose or peeling paint from the surface. Be careful not to gouge the surface. | Both |
| Priming | Apply a primer to seal and prepare surfaces for painting, improve paint adhesion, and create a uniform finish. | Both |
| Pressure Washing | Use a pressure washer to remove dirt, loose paint, and mildew from exterior surfaces. Be careful not to damage the surface with too much pressure. | Outdoor |
| Masking | Protect adjacent surfaces from accidental paint splatters and drips by covering them with masking tape and paper or plastic sheeting. | Both |
| Caulking | Fill gaps, cracks, and seams with paintable caulk to create a smooth surface and prevent drafts and moisture infiltration. | Both |
| Repairing Damaged Surfaces | Fix damaged areas like holes, dents, or cracks with filler, putty or patching compound. Allow to dry and sand smooth. | Both |
Most Popular Surface Preparation Methods Explained
Surface preparation is a crucial step in many industrial processes, as well as in commercial and residential applications. Proper surface preparation ensures better performance, longer-lasting results, and overall higher-quality project outcomes.
Out of the numerous surface preparation techniques available, abrasive blasting is the most common and effective method used in various industries.
• Understanding Abrasive Blasting
Abrasive blasting, also known as sandblasting, is a process that involves forcibly propelling a stream of abrasive material, typically against a surface, under high pressure.
The primary function of abrasive blasting is to remove contaminants and roughen or smooth a surface in preparation for coatings, paint, or other applications.
This mechanical cleaning method is employed in various industries such as construction, automotive, aerospace, manufacturing, and shipbuilding, among others.
– Benefits of Abrasive Blasting
Abrasive blasting offers several benefits that make it the most widely utilized surface preparation technique:
- Versatility: It can be used on a wide range of surfaces, such as concrete, metal, wood, and glass, making it suitable for various applications across different industries.
- Efficiency: Abrasive blasting is a fast and effective method of removing contaminants, including rust, paint, dirt, and grease, allowing for quicker project completion.
- Precision: The abrasive material used can be adjusted to control the degree of roughness or smoothness desired for the surface.
- Cost-effective: Abrasive blasting requires less time and labor compared to other surface preparation techniques, making it a more cost-efficient option.
– Common Types of Abrasive Blasting
There are several types of abrasive blasting, each with its unique characteristics and applications. Understanding the different types is essential to determine the most appropriate method based on the specific needs of a project:
- Dry abrasive blasting: This is the most common method, where abrasive media is propelled against the surface under high pressure using air.
- Wet abrasive blasting: This method involves using water to dampen the abrasive media, reducing dust and helping to prevent hazardous particles from being released into the air.
- Vacuum blasting: Also known as dustless blasting or closed-loop blasting, this technique utilizes a vacuum to capture the abrasive media and any contaminants removed during the process, significantly reducing dust and debris.
- Sponge blasting: In this method, sponge-like abrasive media is used to create a more gentle and less aggressive impact on delicate surfaces.
– Choosing the Right Abrasive Material
The selection of the appropriate abrasive material is a critical factor in achieving successful results in the abrasive blasting process. Some of the commonly used abrasive materials include:
- Aluminum oxide: It is a versatile and reusable abrasive ideal for the aggressive removal of contaminants and surface etching.
- Silicon carbide: Known for its hardness and durability, it is suitable for use on tough materials such as titanium, stainless steel, and other hard metals.
- Glass beads: These provide a gentler impact on the surface, resulting in a smooth and shiny finish.
- Garnet: A natural abrasive made from crushed rock, garnet is an environmentally friendly option suitable for various applications.
• Key Considerations in Abrasive Blasting
To ensure optimal results in the abrasive blasting process, it is crucial for technicians to consider the following factors:
- Surface assessment: Identifying the material and condition of the surface is crucial in determining the appropriate blasting technique and abrasive to be used. Conducting a thorough inspection will also help identify if any pre-treatment or post-treatment is needed.
- Safety precautions: Proper protective gear, such as goggles, gloves, and respirators, should be used to ensure the safety of technicians during the blasting process. Additionally, it is important to follow industry-specific guidelines and regulations to prevent accidents and health hazards.
- Environmental concerns: Utilizing eco-friendly abrasive materials and proper waste disposal methods can significantly minimize the environmental impact of the abrasive blasting process.
- Equipment maintenance: Regular inspections, maintenance, and proper storage of the abrasive blasting equipment will ensure optimal performance and extend the life of the machinery.
• Expert Recommendations
Based on years of experience, I recommend the following best practices to ensure successful abrasive blasting projects:
- Always select the right abrasive material and technique based on the specific requirements and desired results of the project.
- Prioritize safety and environmental considerations when planning and executing an abrasive blasting project.
- Regularly update and maintain the equipment to avoid any disruptions during the blasting process.
- Consult with experienced professionals and reputable abrasive blasting providers to obtain expert advice and ensure optimal results.
For a more in-depth understanding of abrasive blasting techniques, I recommend visiting OSHA, a valuable resource offering extensive information on safety regulations, best practices, and additional resources related to abrasive blasting.
Effective Ways to Prepare Surfaces for a Paint Job
Proper surface preparation is critical to the success and longevity of any painting project. Without it, the paint may not adhere properly, resulting in peeling, flaking, or other issues.
• Types of Surfaces
There are several different types of surfaces that require unique preparation techniques. These include:
- Wood
- Drywall
- Concrete
- Metal
Each type of surface has particular challenges and should be addressed accordingly to ensure the best possible outcome.
• Preparing Wood Surfaces for Painting
– Cleaning
Start by thoroughly cleaning the surface to remove dirt, dust, and grime. Use a mild detergent mixed with water and a soft brush, cloth, or sponge. After cleaning, rinse the surface with clean water and allow it to dry completely.
– Sanding
Sanding the wood removes imperfections and creates a smooth surface to which the paint can adhere. Use medium-grit sandpaper (120 to 150 grit) and sand in the direction of the wood grain. After sanding, wipe the surface with a tack cloth or a damp cloth to remove any remaining dust.
– Priming
Priming is essential for sealing the wood and providing an even base for the paint. Choose a high-quality primer and follow the manufacturer’s instructions for application. Once the primer has dried, lightly sand the surface again with fine-grit sandpaper (220 grit) to achieve a smooth finish.
• Preparing Drywall Surfaces for Painting
– Repairing
Inspect the drywall for any damage that may need repair, such as dents, holes, or cracks. Use joint compound or spackling to fill in any imperfections and sand smooth with medium-grit sandpaper once it has dried.
– Cleaning
Clean the surface with a damp cloth or sponge to remove any dust or dirt. Allow the surface to dry completely before proceeding.
– Priming
Applying a primer is crucial for new or repaired drywall. Select a high-quality primer that is specifically designed for drywall surfaces. Follow the manufacturer’s instructions for proper application, and let it dry according to the recommended time.
• Preparing Concrete Surfaces for Painting
– Cleaning
Concrete surfaces must be free of dirt, oil, grease, and other contaminants before painting. Use a concrete cleaner or degreaser to remove any substances, and rinse the surface with clean water. Allow it to dry completely.
– Removing Old Paint or Coatings
If the concrete surface has any existing paint or coatings, these must be removed. A paint stripper or concrete etcher can be used for this purpose. Follow the instructions on the product label and ensure proper ventilation and safety precautions during the process.
– Patching and Filling
Inspect the concrete surface for cracks or holes, and use a concrete patch or filler to repair them. Allow the patch or filler to dry completely and sand the surface smooth.
– Priming
Choose a high-quality concrete primer to seal the surface and provide a consistent base for the paint. Apply according to the manufacturer’s instructions and allow the primer to dry completely before painting.
• Preparing Metal Surfaces for Painting
– Removing Rust and Corrosion
Inspect the metal surface for signs of rust and corrosion. Use a wire brush or sandpaper to remove any affected areas, ensuring the surface is clean and smooth.
– Cleaning
Dirt, oil, and grease can interfere with paint adhesion on metal surfaces. Use a degreaser or all-purpose cleaner to remove any contaminants. Rinse the surface with clean water and allow it to dry thoroughly.
– Sanding
Lightly sand the metal surface with medium-grit sandpaper (120 to 150 grit) to create a smooth and even surface. Wipe the surface with a damp cloth or tack cloth, removing any remaining dust or debris.
– Priming
Select a rust-resistant primer specifically designed for metal surfaces. Follow the manufacturer’s instructions for application, and allow the primer to dry completely before painting.
In conclusion, proper surface preparation is essential for a successful, long-lasting painting project. By following these steps and ensuring the appropriate techniques are used for each type of surface, you can be confident that your paint job will look great and stand the test of time.
Step | Description |
|---|---|
1 | Clean the surface: Remove all dirt, dust, and grime from the surface using a mild soap and water solution. Rinse thoroughly and allow the surface to dry completely. |
2 | Repair any damage: Fill any cracks, holes, or dents with a suitable filler or spackling compound. Allow the filler to dry and then sand the area smooth with fine-grit sandpaper. |
3 | Sand the surface: Lightly sand the entire surface with a fine-grit sandpaper to ensure proper paint adhesion. Be sure to sand in the direction of the wood grain (if applicable) and remove any sanding dust with a tack cloth or damp rag. |
4 | Prime the surface: Apply a high-quality primer to the surface, using a brush or roller, to seal the surface and provide a consistent base for the paint. Allow the primer to dry according to the manufacturer’s instructions. |
5 | Mask off any areas that should not be painted: Use painter’s tape to protect any adjacent surfaces, such as baseboards, trim, and hardware, that should not be painted. |
Key Techniques for Surface Preparation in Painting
Surface preparation is a critical step in ensuring the success of any painting, coating, or bonding process. Proper surface preparation ensures optimal adhesion, durability, and overall performance of the applied material.
• The Importance of Surface Preparation
The main goal of surface preparation is to achieve a clean and suitably rough surface, free of contaminants, that allows for optimal adhesion of the subsequent coating or bonding material. Contaminants can include dirt, dust, oils, grease, rust, and old paint.
The presence of these contaminants can lead to reduced adhesion, premature failure of the applied material, and a poor-quality finish.
• Abrasive Blasting: A Common Surface Preparation Technique
Abrasive blasting is a common technique used to clean and roughen the surface of various materials, including metals, concrete, and wood.
This process involves forcibly propelling a stream of abrasive material (such as sand, grit, or steel shot) against the surface at high speeds, effectively removing contaminants and creating a rough surface texture.
– Sandblasting
Sandblasting, a form of abrasive blasting, uses sand as the abrasive material. It is often employed to remove rust, old paint, and other surface contaminants, as well as to create a desired surface profile.
Sandblasting is typically used on metal surfaces but can also be used on concrete, masonry, and wood.
– Shot Blasting
Shot blasting involves propelling small, spherical steel shots against the surface, resulting in a clean and uniformly rough surface. This technique is particularly effective for removing rust and scale from metal surfaces, as well as preparing concrete surfaces for coatings and treatments.
• Hand and Power Tool Cleaning
When abrasive blasting is not feasible or necessary, hand and power tools can be used to clean and prepare surfaces. Common hand and power tools for surface preparation include wire brushes, scrapers, sandpaper, and sanding discs.
– Wire Brushes and Scrapers
Wire brushes and scrapers are useful for removing loose paint, rust, and other contaminants from a surface. These tools are particularly helpful for small or localized areas where abrasive blasting may not be practical.
– Sanding
Sanding can be performed by hand or with power tools, such as orbital and belt sanders. Sanding is primarily used to smooth and level wood surfaces but can also be used to remove surface contaminants and create a desired surface profile on metal or other materials.
• Chemical Cleaning
Chemical cleaning involves the use of solvents or other chemicals to dissolve and remove surface contaminants. This method is particularly effective for removing grease, oil, or other organic contaminants that cannot be easily removed through abrasive blasting or mechanical cleaning methods.
– Degreasing
Degreasing typically involves the use of solvents, such as acetone or mineral spirits, to dissolve and remove grease, oil, and other organic contaminants from the surface.
It is essential to thoroughly rinse and dry the surface after degreasing to ensure that all contaminants have been removed and no residue is left behind.
– Acid Etching
Acid etching is a process used primarily on concrete surfaces to create a rough texture and improve the adhesion of coatings and treatments.
This technique involves applying a diluted acid solution (such as muriatic acid) to the surface, allowing it to react with the concrete, and then rinsing away the resulting residue. The process can also be used on some metal surfaces to remove rust and corrosion.
• Ultrasonic Cleaning
Ultrasonic cleaning utilizes high-frequency sound waves to create and collapse microscopic bubbles in a cleaning solution, effectively removing contaminants from the surface.
This method is particularly useful for cleaning small or intricate parts, such as those used in precision instruments or electronics.
• Surface Preparation Standards
It is crucial to follow these standards to ensure optimal adhesion, performance, and durability of the applied materials.
In conclusion, surface preparation is a crucial step in ensuring the success of any coating, bonding, or other applications. By understanding and employing the appropriate surface preparation techniques, you can maximize the longevity, performance, and aesthetic quality of your project.
Technique | Description |
|---|---|
Cleaning | Removal of dirt, grease, and other contaminants from the surface (e.g., washing, degreasing, and solvent cleaning) |
Abrasive Blasting | High-pressure propulsion of abrasive particles to remove impurities, clean, and roughen the surface (e.g., sandblasting, grit blasting, and shot blasting) |
Grinding | Using power tools or abrasive pads to remove surface contaminants, and imperfections, and create a uniform surface (e.g., angle grinder and disc sander) |
Chemical Treatment | Application of chemicals to modify the surface properties, including cleaning, etching, and conversion coating (e.g., acid pickling, phosphating, and anodizing) |
Mechanical Treatment | Physical processes that modify the surface for better adhesion or corrosion resistance, including impact tools and brushing (e.g., needle gun, wire brush, and scraper) |
Leading Method for Steel Surface Preparation in Painting
Preparing steel surfaces for painting is a vital step in the protective coating process. The effectiveness of a paint or coating’s performance significantly depends on the quality of surface preparation.
We will discuss the number one common method employed to prepare steel surfaces for painting: abrasive blasting.
• Abrasive Blasting: The Most Common Method for Surface Preparation
Abrasive blasting is a process that uses a high-velocity stream of abrasive particles to clean and profile metal surfaces. This method is widely recognized as the most effective means of preparing steel surfaces for painting.
– Why Choose Abrasive Blasting?
Abrasive blasting is chosen for several reasons:
- It effectively removes rust, mill scale, and other contaminants from the steel surface.
- It creates a surface with a roughness, or profile, that allows the paint or coating to adhere properly.
- By removing the contaminants and providing an anchor profile, abrasive blasting significantly extends the service life of the paint or coating system.
– Types of Abrasive Blasting
There are various types of abrasive blasting, including:
- Air (Conventional) Abrasive Blasting: Involves propelling abrasive particles using compressed air into a hose and through a nozzle directed at the steel surface.
- Water Abrasive Blasting: Also known as wet blasting, this method uses water as a medium to propel the abrasives. This technique is useful when dealing with surfaces that are sensitive to dust production.
- Vacuum (Dustless) Abrasive Blasting: Involves the use of a vacuum system to suction abrasive particles and debris after they impact the steel surface, resulting in a cleaner working environment.
- Wheel (Centrifugal) Abrasive Blasting: Utilizes high-speed rotating wheels to propel abrasive particles at a high velocity. This method is typically used for automated conveyor systems for large-scale projects.
You can find more detailed information on abrasive blasting from SSPC, a non-profit organization dedicated to providing education and certification in the field of surface preparation and coatings application.
– Key Considerations When Choosing the Right Abrasive Method
When selecting the most suitable abrasive blasting method for your project, it’s important to consider the following factors:
- Type of Steel Surface: The condition of the steel surface will dictate the appropriate abrasive blasting method. For instance, if the surface is covered with a heavy layer of rust or mill scale, water abrasive blasting may be necessary.
- Surface Profile Requirements: Different coatings require varying surface profiles to ensure proper adhesion. Consult the coating manufacturer’s guidelines to determine the appropriate profile depth.
- Environmental Regulations: Certain abrasive materials may contain hazardous substances that can negatively impact the environment. Always adhere to local regulations when selecting and disposing of abrasive materials.
- Budget and Time Constraints: Consider the cost and time associated with each abrasive blasting method. Vacuum abrasive blasting may be more expensive than conventional methods, but may significantly reduce the cleanup time.
– Precautions Before Abrasive Blasting
Before you begin abrasive blasting, ensure that you have taken the necessary safety precautions. These include:
- Personal Protective Equipment (PPE): Wear appropriate PPE, such as a certified air-fed blasting helmet, ear protection, gloves, and a suitable blast suit.
- Proper Ventilation: Ensure that the workspace is well-ventilated and adheres to local health and safety regulations.
- Equipment Inspection: Regularly inspect your blasting equipment, including hoses, nozzles, and air compressors, for leaks, damage, or wear.
• Conclusion
When it comes to preparing steel surfaces for painting, abrasive blasting is the number one common method employed. This technique effectively removes contaminants and creates an anchor profile, ensuring proper adhesion and enhancing the protective coating’s service life.
Always consider factors such as the type of steel surface, surface profile, environmental regulations, and budget when selecting the most appropriate abrasive blasting method for your project. And finally, always prioritize workplace safety by using appropriate PPE and ensuring proper ventilation.