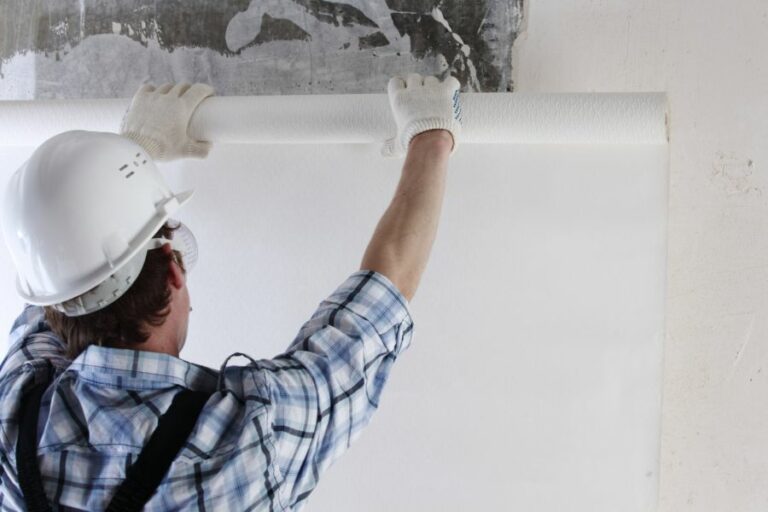
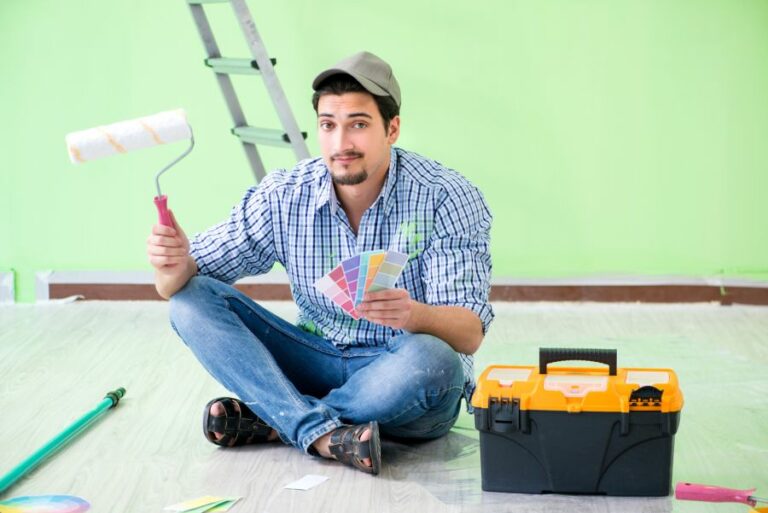
Expert Advice On Painting Prep Techniques
The importance of proper preparation cannot be overstated when it comes to achieving a flawless paint job. Fortunately, you’ve come to the right place, as we are here to share expert advice on painting prep techniques that will elevate your results. With years of experience, our tips and tricks will help you achieve a finish that looks professionally done.
Expert advice on painting prep techniques:
Proper painting preparation involves starting with a clean surface, choosing the right primer, filling gaps and cracks, sanding, taping off areas, protecting floors and furniture, and organizing tools and supplies. Following these expert tips ensures a high-quality, long-lasting paint job with a professional finish.

Unlock the secret to a flawless paint job with our expert advice on painting prep techniques. Dive into tips and tricks that make all the difference in achieving professional results. There’s more to discover, so keep reading and transform your painting skills today!
Contents
- 1 Top Painting Preparation Tips from Industry Experts
- 2 Unveiling the Most Effective Pre-Painting Strategies
- 3 Secrets to Wall Preparation Used by Pro Painters
- 4 Essential Guide to Pre-Painting Procedures
- 5 Importance of Pre-Paint Wall Cleaning: A Pro’s Perspective
Top Painting Preparation Tips from Industry Experts
• Importance of Proper Painting Preparation
A successful paint job is often dependent on the preparation work put in beforehand. Taking the time to properly prepare surfaces ensures a long-lasting and high-quality finish.
• Start with a Clean Surface
Before you even think about applying any paint or primer, it’s crucial to start with a clean canvas. Dust, dirt, and grime can interfere with paint adhesion, leading to an uneven and unattractive finish.
Start by wiping down the surfaces with a damp cloth or sponge to remove any dust or debris. For stubborn dirt or mildew, a solution of mild detergent and water can be used.
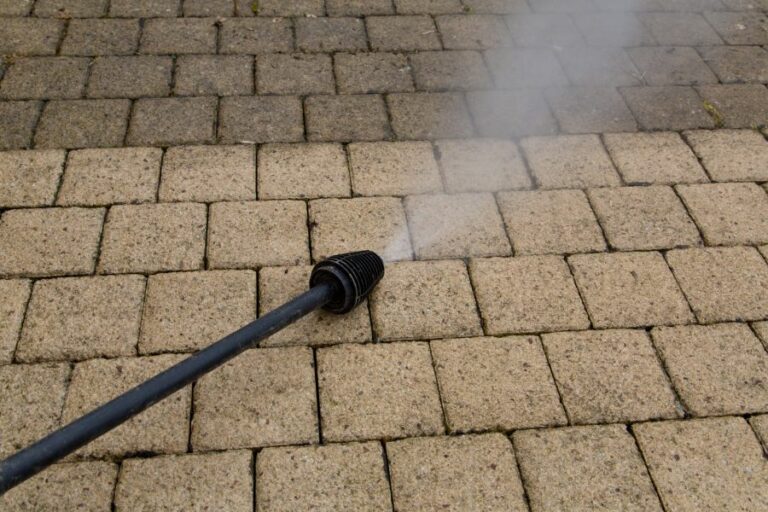
For exterior surfaces, consider using a pressure washer to thoroughly clean the area. This Old House provides useful instructions for properly cleaning exterior surfaces.
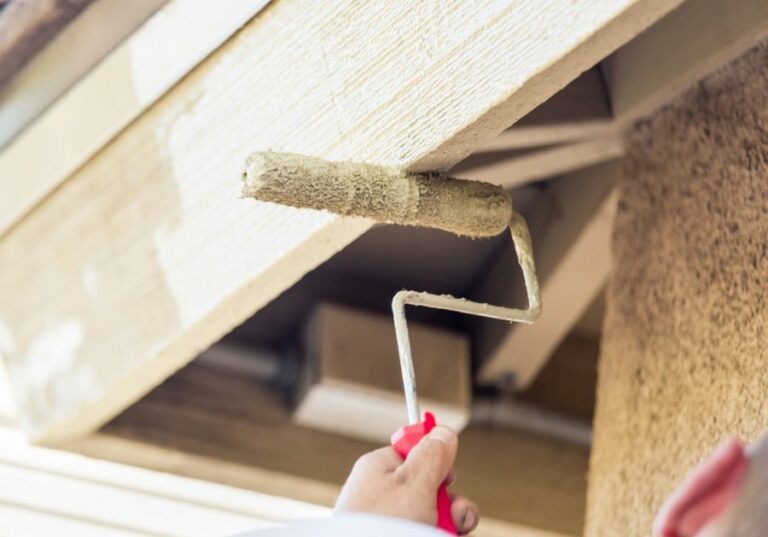
• Choose the Right Primer
Not all primers are created equal, and choosing the right one for your specific project is essential for achieving the best results.
The primary function of a primer is to create a smooth, even surface for the paint to adhere to, but it can also have other benefits, such as hiding stains, blocking odors, and preventing paint bleeding. Here are some common primer types:
- General-purpose primer: Suitable for most interior and exterior surfaces, providing an even base for paint.
- Stain-blocking primer: Ideal for covering stains or tannins in the wood, preventing them from bleeding through the paint.
- Mold and mildew-resistant primer: Recommended for areas prone to moisture, such as bathrooms and kitchens.
- Bonding primer: Specifically formulated to adhere to glossy or hard-to-paint surfaces like tile or laminate.
• Fill Gaps and Cracks
Filling gaps and cracks in the surface will create a smooth, even finish and prevent the unwanted texture from showing through the paint. Use a high-quality filler or caulk for this step, ensuring that it is appropriate for the material being painted (wood, drywall, etc.).
For small cracks, simply apply the filler using a putty knife and smooth off any excess. For larger gaps, you may need to use a caulking gun for more precise application. Allow the filler to dry completely before moving on to the next step.
• Sand the Surface
Sanding is a crucial step in the painting prep process, as it helps to create a smooth, even surface for the paint to adhere to while also promoting better adhesion by roughing up the surface slightly. For best results, use quality sandpaper in the appropriate grit for your surface.
- Fine-grit sandpaper (150-180): Ideal for lightly sanding walls and previously painted surfaces.
- Medium-grit sandpaper (80-120): Suitable for rough surfaces and removing old paint or varnish.
- Coarse-grit sandpaper (40-60): Best for extremely rough surfaces but not typically necessary for average paint prep jobs.
When sanding, always move in a circular motion, applying even pressure and ensuring all surfaces are thoroughly sanded. Be sure to wear appropriate safety gear, such as a dust mask and goggles, to protect yourself from dust and debris.
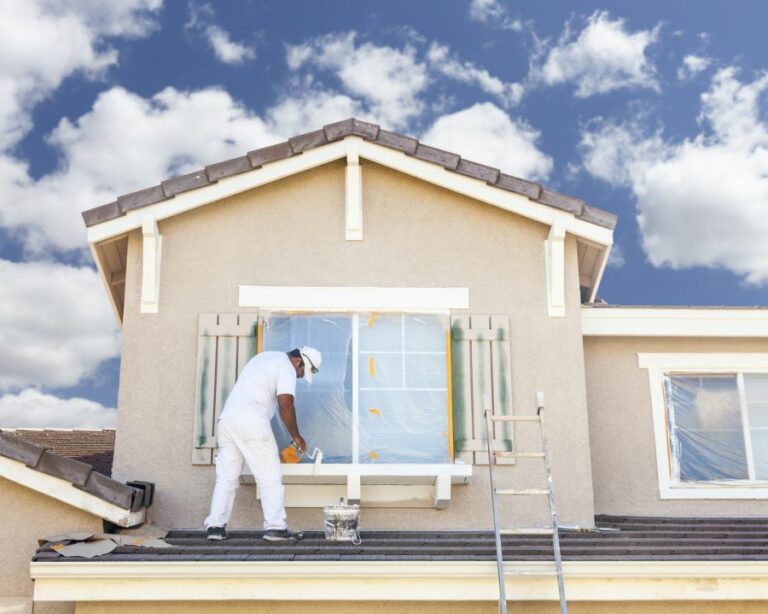
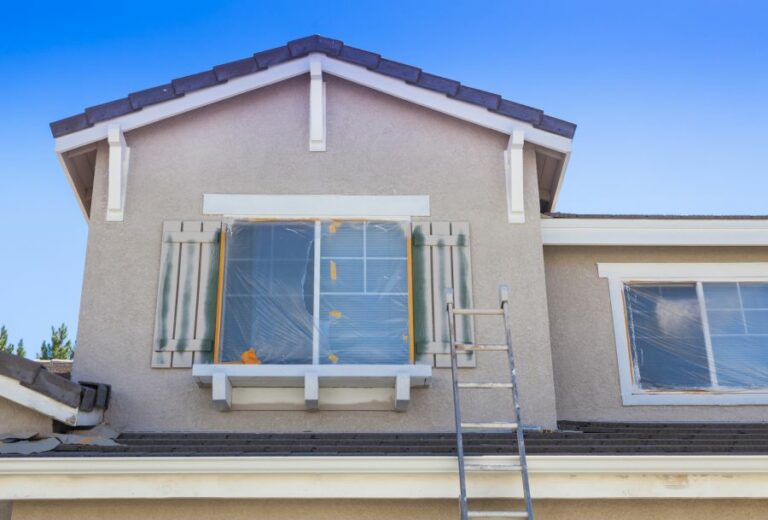
• Taping Off Areas
Protect adjacent surfaces from paint splatter and drips by using painter’s tape. This special tape is designed to be easily removed without damaging surfaces or leaving a sticky residue behind.
Pay particular attention to light switches, electrical outlets, window and door trim, baseboards, and any other areas you do not want to be painted.
Make sure the tape is applied securely and evenly to ensure crisp, clean lines when the paint is applied.
• Protect Floors and Furniture
Before you begin painting, it’s important to protect your floors and any furniture in the room. Lay down drop cloths, plastic sheeting, or newspaper to cover the floor, making sure all areas are adequately covered to prevent any paint drips or spills from damaging your floors.
If you’re painting indoors, remove any furniture from the room, or cover it with plastic sheeting.
• Keep Tools and Supplies Organized
Having your tools and painting supplies organized and readily available can make the painting process much smoother. Keep brushes, rollers, paint trays, and other supplies in a designated area, so they are easy to find and access when needed.
Keeping your work area clean and clutter-free will also help you to maintain focus and prevent accidents.
• In Conclusion
Taking the time to properly prepare surfaces for painting is a crucial step in achieving a high-quality, professional finish. By following the expert advice provided in this article, you can ensure that your paint job looks fantastic and lasts for years to come.
Take your time, be thorough, and enjoy the transformation that a fresh coat of paint can bring to your space.
Unveiling the Most Effective Pre-Painting Strategies
Proper preparation is the key to achieving a high-quality paint job. It ensures that the paint adheres well to the surface, maximizing its durability and visual appeal.
• Cleaning the Surface
A clean surface is essential for proper paint adhesion. Begin by removing any dirt, dust, or debris from the surface as recommended by the United States Environmental Protection Agency. Depending on the condition of the surface, you may need to use a combination of methods, such as:
- Dusting: Use a soft brush, cloth, or duster to remove loose dust and dirt from the surface.
- Vacuuming: A vacuum with a brush attachment is helpful for removing dust from textured surfaces or hard-to-reach areas.
- Washing: A mild detergent solution or soap and water can be used for cleaning surfaces such as walls, ceilings, and trim. Be sure to rinse thoroughly with clean water and allow the surface to dry completely before painting.
- Degreasing: For surfaces contaminated with grease, oil, or other residues, use a degreaser specifically designed for the type of surface you are treating.
• Repairing Surface Defects
Once the surface is clean, inspect it for any defects, such as cracks, holes, or peeling paint. It’s crucial to address these issues before applying new paint to ensure a smooth, long-lasting finish.
- Cracks and Holes: Use a patching compound or filler to repair any cracks or holes in the surface. Feather the edges of the repair with a putty knife and allow the filler to dry as directed by the manufacturer’s instructions. Once dry, sand the area smoothly and remove any sanding dust.
- Peeling Paint: Remove any loose or peeling paint by scraping or using a wire brush. Sand the edges to create a smooth transition between the old and new paint layers.
- Caulking: Apply a paintable caulk to seal gaps and joints, such as around windows, doors, and trim. Follow the manufacturer’s instructions for the appropriate drying time before painting.
• Priming the Surface
Priming is essential for achieving an even and durable finish. It serves as a barrier between the surface and the topcoat, promoting proper adhesion and preventing any underlying stains or imperfections from showing through. Some surfaces where priming is particularly important include:
- New or Unpainted Surfaces: A primer is necessary for proper paint adhesion on new or unpainted surfaces, such as drywall or wood.
- Stained or Discolored Surfaces: To prevent stains or discoloration from bleeding through the paint, use a stain-blocking primer.
- Glossy Surfaces: Paint may not adhere well to glossy surfaces, so use a bonding primer to promote adhesion. This applies to surfaces like varnished wood, tile, or previously painted surfaces with a high sheen.
- Color Changes: If you’re making a significant color change, such as going from dark to light or vice versa, a tinted primer can help reduce the number of topcoats needed and improve coverage.
When selecting a primer, be sure to choose one that is compatible with the paint type you will be using (e.g., latex or oil-based) and the surface you are treating. Follow the manufacturer’s instructions for application and drying times.
• Protecting Painted and Unpainted Surfaces
Before painting, it’s important to protect any areas that you don’t want to be painted, as well as surfaces that have already been painted and need to be safeguarded during the painting process. Take the following steps:
- Masking: Use painter’s tape to mask off baseboards, trim, windows, doors, and any other areas where you want a clean edge or prevent paint from making contact.
- Drop Cloths and Plastic Sheeting: Use drop cloths or plastic sheeting to cover any furniture, flooring, or other items in the room to protect them from paint splatters and drips.
Additionally, painting a sample of the chosen paint color on a small, inconspicuous area of the surface and observing it in different lighting conditions can help you confirm that it’s the right choice for your project.
• Conclusion
Proper surface preparation is integral to a successful paint job. Taking the time to clean, repair, and prime the surface will ensure optimal paint adhesion and improve the durability and appearance of the finished project.
By following these best practices, you can set the stage for a beautiful and long-lasting paint job.
Step | Task |
|---|---|
1 | Clean the surface to be painted |
2 | Scrape off any loose or peeling paint |
3 | Sand the surface to smoothen it |
4 | Fill any holes, gaps, or cracks with filler |
5 | Apply primer to prepare the surface for painting |
6 | Tape off areas that should not be painted |
7 | Protect the floor and furniture with drop cloths |
Secrets to Wall Preparation Used by Pro Painters
Proper wall preparation is crucial for achieving a flawless paint job.
• Inspection and Repairing Damages
Before starting any paint project, professional painters always inspect the walls for damages. This includes looking for cracks, holes, and areas with peeling paint. After identifying these issues, they repair them accordingly.
– Fixing Cracks and Holes
Tools and Materials: Putty knife, joint compound, sandpaper
To fix small cracks and holes, professionals use a putty knife to apply joint compounds to the affected areas.
They smooth out the compound and let it dry as per manufacturer recommendations, which can be found on the U.S. government’s official website for energy efficiency. After the compound is dry, they sand the repaired areas to ensure a smooth finish.
– Dealing with Peeling Paint
Tools and Materials: Paint scraper, sandpaper
In the case of peeling paint, professionals use a paint scraper to remove the loose paint. They then sand the edges of the remaining paint to create a smooth transition between the painted and bare portions of the wall.
• Cleaning the Walls
Tools and Materials: Sponge, mild detergent, water
Removing dirt, dust, and grime is essential for ensuring the new paint properly adheres to the walls. Professional painters achieve this by cleaning the walls with a sponge, mild detergent, and water.
They make sure not to soak the walls, as excess water can damage the wall’s surface.
After scrubbing the walls, they rinse them with clean water and let them dry before moving on to the next step.
• Sanding Surfaces
Tools and Materials: Sandpaper or sanding block, dust mask, safety goggles
Sanding the walls helps create a smooth surface and promotes better paint adhesion. Professionals use fine-grit sandpaper or a sanding block to lightly sand the entire wall. While sanding, they wear a dust mask and safety goggles to protect themselves from dust particles.
After sanding, they use a clean cloth to remove any remaining dust from the walls.
• Applying Primer
Tools and Materials: Primer, paint roller, or brush
Applying a primer is essential for preparing the walls for the new paint, as it helps achieve an even and vibrant finish. It also provides a barrier between the wall surface and the paint, which prolongs the life of the paint job.
Professional painters select a primer based on the wall’s surface and the type of paint they plan to use. They apply the primer using a paint roller or brush, ensuring complete and even coverage. They then let the primer dry as per the manufacturer’s recommendations before moving on to painting.
• Masking and Protecting
Tools and Materials: Painter’s tape, drop cloths
To protect floors, furniture, and other surfaces from paint splatters, professional painters use drop cloths and painter’s tape. They cover floors and furniture with drop cloths and use painter’s tape to mask off baseboards, door frames, and windowsills.
By taking the necessary precautions, they avoid damage to other parts of the room and ensure a clean finish.
• Final Thoughts
Proper wall preparation is vital for a successful paint job. By following the steps outlined above, inspecting and repairing damages, cleaning the walls, sanding surfaces, applying primer, and masking and protecting, you can achieve professional-quality results in your own painting projects.
Essential Guide to Pre-Painting Procedures
When approaching a painting project, proper preparation is crucial for achieving professional-quality results. This article will discuss the essential painting prep steps and tips for your next project.
• Clean Surfaces Thoroughly
Before starting a painting job, it’s crucial to clean all surfaces that will be painted. Dirty surfaces can lead to paint adhesion problems, resulting in a subpar finish. Make sure to thoroughly wash walls, trim, and other surfaces with a sponge or cloth and a gentle cleaning solution.
For extensive dirt or grease buildup, consider using a degreaser to ensure a clean surface for painting. Additionally, don’t forget to remove any cobwebs, dust, or dirt from corners and crevices.
• Protect Adjacent Areas with Painters Tape
To achieve clean, crisp borders and avoid accidentally painting nearby surfaces, apply painter’s tape around trim, outlets, and other features. Invest in high-quality tape to ensure proper adhesion and clean lines.
Additionally, use drop cloths or plastic sheeting to cover furniture, floors, and other items that need protection from paint drips or splatter.
• Repair Surface Damage
Before applying paint, making necessary repairs to damaged surfaces is essential for a professional finish. Some common types of damage that may require attention include:
- Nail holes or small dents: Fill these with spackling paste or wood filler, then sand smooth once the filler dries
- Cracks or gaps: Use a flexible painter’s caulk to fill and seal these areas
- Damaged or loose wallpaper: Remove or repair any problematic sections before painting
- Peeling paint: Scrape off loose paint and sand the area until smooth
Always prime repaired areas before painting to ensure a consistent finish on the entire surface.
• Sand Surface for Proper Adhesion
For smooth, even paint application, it’s important to sand surfaces before painting. This process helps create a slightly rough surface that allows paint to adhere better.
Using fine-grit sandpaper, lightly sand walls, trim, and other surfaces that will be painted. Remember to wipe down surfaces with a dry cloth to remove sanding dust.
• Choose the Right Primer
Priming the surface is an important step to ensure proper paint adhesion and a uniform finish. Consider the following factors when choosing a primer:
- Surface type and material: Different materials, such as wood, metal, or drywall, may require specific primers.
- Paint color: For deep or bright colors, using a tinted primer can help reduce the number of paint coats needed.
- Stain-blocking ability: If your surface has stains or discolored spots, choose a primer with stain-blocking properties.
Remember to always allow the primer to fully dry, according to the manufacturer’s instructions, before applying paint.
• Select the Appropriate Tools
Using the right tools for your painting project can make a significant difference in the quality of the final result. Some common essential painting tools include:
- Brushes: Choose brushes with synthetic bristles for water-based paint and natural bristles for oil-based paint.
- Rollers: Select rollers with a nap thickness suitable for the texture of the surface you’re painting, thicker nap for rough surfaces, and thinner nap for smooth surfaces.
- Paint trays and liners: These will make it easier to clean up and switch between paint colors.
Taking time to select and invest in quality tools can contribute immensely to the success of your painting project.
• Follow Proper Painting Techniques
Using the correct painting technique can lead to a more professional-looking result. Some key painting techniques to follow include:
- For brush painting, dip only about one-third of the bristle length into the paint to avoid overloading the brush.
- Use long, smooth strokes when applying paint, and avoid excessive back-and-forth brushing, which can lead to streaks or brush marks.
- For roller painting, load the roller with paint and roll it firmly on the paint tray grid to distribute the paint evenly on the roller cover.
- Apply paint with the roller using a “W” or “M” pattern, then fill in any gaps without lifting the roller from the surface.
• Allow Proper Drying Time
Finally, be patient and allow the paint to dry completely between coats. Rushing this process can result in an uneven finish, drips, and other issues. Always follow the manufacturer’s recommended drying time for best results.
In conclusion, proper painting preparation is essential for achieving a professional and lasting finish. By following these steps and investing time in thorough preparation, you’ll be on your way to a successful painting project.
Preparation Type | Description |
|---|---|
Cleaning | Remove dirt, dust, and grime from the painting surface for better paint adhesion. |
Sanding | Smooth rough surfaces and remove old paint before applying new paint. |
Priming | Apply a primer to seal the surface and ensure better paint adhesion and coverage. |
Masking | Use painter’s tape to protect areas that should not be painted, such as trim and glass. |
Caulking | Fill gaps and cracks with a caulk to create a more uniform surface and prevent moisture intrusion. |
Importance of Pre-Paint Wall Cleaning: A Pro’s Perspective
Whether you’re a homeowner looking to refresh your living space or a professional painter assigned to a new painting project, it’s important to know whether it’s necessary to wash walls before applying a fresh coat of paint.
• The Importance of Washing Walls Before Painting
Washing walls before painting is a crucial step for several reasons:
– Improved Adhesion
Paint adheres better to clean surfaces, ensuring smooth and even coverage. Dirt and grime can affect the way paint sticks to the wall, causing it to chip, peel, or not bond properly with the surface.
– Better Appearance
Cleaning ensures a uniform, consistent finish. If there is dust or dirt on the wall, it becomes trapped under the paint, resulting in a rough or uneven appearance. Additionally, grease and oily residues can cause the paint to discolor, altering the final shade you had in mind.
– Enhanced Durability
Preparing surfaces by washing walls extends the life of the paint job. By removing contaminants, you create an ideal painting surface that allows the paint to bond securely, preventing premature wear or flaking.
• How to Prepare Walls for Painting
Here are five essential steps to prepare your walls for a new coat of paint:
1. Inspect and Repair
Before washing walls, inspect surfaces for holes or damage. Fill in any gaps or cracks with spackling compound, and sand the area smoothly once it dries.
To level uneven surfaces or remove old paint, use fine-grit sandpaper. If you encounter larger areas of damage, consult a professional since simple repairs may not suffice.
2. Remove Dust and Dirt
Use a vacuum cleaner with a soft brush attachment to remove all loose dirt, cobwebs, and debris from the walls. For added convenience, consider using a long-handled duster to reach high or hard-to-reach areas.
This will make washing walls more effective since it helps eliminate debris that could impede the cleaning process. The National Park Service’s website provides more detailed information on cleaning painted surfaces.
3. Washing the Walls
Before washing, remove all furniture, rugs, and accessories. Cover floors with drop cloths and wear protective gloves to prevent skin irritation from cleaning agents.
For most walls, a mild detergent solution is sufficient for cleaning. If dealing with heavy soil, grease, or stains, a trisodium phosphate (TSP) solution may be necessary. Always test the cleaning solution on a small, inconspicuous area to ensure it does not damage the wall.
Using a sponge or soft cloth, apply the cleaning solution from the bottom of the wall and work your way up to avoid leaving streaks. Rinse the sponge or cloth often to prevent the redistribution of dirt.
Once you reach the top, work your way back down, rinsing the wall with clean water to remove soap residue.
4. Drying the Walls
Never underestimate the importance of thoroughly drying walls before applying paint. Wet surfaces may cause the paint to streak, bubble, or even peel off.
To speed up drying time, consider using a fan or dehumidifier. Depending on humidity levels, walls may take up to 24 hours to dry completely.
5. Priming the Walls
For best results, apply a high-quality primer to create a uniform surface and enhance paint adhesion. Primers are formulated to help seal porous surfaces, improve color coverage, and hide stains or discolorations.
Choose a primer based on the surface you are painting and the type of paint you plan to use.
• Final Thoughts
In conclusion, washing walls is a crucial step in the painting process, ensuring a lasting and professional outcome. By following the above steps and taking the time to properly clean and prepare surfaces, you lay the foundation for a successful paint job.
With clean walls, the final appearance will be more consistent, the paint will adhere better, and the overall durability will be enhanced.