Top Exterior & Interior Painting Prep Techniques
Preparing the exterior and interior surfaces of your home or office is critical in ensuring a flawless and long-lasting paint job. With expertise in the top painting prep techniques, we’re here to guide you through the process and help you achieve a stunning transformation.
Top exterior & interior painting prep techniques:
Top exterior and interior painting prep techniques involve cleaning and repairing surfaces, scraping off loose paint, sanding and smoothing the surface, applying primer, and masking adjacent surfaces. Using high-quality materials and tools and ensuring proper ventilation contribute to a professional-looking finish.

Discover the secrets to a flawless paint job with our top exterior and interior painting prep techniques. Learn how to achieve professional results and make your home look stunning. Keep reading to uncover expert tips and tricks that will transform your painting projects!
Contents
Best Preparation Methods for Interior & Exterior Painting
Preparing the surfaces properly for painting is essential for long-lasting results.
• Exterior Painting Prep Techniques
1. Clean and Repair the Surface
Start by cleaning the exterior surface thoroughly using a pressure washer or a hose with a high-pressure nozzle. Remove all dirt, mildew, and loose paint. Allow the surface to dry completely before proceeding. After cleaning, inspect the surface for any cracks, holes, or damaged areas that may need repair.
2. Scrape Off Loose Paint
Once the surface is clean and dry, use a paint scraper to remove any loose or peeling paint. This step is crucial in ensuring proper adhesion of the new paint. For stubborn spots, use a wire brush or sandpaper to remove any remaining paint.
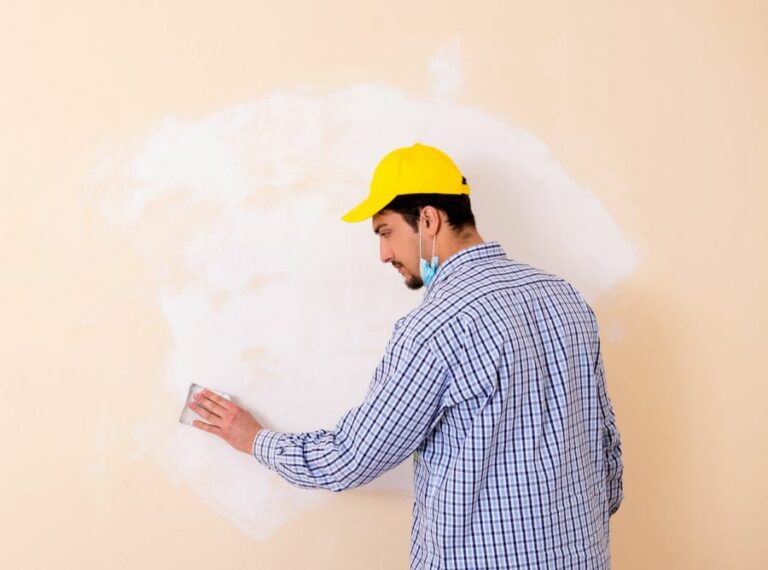
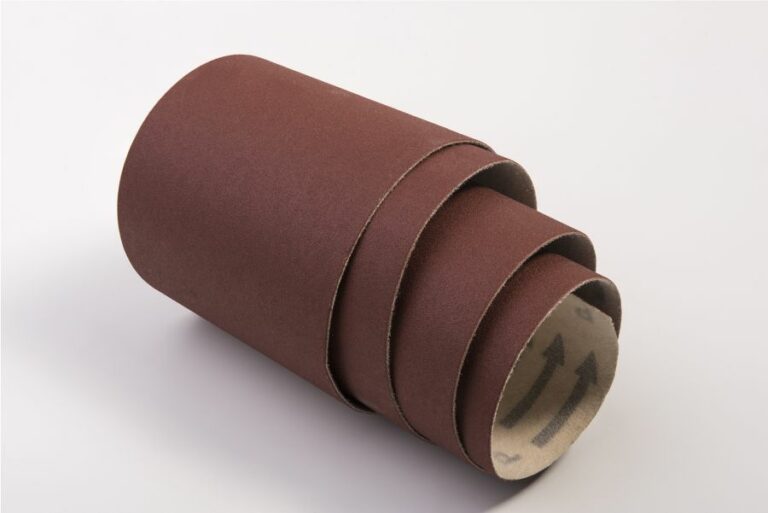
3. Sand and Smooth the Surface
Use medium-grit sandpaper to smooth any rough edges or uneven areas, focusing on the areas where paint has been removed. A power sander can be used for larger surfaces. Sanding not only smooths the surface but also helps promote better adhesion of the new paint.
4. Apply Primer
Primer helps create a uniform surface and ensures proper adhesion of the new paint. Use a high-quality primer that is compatible with the paint type you have chosen. Apply the primer evenly and allow it to dry completely.
5. Mask Off Adjacent Surfaces
Protect adjacent surfaces from paint splatters and drips by using painter’s tape and plastic sheeting. Be sure to press the tape firmly to prevent paint from seeping underneath. Cover windows, doors, and trim to avoid any accidental paint marks.
• Interior Painting Prep Techniques
1. Clear and Protect the Area
Remove all furniture, decorations, and fixtures from the room. If any items cannot be removed, move them to the center of the room and cover them with plastic drop cloths. Also, cover any flooring with drop cloths to protect against paint spills and splatters.
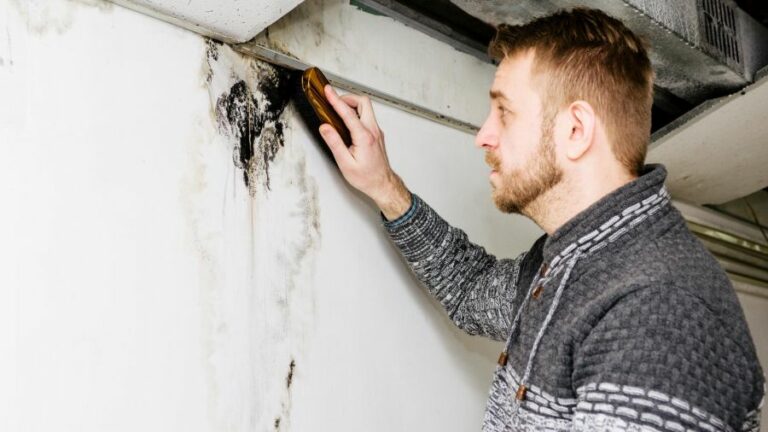
2. Clean and Repair the Surface
Just as with exterior surfaces, interior surfaces should be cleaned before painting. Remove dust, dirt, and grime using a mild detergent and water solution. For any damaged areas or cracks, use interior-grade caulk, spackle, or joint compound to make necessary repairs, following the manufacturer’s instructions.
3. Sand and Smooth the Surface
Sanding is essential for preparing the interior walls for paint. Use fine-grit sandpaper to smooth out any rough or uneven spots on the walls. Be sure to wipe the walls with a damp cloth after sanding to remove any dust.
4. Apply Primer
Use a high-quality, interior-grade primer on the walls to create a uniform surface for the paint. This will ensure an even application and proper adhesion of the paint. Allow the primer to dry completely before proceeding.
5. Mask Off Adjacent Surfaces
Use painter’s tape to mask off adjacent surfaces such as baseboards, trim, and ceilings. This will help create clean, sharp lines and protect these surfaces from accidental paint marks.
• Bonus Tips from an Expert
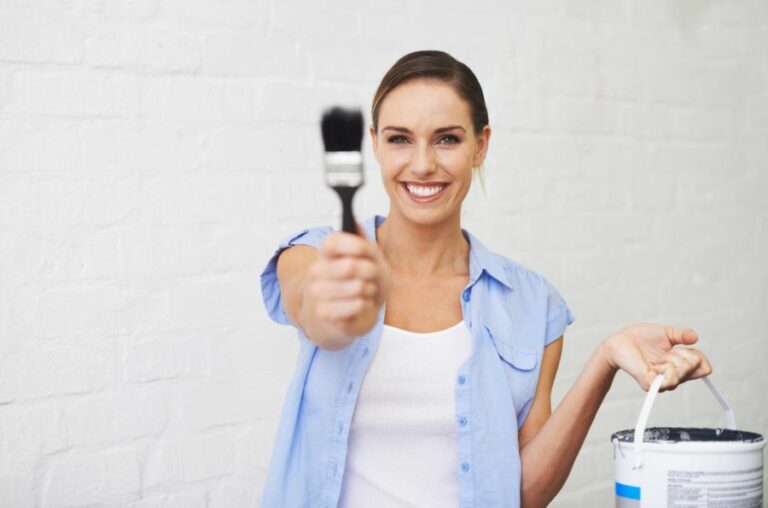
- Choose high-quality painting tools, such as brushes, rollers, and sprayers, for a smoother application and better overall results.
- Make sure to use the appropriate type of paint and primer for the surface being painted, such as latex or oil-based products.
- Invest in good-quality paint, as premium paints often provide better coverage, durability, and color retention.
- Always ventilate the area by opening windows and using fans, particularly when using oil-based paints or solvents.
- Take your time, and do not rush the painting process. Proper preparation and patience will lead to a professional-looking finish.
By following these top exterior and interior painting prep techniques, you are well on your way to achieving a beautiful and durable paint job. Remember, the key to a successful painting project lies in meticulous preparation and the use of quality materials. Happy painting!
Technique | Description | Application |
|---|---|---|
Pressure Washing | Pressure washing the surface to remove dirt, dust, and loose paint | Exterior |
Scraping | Removing loose or peeling paint using a scraper or wire brush and smoothening the edges | Exterior & Interior |
Sanding | Creating a smooth, uniform surface by sanding the area to be painted | Exterior & Interior |
Priming | Applying a primary layer of paint, known as primer, to help create a long-lasting and even finish | Exterior & Interior |
Repairing | Fixing any holes, cracks, dents, or other imperfections in the surface before painting | Exterior & Interior |
Masking | Using tape and other coverings to protect areas not to be painted, such as windows, doors, and light fixtures | Exterior & Interior |
Caulking | Sealing any gaps or cracks with caulk to create a moisture barrier and make the surface look smooth and seamless | Exterior & Interior |
De-glossing | Applying a de-glossing agent to remove the glossy finish on previously painted surfaces for better adhesion of new paint | Interior |