Proper Surface Preparation For Painting Different Materials
Painting any surface requires due diligence in the preparation process, and it goes beyond merely cleaning the surface. Whether you’re dealing with wood, metal, or masonry, proper surface preparation is crucial to achieving a long-lasting, high-quality paint job. We’ve got you covered with the essential steps and professional tips to help you manage different materials with ease.
Proper surface preparation for painting different materials (wood, metal, masonry, etc.):
Proper surface preparation for painting involves cleaning, repairing, and priming. For wood surfaces, use mild detergent, sanding, wood filler, and a high-quality primer. For metal surfaces, remove rust, clean, degrease, abrade, and apply a rust-inhibiting primer. For masonry surfaces, clean with trisodium phosphate, repair defects, seal, and apply a masonry primer.

Discover the secrets to perfect paint jobs! We have expert tips on prepping various surfaces, like wood, metal, and masonry, for a stunning finish. Our comprehensive guide will save you time and effort, so read on and achieve those flawless painting results you’ve always wanted!
Contents
- 1 Effective Surface Preparation Techniques for Various Materials (Wood, Metal, Masonry)
- 2 Ideal Sequence for Preparing Surfaces to be Painted: A Guide
- 3 Understanding Pre-Painting Surface Preparation Essentials
- 4 Step-by-Step Guide on Prepping Metal Surfaces for Painting
- 5 Exploring the Diverse Methods of Surface Preparation Techniques
Effective Surface Preparation Techniques for Various Materials (Wood, Metal, Masonry)
• Introduction
Ensuring proper surface preparation is a crucial step in the painting process. It ensures the longevity of the applied paint, provides protection to the surface material, and enhances the appearance of the final product.
• Preparing Wooden Surfaces
Wood is a versatile material widely used for both interior and exterior applications. Proper preparation is key to achieving a smooth, durable, and long-lasting paint job.
1. Cleaning
The first step is to clean the surface by removing dirt, dust, grease, and mildew. A solution of warm water and mild detergent can effectively clean the surface. For stubborn dirt, use a soft-bristle brush to scrub the area gently.
Rinse the surface thoroughly with clean water and allow it to dry completely before proceeding to the next step.
2. Sanding
Sanding is essential for removing the old paint or varnish, smoothing out rough areas, and creating a better surface for the new paint to adhere to. Start with coarse sandpaper (80 – 120-grit) and gradually work your way to finer sandpaper (180 – 220-grit).
Always sand in the direction of the wood grain to prevent scratching.
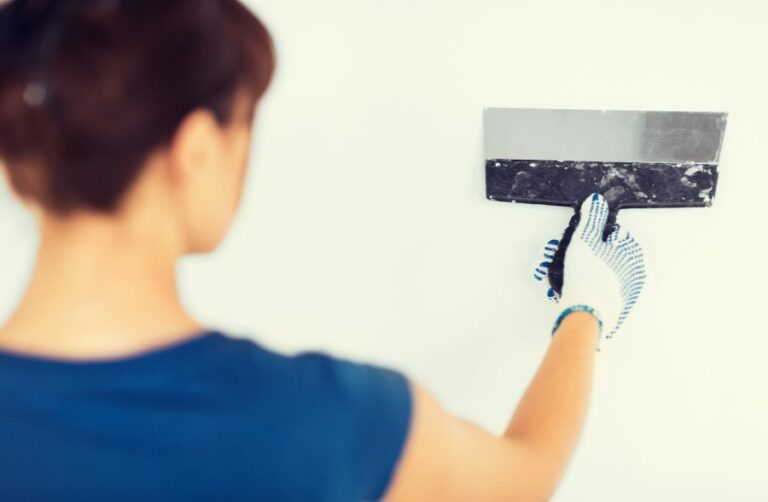
3. Filling and Repairing
Inspect the surface for any holes, cracks, or imperfections. Use a high-quality wood filler to fill and repair these areas. Once the filler has dried, sand the filled areas smoothly to achieve a seamless finish.
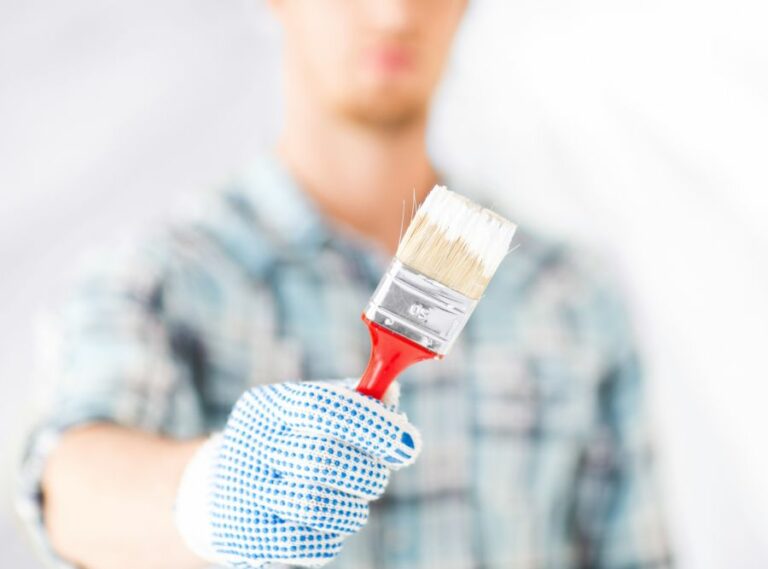
4. Priming
A high-quality primer is essential for sealing the wood and ensuring uniform paint absorption. An oil-based primer is recommended for exterior applications, while a water-based primer is suitable for interior surfaces.
Apply the primer uniformly and allow it to dry according to the manufacturer’s instructions.
• Preparing Metal Surfaces
Metal surfaces are prone to rusting, which can compromise the integrity of the paint job. Proper surface preparation can ensure a durable and long-lasting finish.
1. Removing Rust and Old Paint
For heavily rusted surfaces, use a wire brush or a sanding tool to remove the rust and old paint down to the bare metal.
2. Cleaning
Clean the surface with a solution of warm water and mild detergent to remove dirt, grease, and other contaminants. Rinse thoroughly and allow the surface to dry.
3. Degreasing
For oily or greasy surfaces, use a degreasing agent specifically designed for metal surfaces. Follow the manufacturer’s instructions for proper application and safety precautions.
4. Abrading
To promote adequate paint adhesion, lightly sand the clean and dry metal surface using fine sandpaper or a sanding sponge.
5. Priming
Apply a rust-inhibiting metal primer, such as a zinc chromate or zinc phosphate primer, to prevent future rusting. Allow the primer to dry according to the manufacturer’s guidelines.
• Preparing Masonry Surfaces
Masonry surfaces include brick, concrete, and stucco. Proper surface preparation is critical for ensuring paint sticks to these materials and creating an aesthetically pleasing finish.
1. Cleaning
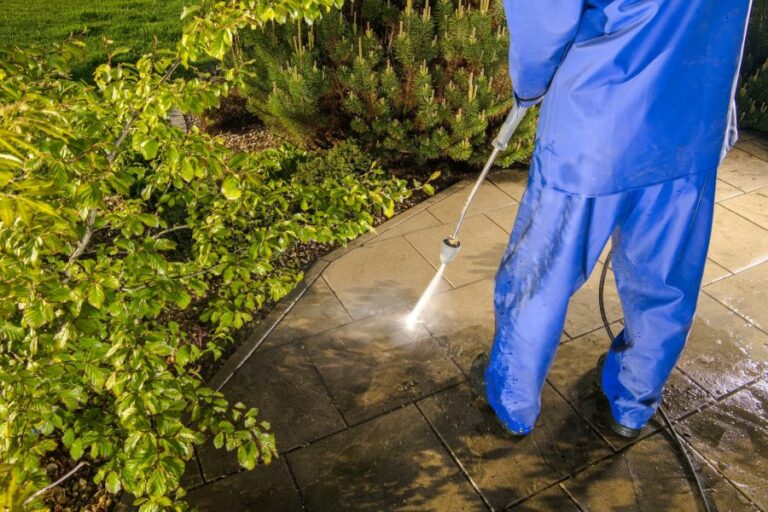
Clean the surface by removing dirt, soot, efflorescence (white, crystalline salt deposits), and other contaminants using a solution of water and trisodium phosphate (TSP). Scrub the surface gently with a soft-bristle brush or use a pressure washer, being careful not to damage the material.
2. Repairing
Inspect the surface for cracks or damage to the mortar, bricks, or concrete. Repair any defects using a masonry filler, and allow the filler to cure completely before proceeding.
3. Sealing
For porous surfaces, apply a masonry sealer to prevent moisture penetration and ensure even paint absorption. Follow the manufacturer’s instructions for the correct application and drying times.
4. Priming
Use a high-quality masonry primer to ensure proper paint adhesion and a uniform appearance. Allow the primer to dry according to the manufacturer’s recommendations.
• Conclusion
Proper surface preparation is a critical aspect of any painting project, regardless of the material. By following these guidelines for cleaning, repairing, and priming wood, metal, and masonry surfaces, you will ensure a durable, attractive, and long-lasting paint job.
Ideal Sequence for Preparing Surfaces to be Painted: A Guide
Painting is an effective way to transform a space, provide a protective finish, and improve aesthetics. To achieve excellent and lasting results, proper surface preparation is a must. Following the correct order of preparing a surface is a critical step in ensuring a smooth, even, and durable paint finish.
• 1. Assess the Surface Condition
Before beginning any painting project, it is vital to inspect the surface carefully. Look for any defects or damage, such as peeling paint, cracks, holes, or water stains. Identifying problem areas in advance will help you plan the necessary repairs and preparation steps to ensure a successful outcome.
• 2. Clean the Surface
A clean surface is crucial for paint adhesion. Start by removing any dirt, dust, and loose particles from the surface using a broom, vacuum, or damp cloth. For stubborn stains or oily residues, a mild detergent solution may be necessary.
• 3. Perform Repairs
Next, repair any defects or damage on the surface. This can include:
- Filling cracks or holes using a suitable filler or patching compound
- Scraping or sanding peeling paint
- Addressing water damage or mold
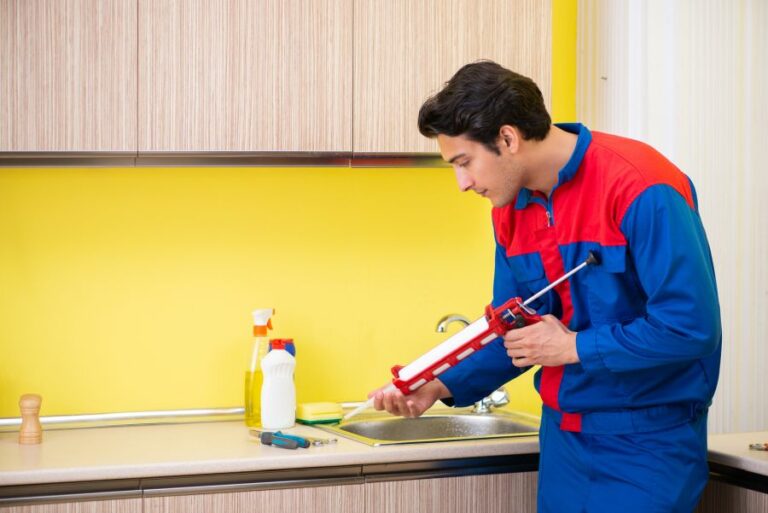
- Sealing gaps around windows or doors using caulk
Once repairs are complete, ensure the area is clean and free of dust or debris.
• 4. Sand the Surface
Sanding the surface helps create a smooth and even base for paint application. It also promotes better paint adhesion by providing a slightly rough texture for the paint to bond to.
Use sandpaper or an orbital sander, starting with a coarse grit (e.g., 80 grit), and moving to a finer grit (e.g., 120-220 grit) for a smoother finish. Always sand in the direction of the grain on wood surfaces.
• 5. Prime the Surface
Priming is an essential step to achieving a high-quality, lasting paint finish. Primer creates a uniform surface and improves paint adhesion, ensuring a smooth and even topcoat.
Additionally, primers can help seal porous surfaces, block stains or odors, and prevent tannin or rust bleed-through on certain materials. Choose a primer that is suitable for the surface material and the type of paint you plan to use (e.g., latex or oil-based).
Apply one or two coats of primer, allowing it to dry according to the manufacturer’s instructions.
• 6. Mask Off Areas
Before painting, protect any areas that should remain unpainted, such as trim, baseboards, or light fixtures, by masking them with painter’s tape, plastic sheeting, or paper. This step ensures clean lines and prevents accidental paint transfer or drips on unwanted surfaces.
• 7. Choose the Right Paint
Selecting the appropriate paint for your project and surface is crucial for optimal performance and durability. Factors to consider include:
- Interior vs. exterior application
- Surface material (e.g., wood, metal, masonry)
- Desired sheen or finish (e.g., flat, eggshell, semi-gloss)
- Exposure to moisture, heat, or UV rays
- Color choice and coverage
Consult with paint professionals or visit reputable paint retailers for guidance and recommendations on the best paint for your specific project.
• 8. Apply Paint
With the surface prepared, it’s time to paint. Stir the paint well, pour it into a paint tray or bucket, and begin applying using a brush or roller. Use even, overlapping strokes to ensure a consistent finish.
Generally, two coats of paint are recommended for optimal coverage and durability, allowing the paint to dry between coats according to the manufacturer’s instructions.
• 9. Clean Up and Dispose
Once the painting is complete, clean up any tools, equipment, and the surrounding area. Dispose of any waste materials, such as used paint cans or brushes, according to local guidelines or regulations.
• Conclusion
Following the correct order of preparing a surface for painting is essential for achieving professional, lasting results. By thoroughly inspecting, cleaning, repairing, sanding, priming, and selecting the appropriate paint, you can ensure a successful painting project that stands the test of time.
Understanding Pre-Painting Surface Preparation Essentials
• Understanding Surface Preparation
Surface preparation is a vital step in the painting process, ensuring the proper adhesion of paint to the surface and ultimately affecting the durability and longevity of the paint job.
It involves cleaning, repairing, and prepping the surface for painting, removing contaminants, and creating a smooth, uniform surface that will allow for optimal paint adhesion.
– Importance of Surface Preparation
Ignoring surface preparation can lead to a variety of problems. The paint may not adhere properly, causing it to peel or blister. It may also lead to an uneven, streaky, or dull finish. Proper surface preparation is essential for a beautiful, long-lasting result that will stand up to wear, tear, and weather.
• Surface Preparation Techniques
There are various techniques and materials used for surface preparation, depending on the type of surface and the desired result. Some of the most common techniques include:
– Cleaning
The first step in surface preparation is to clean the surface, removing dirt, dust, grease, and other contaminants. This can be done using soap and water, a mild detergent, or a specialized cleaner designed for the specific surface material.
For exterior surfaces, pressure washing may be necessary to remove built-up grime and environmental contaminants.
– Sanding
Sanding is essential for creating a smooth, even surface and promoting proper paint adhesion. Start with a coarse grit sandpaper and gradually work your way to a finer grit, ensuring that all imperfections are smoothed out.
Be careful not to over-sand, as this can create too smooth a surface, causing the paint to run or not adhere properly. For large surfaces, a mechanical sander may be helpful, while smaller, more intricate areas might require manual sanding.
– Scraping and Wire Brushing
Scraping and wire brushing are used to remove loose or peeling paint from the surface, ensuring a smooth and even base for the new paint to adhere to.
This is often done using a paint scraper or a wire brush, working in small, controlled areas to avoid damage to the underlying surface. If working with metal surfaces, be sure to remove any rust or corrosion to prevent it from spreading beneath the new paint.
– Patching and Repairing
Before painting, repair any cracks, holes, or other damage to the surface. This may involve filling in cracks with a patching compound or putty, smoothing it out, and allowing it to dry thoroughly before sanding.
For larger repairs, such as holes or dents, a more extensive patching process may be necessary, involving the application of joint compound, tape, or other materials to create a seamless, even surface.
– Priming
Priming is a crucial step in the surface preparation process, providing a base for the paint to adhere to and helping to prevent issues such as peeling, blistering, or uneven coverage.
Choose a primer that is appropriate for the type of surface you are working with – there are specialized primers for various materials, such as wood, metal, or concrete. Apply the primer evenly and allow it to dry thoroughly before proceeding with painting.
– Chemical Stripping
For surfaces with difficult-to-remove coatings, such as old paint or varnish, chemical stripping may be necessary. This involves applying a chemical paint stripper to the surface, allowing it to penetrate the existing coating, and then scraping or washing it away to reveal the underlying surface.
Be sure to follow the manufacturer’s recommendations for safety and proper use.
• Surface Preparation Safety Guidelines
When undertaking surface preparation, it is important to follow safety precautions to protect yourself and your workspace. Some important safety guidelines include:
- Wear protective gear, such as gloves, goggles, and a dust mask, to protect yourself from harmful chemicals, dust, and debris.
- Ensure your work area is well-ventilated, especially when working with chemical paint strippers or other potentially harmful materials.
- Follow the manufacturer’s recommendations for the safe handling and disposal of all products used.
- If working on a ladder or scaffold, take appropriate safety precautions and ensure it is stable and properly secured.
• Recommended Surface Preparation Resources
For further guidance on surface preparation before painting, consult resources provided by recognized home improvement or paint industry experts.
• Conclusion
In sum, proper surface preparation is crucial to the success of any painting project. By following the necessary steps and techniques and adhering to safety guidelines, you can ensure that your paint job is not only aesthetically pleasing but also long-lasting and durable.
Don’t overlook the importance of a well-prepared surface, and your finished results will speak for themselves.
Step-by-Step Guide on Prepping Metal Surfaces for Painting
Surface preparation is a crucial step in achieving a long-lasting and high-quality finish when painting metal surfaces. Properly preparing the metal ensures that the paint adheres well and prevents peeling, blistering, and other paint failures.
• Assessing the Metal Surface
Begin by thoroughly inspecting the metal surface for any signs of damage, rust, or contamination. Look for areas with paint peeling, cracks, or signs of corrosion. Take note of any irregularities, as they need to be addressed during the surface preparation process.
• Cleaning the Metal Surface
– Removing Dirt and Contaminants
Eliminate dirt, grease, and other contaminants from the metal surface using an appropriate cleaning solution recommended for the specific type of metal. For mild cases, a mixture of warm water and mild detergent should suffice.
However, for stubborn contaminants like grease and oil, it may be necessary to use a specialized cleaner designed for metal surfaces. After cleaning, thoroughly rinse the area to remove any residue.
– Removing Loose Paint and Rust
Use a wire brush, sandpaper, or abrasive blasting to remove any loose paint, rust, and other surface imperfections. Start with a coarse grit and progress to a finer grit for a smoother finish.
For larger areas or heavily corroded surfaces, consider using power tools like sanders, grinders, or needle guns to speed up the process. Always wear appropriate protective gear, such as gloves, goggles, and a dust mask, when working with abrasive materials.
• Degreasing the Metal Surface
Eliminating all traces of oil and grease is crucial for ensuring proper paint adhesion. A solvent-based degreaser is recommended for this step. Apply the degreaser to the metal surface and rub with a clean cloth or sponge in a circular motion until all the grease has been removed.
Repeat the process as necessary, and remember to change the cloth or sponge frequently to avoid redepositing contaminants onto the surface. Allow the surface to dry completely after degreasing.
• Repairing Surface Defects
Repair any dents, holes, or cracks in the metal surface with a suitable filler or patching compound. Follow the manufacturer’s instructions for application and curing times. Once the filler has adequately hardened, sand the repaired areas with fine-grit sandpaper to achieve a smooth and even finish.
• Surface Profiling
Creating a slightly rough surface, known as a ‘profile,’ allows for better paint adhesion. Achieve this by lightly sanding the entire surface with fine-grit sandpaper or using an abrasive blasting method, like sandblasting or shot blasting.
It is essential to use the appropriate abrasive material and technique according to the type of metal and the desired surface profile.
• Final Cleaning and Drying
After profiling, clean the surface once more to remove any dust or debris generated during the profiling process. Use a clean cloth or tack cloth to wipe down the surface and a clean, moderately damp cloth to perform a final rinse. Ensure that the metal surface is completely dry before moving on to the next step.
• Applying Surface Treatment
In certain situations, a surface treatment may be necessary to improve paint adhesion or provide enhanced corrosion protection. Examples of surface treatments include phosphating, chromate conversion coatings, or applying a primer specifically designed for metal surfaces.
Always consult with the paint manufacturer or an industry expert to determine if a surface treatment is necessary for your specific application.
• Surface Inspection and Verification
Perform a final inspection of the metal surface to confirm that it meets all the requirements for proper surface preparation. Verify that the surface is clean, dry, free of contaminants, and adequately profiled to receive the paint.
If working on a large project or in a critical environment, consider testing for surface cleanliness according to SSPC-SP1, which involves using a solvent-soaked cloth to detect surface contaminants.
After completing these steps, the metal surface is now adequately prepared for painting. Proceed with the painting process in accordance with the paint manufacturer’s instructions, taking care to apply the recommended number of coats and allowing adequate drying time between each coat.
By diligently following these surface preparation steps, you can significantly improve the life, performance, and overall appearance of your painted metal surfaces.
Step | Description |
|---|---|
1. Cleaning | Remove dirt, grease, oil, and other contaminants from the metal surface using degreasing agents, solvents, or detergents. |
2. Rust and corrosion removal | Eliminate rust and corrosion using mechanical methods like sandblasting or chemical methods such as rust converters or acid treatments. |
3. Surface roughening | Create a rough surface profile for better paint adhesion using abrasive blasting, grinding, or sanding. |
4. Repairing surface defects | Fill any surface defects or cracks using appropriate materials to ensure a smooth and even surface. |
5. Surface profiling | Ensure the metal surface has the appropriate profile (measured in surface roughness) for the intended paint system and for better paint adhesion. |
6. Priming | Apply a primer coat to the prepared metal surface to enhance paint adhesion, prevent corrosion, and provide a barrier to moisture. |
Exploring the Diverse Methods of Surface Preparation Techniques
Surface preparation is an essential process in many industries, including painting, coating, and cleaning. It is necessary to ensure proper adhesion of coatings and paints to the substrate, as well as to maintain the surface’s durability and longevity.
• Mechanical Surface Preparation
Mechanical surface preparation methods involve the use of physical force to clean and prepare surfaces. Some of the most common mechanical techniques include:
– Abrasive Blasting
Abrasive blasting, also known as sandblasting or shot blasting, uses high-pressure compressed air to propel abrasive particles onto a surface. The impact of these particles removes contaminants, such as rust, paint, or scale, and creates a roughened surface for coatings to adhere to.
Abrasive blasting is highly effective but can also generate dust and require containment measures. For more information on abrasive blasting processes, the SSPC offers extensive resources.
– Grinding and Sanding
Grinding and sanding are methods that use abrasive tools, such as grinding wheels, sandpaper, or steel brushes, to remove contaminants from surfaces. These methods are highly effective for small-scale surface preparation tasks but may not be suitable for large surfaces due to the time and effort required.
– Scarifying
Scarifying is a technique that utilizes a machine equipped with rotating cutting blades to remove layers of material from a surface. This method is helpful for eliminating coatings, such as epoxy or paint, and can create a roughened surface for better adhesion of subsequent coatings.
• Chemical Surface Preparation
Chemical techniques involve the use of chemicals to clean and prepare surfaces. Common chemical surface preparation methods include:
– Acid Etching
Acid etching is a process that uses a solution of acid to dissolve contaminants on a surface. This method is typically used for concrete substrates, as it can help open up the pores in the concrete, creating a stronger bond for coatings.
However, acid etching can be hazardous due to the chemicals involved and should be handled with caution.
– Solvent Cleaning
Solvent cleaning uses solvents to dissolve contaminants from surfaces, such as grease, oil, or dirt. The solvent is generally applied with a cloth, brush, or sprayer, and then wiped or rinsed away to remove the contaminants. Solvents should be used in well-ventilated areas due to their potential health risks.
– Alkaline Cleaning
Alkaline cleaning uses a mixture of water and an alkaline cleaning agent to break down and remove contaminants from surfaces. This method is ideal for surfaces with oil, grease, or other organic contaminants.
Additionally, alkaline cleaning is generally safer and more environmentally friendly than acid etching or solvent cleaning.
• Thermal Surface Preparation
Thermal techniques rely on heat to remove contaminants and prepare surfaces. The primary thermal surface preparation methods include:
– Flame Cleaning
Flame cleaning uses a propane torch or oxy-acetylene torch to heat the surface, causing contaminants such as rust, paint, or oil to burn off. This method is effective for removing thick layers of contaminants but may also result in surface discoloration or damage if not properly controlled.
– Laser Ablation
Laser ablation is a technique that utilizes a high-powered laser to vaporize contaminants from the surface. This method is highly precise and can be used on delicate surfaces without causing damage. However, laser ablation is typically more expensive and requires specialized equipment.
• Recommendations for Surface Preparation
Choosing the right surface preparation method depends on the specific application and the substrate involved. Some factors to consider include:
- The type of contaminant to be removed
- The size and shape of the surface
- The desired surface profile for optimal adhesion of coatings
- Environmental and safety concerns
- Budget and timeframe
As a general guideline, abrasive blasting, grinding, or sanding are recommended for most metallic surfaces to ensure proper adhesion of coatings. For concrete surfaces, acid etching or alkaline cleaning can be effective, depending on the specific contaminants present.
Thermal techniques, such as flame cleaning or laser ablation, may be necessary for specialized applications or if mechanical or chemical methods have proven ineffective.
Whichever surface preparation method is selected, it is crucial to follow safety guidelines and industry best practices to obtain optimal results and maintain the longevity of the substrate.