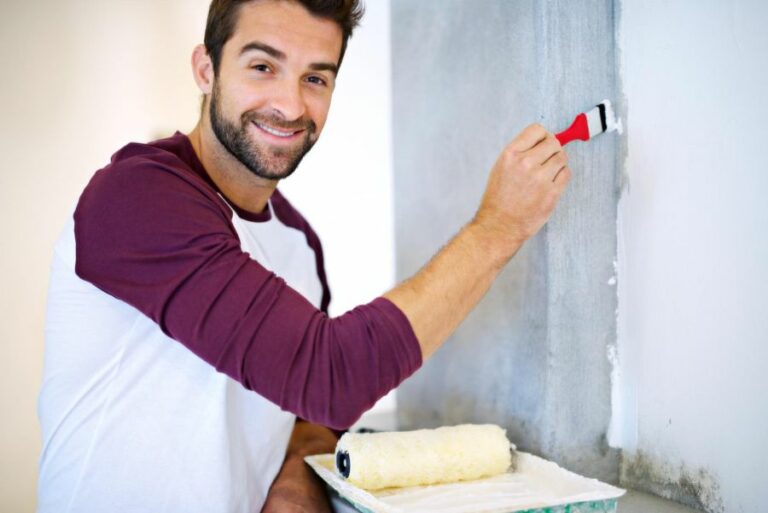
Painting Tips Indoor Furniture With Chalk Paint. What Pros Say
When giving new life to your indoor furniture, chalk paint is a game changer. Whether you’re a seasoned DIY enthusiast or simply looking to tackle your first project, you’ve come to the right place. We have all the tips and tricks to make furniture painting a breeze. From choosing the right tools to mastering the application techniques, we’re here to set you up for chalk painting success.
Painting tips: indoor furniture with chalk paint:
To paint indoor furniture with chalk paint, choose a high-quality paint like Annie Sloan’s, and prepare the furniture by cleaning, sanding, and repairing. Apply thin coats of paint using a good-quality brush, working in small sections with long, smooth strokes. Optionally, distress the furniture using sandpaper. Protect the finish with clear wax or sealant and wait for it to cure before re-assembling and using the furniture.

Ready to give your indoor furniture a fresh new look with chalk paint? Discover expert tips, tricks, and step-by-step guidance on achieving stunning and long-lasting results. Read on to unlock the full potential of chalk paint and transform your home!
Contents
- 1 Chalk Paint Guide: Enhancing Indoor Furniture
- 2 Achieving Optimal Outcomes with Chalk Paint
- 3 Attaining a Sleek Finish on Chalk Painted Pieces
- 4 Creating a Stunning Appearance with Chalk Paint
- 5 Is Chalk Painting Indoor Furniture Possible?
Chalk Paint Guide: Enhancing Indoor Furniture
Chalk paint is a popular choice for painting indoor furniture due to its versatility, ease of use, and matte finish.
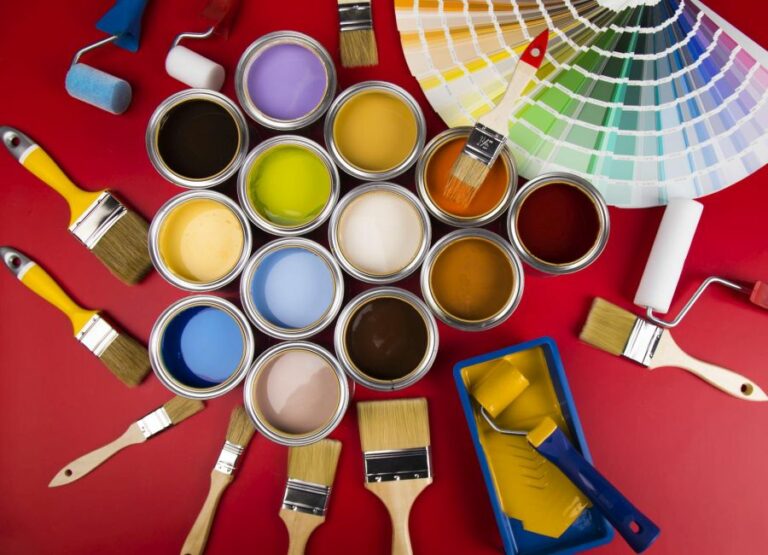
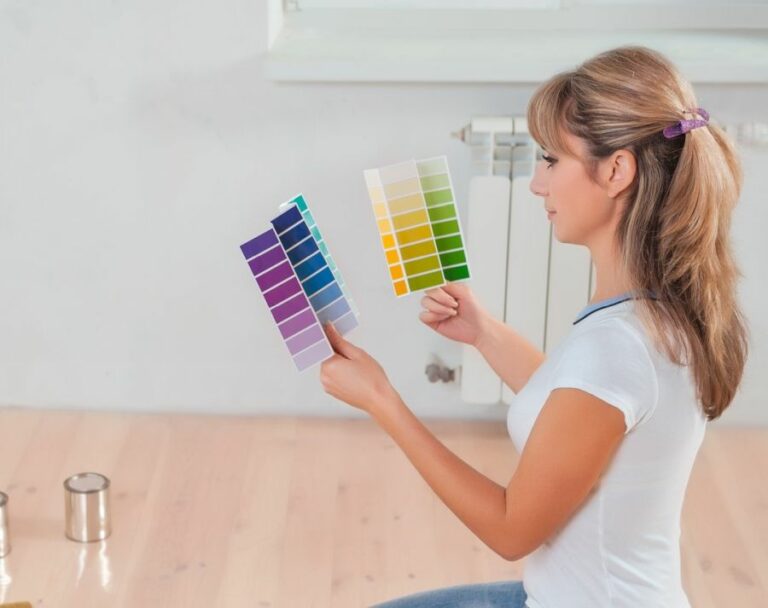
• Choosing the Right Chalk Paint
The first step to painting your furniture is selecting the right chalk paint. There are several brands available, but one of the most popular and trusted is Annie Sloan chalk paint.
This paint comes in a wide range of colors and is well-known for its quality and ease of use. If you’re unsure where to start or which color to choose, check out their official website for inspiration and guidance.
• Properly Preparing Your Furniture
Before you begin painting, it’s essential to adequately prepare your furniture. Though chalk paint adheres well to a variety of surfaces, taking the time to prep ensures a smoother, more professional-looking finish.
– Cleaning
Remove any dirt, dust, or grime from your furniture using a damp cloth and mild soap. Make sure to clean in any crevices or detailing, as chalk paint will stick to any surface debris.
– Sanding
Remove any glossy finishes, rough patches, or loose paint by lightly sanding your furniture. Using fine-grit sandpaper (180-220 grit) will suffice for most surfaces. After sanding, wipe down the piece with a damp cloth to remove any dust or residue.
– Repairing
Fill any holes or scratches with wood filler, letting it dry before sanding smooth. If you’re dealing with loose joints or wobbly legs, make sure to secure them using wood glue, screws, or nails.
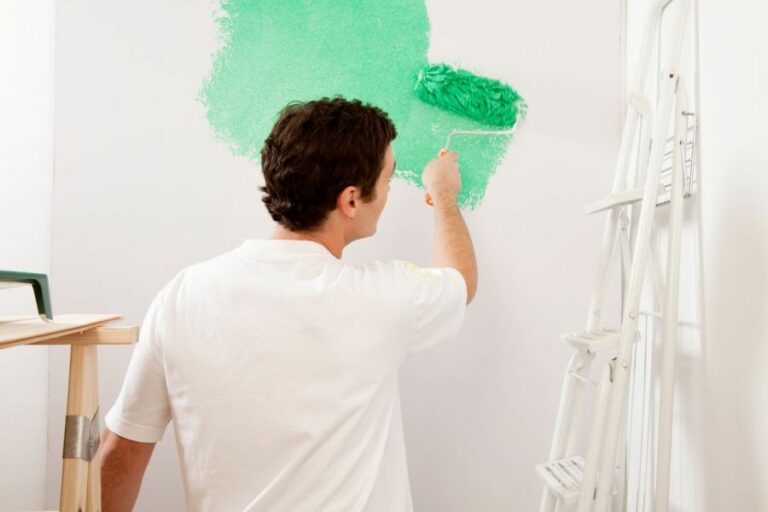
• Applying Chalk Paint
Now that your furniture is prepped, it’s time to apply the chalk paint. Follow these tips for a smooth and even application.
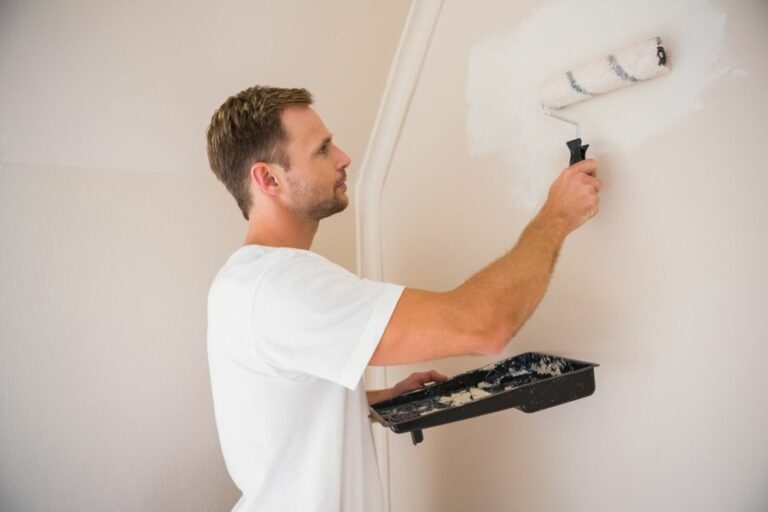
– Use a Good-Quality Paintbrush
Invest in a good-quality paintbrush, such as a natural bristle brush or a synthetic-bristle brush, specifically designed for use with chalk paint. The proper brush will help reduce brush strokes and provide a more even finish.
– Work In Small Sections
Begin painting by working in small sections rather than attempting to cover the entire piece all at once. This ensures you have more control over the paint and can catch any drips or uneven areas before they dry.
– Apply Thin Coats
Apply a thin, even coat of paint, working in the direction of the grain. Resist the temptation to glob on thick layers, as this can lead to drips, uneven coverage, and long drying times. It’s better to apply multiple thin coats, allowing each layer to dry before adding the next.
– Use Long, Smooth Strokes
When applying your chalk paint, use long, smooth strokes that go from one end of your furniture to the other. This ensures an even finish and can help reduce visible brush strokes.
• Distressing Your Furniture (Optional)
If you want to create a distressed or aged appearance, you can do so by sanding select areas after the paint is dry. Focus on edges, corners, and raised details where natural wear and tear would occur.
Start with fine-grit sandpaper (220-240 grit) and increase to coarser grits if needed. Remember to sand in the direction of the wood grain for the best results.
• Protecting Your Chalk Paint Finish
Finally, protect your chalk paint finish with clear wax or sealant. Annie Sloan offers a clear wax specifically designed for use with chalk paint.
Apply wax using a soft cloth or wax brush, working in small sections and buffing to a smooth finish. This step not only protects the paint but also gives your piece a professional-looking sheen.
– Wait Before Re-Assembling
Give the wax or sealant ample time to cure before re-assembling and using your furniture. Typically, at least 24 hours is recommended, with some products requiring up to 72 hours for full curing.
By following these expert tips and tricks, you’ll achieve a professional finish on your indoor furniture with chalk paint. Enjoy your newly transformed piece and the satisfaction of a job well done!
Achieving Optimal Outcomes with Chalk Paint
Chalk paint is known for its versatile nature and ability to give a vintage, distressed look to various surfaces, from furniture to walls. To help you achieve the best results with your chalk paint project, we have compiled a list of tips and tricks below.
• Preparation is Key
Before starting, it’s essential to prepare the surface you’ll be painting. This ensures that the paint adheres properly and lasts longer. Follow these steps to prepare your surface:
- Clean the surface: Use a moist cloth or mild detergent to remove any dirt or dust from the item you wish to paint. Allow it to dry completely before proceeding.
- Sanding: Lightly sand the surface in the direction of the wood grain using medium-grit sandpaper. This step helps the paint grip the surface. Some people use chalk paint without sanding, but we recommend this step for the best results.
- Remove any residue: After sanding, use a clean cloth to remove any dust or debris. A tack cloth works well for this purpose.
• Choose the Right Chalk Paint
Pick a high-quality chalk paint brand and color that matches your desired finish. Chalk paint typically has a matte finish, but you can find some that give off a subtle sheen.
• Proper Application Technique
Following the right technique can greatly enhance the final outcome of your chalk paint project. Here are some recommendations:
- Use the right brush: Use a high-quality natural bristle brush or a specialized chalk paint brush to apply the paint. An inexpensive brush may leave streaks or bristle marks on the surface.
- Stir the paint: Before applying, give the chalk paint a thorough stir to ensure an even consistency.
- Apply thin coats: Start by applying a thin coat of chalk paint in the direction of the wood grain. Allow the first coat to dry for an hour or two, then apply a second thin coat. Two to three thin coats usually give the best coverage and finish.
- Allow the paint to dry: Allow the final coat of chalk paint to dry for at least 24 hours before proceeding to the next step.
• Enhance and Protect the Finish with Wax
To enhance and protect the chalk paint finish, it’s essential to apply a wax or a clear coat. Here’s how to do it:
- Choose the right wax: Depending on the desired effect, you can choose a clear, dark, or white wax. Clear wax will maintain the original color, dark wax will give an aged look, and white wax will provide a whitewashed effect.
- Apply the wax: Use a lint-free cloth or a wax brush to apply a thin layer of wax on the painted surface, working in small sections.
- Buff the wax: After 24 hours, use a clean, lint-free cloth to buff the waxed surface until you achieve the desired level of sheen.
• Distressing for a Vintage Look
If you’re aiming for a distressed, vintage look, follow these steps before applying the wax:
- Lightly sand the edges: Use fine-grit sandpaper to gently sand the edges and areas where natural wear and tear would occur. This will expose the underlying wood or paint layers for an authentic distressed look.
- Remove dust: After sanding, use a clean cloth to remove the dust created by distressing.
• Patience and Practice
Finally, remember that patience and practice are key to achieving the best results with chalk paint. As you familiarize yourself with the materials and techniques, your skill level and the quality of your work will improve.
Don’t be afraid to experiment and express your creativity, as chalk paint offers a forgiving medium for DIY projects.
Now that you’re equipped with the knowledge to get the best results with chalk paint, it’s time to embark on your painting project and transform your furniture or home decor into a one-of-a-kind masterpiece. Happy painting!
Step | Description |
|---|---|
1 | Choose the right surface: Look for a clean, smooth, and non-glossy surface to paint on. |
2 | Prep the surface: Clean the surface with a damp cloth and let it dry before painting. |
3 | Remove any hardware: Remove any handles, knobs, or other hardware to make the painting process easier. |
4 | Apply the paint: Use a high-quality brush or roller to apply the chalk paint in a thin, even layer. |
5 | Let it dry: Allow the paint to dry for at least 2 hours or until it’s completely dry to the touch. |
6 | Sand the surface: If needed, sand the surface lightly between coats for a smooth finish. Wipe clean with a damp cloth. |
7 | Apply additional coats: If necessary, apply additional coats of chalk paint to achieve the desired coverage and color. |
8 | Apply a finish: Seal your chalk-painted surface with a finishing product, such as wax or a clear sealer, for added protection and durability. |
Attaining a Sleek Finish on Chalk Painted Pieces
Chalk paint is a popular choice among DIY enthusiasts and furniture refinishers, as it allows for easy application, minimal preparation, and excellent adhesion to a wide range of surfaces. However, many people struggle to achieve a smooth finish with this type of paint.
• Choosing the Right Materials
– Chalk Paint
For a smooth finish, it is crucial to select high-quality chalk paint. Though many brands are available, Annie Sloan is well-respected among professional furniture refinishers. This paint’s high pigmentation and consistency make it an ideal choice for a smooth finish.
– Brush
A quality brush is essential when working with chalk paint. A natural bristle brush, such as a Pure Bristle brush, or a synthetic bristle brush, such as a Nylon/Polyester brush, will allow you to achieve a smooth finish. Make sure your brush is appropriately sized for the furniture piece you are painting.*
• Preparing the Surface
– Cleaning
Before you begin painting, ensure that the surface is clean and free of dust, dirt, and any grease. This step can be done by wiping the surface with a damp cloth and mild detergent. Allow the furniture to dry completely before continuing.
– Sanding
Sanding the surface can assist in creating a smooth finish. Use fine-grit sandpaper (such as 220 grit) and sand the piece lightly. This will help the paint to adhere to the surface and make it easier to achieve a smooth finish. Be sure to remove any dust created by sanding with a tack cloth or a soft, lint-free cloth.
• Applying Chalk Paint
– Mixing and Thinning
For an expert finish, ensure that your chalk paint is mixed thoroughly before use. This can be done using a paint stirrer or a spoon. If the paint is too thick, you can thin it slightly with water. Add a small amount of water and mix until you reach the desired consistency.
– Painting Technique
To achieve a smooth finish on your chalk-painted furniture, hold the brush at a slight angle, and apply the paint with long, straight strokes. Avoid overloading the brush with paint, as it can lead to a clumpy and uneven finish.
Apply multiple thin coats rather than a single thick one, allowing each coat to dry before applying the next. This will help prevent brush marks and create a smoother final appearance.
• Sanding Between Coats
Once the initial coat of paint is dry, use fine-grit sandpaper (such as 220 grit) to sand the surface lightly. This will help remove brush strokes and create a smoother finish for the next coat of paint. Be sure to remove any dust before applying the next coat.
• Sealing and Finishing
– Applying Wax
To protect your furniture and achieve a professional finish, apply a thin coat of clear wax, such as Annie Sloan Clear Wax, over the chalk paint.
Use a lint-free cloth or a wax brush to apply the wax in a thin, even coat, focusing on one section at a time. After applying the wax, use a clean, lint-free cloth to buff the surface, creating a smooth and durable finish.
– Buffing
After the wax has dried, buff your furniture using a soft, lint-free cloth. This will create a smooth, satiny finish on your chalk-painted furniture.
– Optional: Applying a Topcoat
For extra durability or a different sheen, you can apply a water-based topcoat, such as Polyvine Decorators Varnish. Be sure to choose a topcoat compatible with chalk paint and follow the manufacturer’s instructions for application.
• Final Thoughts
Achieving a smooth finish on your chalk-painted furniture, while it may require some patience and attention to detail, is entirely possible with the right materials and techniques. By following these expert recommendations, you’ll be well on your way to creating beautiful and professional-looking furniture.
* Note: This is the personal recommendation of the author based on their experience. Other brands and types of brushes may produce similarly satisfactory results.
Step | Description |
|---|---|
1. Clean the surface | Before starting, make sure to clean the furniture thoroughly by wiping it down with a damp cloth to remove any dirt, dust, or debris. |
2. Apply a smooth, even coat of chalk paint | Using a high-quality brush or foam roller, apply a thin and even coat of chalk paint to the furniture, making sure to catch any drips and maintain a consistent texture. |
3. Sand between coats | After the first coat of chalk paint has dried, lightly sand the surface with fine-grit sandpaper (220-grit or higher) to help remove any brushstrokes or imperfections. |
4. Apply additional coats | Repeat the process of applying thin, even coats of paint and sanding between each coat until you achieve the desired coverage and smoothness. |
5. Seal the paint with wax or a topcoat | Once the paint is dry and you’ve achieved your desired finish, apply a layer of wax or a protective topcoat to seal the paint and protect the furniture from scratches or stains. |
6. Buff the surface | After the wax or topcoat has dried, buff the surface with a soft cloth to bring out the smooth, silky finish of the chalk paint. |
Creating a Stunning Appearance with Chalk Paint
Chalk paint is a popular choice for DIYers who want to create a timeless, distressed look on their furniture pieces. In fact, you can easily transform old or dull furniture into something that looks like it was expertly crafted by following these simple tips and techniques.
• Choosing the Right Chalk Paint
Selecting the right product is one of the keys to getting a professional look with chalk paint. It’s important to use high-quality chalk paint that is specifically designed for furniture applications.
There are plenty of options on the market, but some well-known choices include Annie Sloan, Rust-Oleum, and Americana Decor. These brands have proven to provide excellent coverage and durability, which will save you time and effort in the long run.
• Preparing Your Furniture Piece
– Cleaning
Before you start painting, it’s essential to make sure that your furniture piece is clean and free from dirt, dust, and grime. You can use warm, soapy water and a soft-bristle brush to thoroughly clean the surface. Rinse the furniture with clean water and let it dry completely.
Additionally, consider using a degreaser to remove any oily residue that might be present on older pieces.
– Sanding
You don’t need to completely sand down the entire piece before applying chalk paint. However, it’s a good idea to lightly sand any rough or uneven areas to create a smoother surface. This ensures a better finish and helps the chalk paint adhere properly.
Use fine-grit sandpaper (around 220 grit) and sand in the direction of the wood grain. Be sure to wipe down the piece with a damp cloth to remove any dust from the sanding process.
• Painting Your Furniture with Chalk Paint
– Priming
While chalk paint doesn’t always require a primer, it’s a good idea to use one if you’re working with a dark piece of furniture or one with a glossy finish.
This will help the paint adhere better and prevent any bleeding from the original finish or stains. Use a shellac-based primer or a chalk paint-specific primer for the best results.
– Applying the Chalk Paint
When applying chalk paint, it’s essential to use multiple thin coats rather than one thick layer, which can lead to clumping or an uneven finish. Use a high-quality brush or a paint sprayer to apply the chalk paint to the furniture.
Make sure to evenly distribute the paint across the entire surface, working in long brush strokes. Don’t worry if the first coat looks streaky or patchy, as it will blend with the subsequent layers. Allow each coat to dry before applying the next layer. Two to three coats usually provide excellent coverage.
• Enhancing the Finish: Waxing and Distressing
– Waxing
After your chalk paint has dried completely, it’s essential to seal and protect the finish with clear or tinted wax. A high-quality furniture wax will offer a durable finish and add depth to the paint color. Apply the wax with a soft brush or lint-free cloth, working in a circular motion.
Remove any excess wax and buff the surface to your desired sheen level. Allow the wax to cure for a minimum of 24 hours before using the furniture piece.
– Distressing (Optional)
If you’d like to enhance the vintage or aged appearance of your furniture, you can opt for distressing the piece. To do so, use fine-grit sandpaper to lightly sand the edges and raised details, exposing the underlying wood or original paint finish.
Be sure to sand in the direction of the wood grain and remove any dust with a damp cloth. Finally, apply a coat of clear wax to seal and protect the distressed areas.
• Final Thoughts
Transforming your furniture with chalk paint can be a rewarding project, especially when you follow these guidelines and recommendations. Remember to choose the right chalk paint, properly prepare the furniture piece, and take your time in applying multiple thin coats.
Finish with wax and distressing to create a truly unique and professional look. For additional inspiration and guidance on chalk paint techniques, visit The American Society for Training and Development (ASTD) for helpful resources and demonstrations.
Step | Instructions |
|---|---|
1 | Clean the furniture to remove dust and dirt. |
2 | Lightly sand the furniture surface to help the paint adhere better. |
3 | Apply a primer if necessary, especially for dark or glossy surfaces. |
4 | Stir the chalk paint thoroughly and apply the first coat using a high-quality brush or foam roller. |
5 | Allow the first coat to dry completely, usually for 1-2 hours. |
6 | Apply a second coat if necessary for better coverage and a more even finish. |
7 | After the paint is dry, distress the edges and details with sandpaper for a vintage look (optional). |
8 | Apply a wax or topcoat to seal and protect the painted surface. |
9 | Buff the wax or topcoat with a soft cloth to create a smooth and polished finish. |
Is Chalk Painting Indoor Furniture Possible?
• Introduction
Chalk paint is a versatile, easy-to-use paint that has risen in popularity over recent years. Known for its appealing matte finish and ability to transform old and worn furniture, many homeowners and craft enthusiasts are now seeking to use chalk paint for their furniture projects.
But, can you chalk paint furniture indoors? The answer is yes.
• Preparing Your Workspace for Chalk Painting
Before embarking on any indoor chalk paint project, the first step is to ensure that you have a suitable and well-ventilated workspace. This is important to minimize paint fumes and ensure your indoor air quality remains safe.
– Choose a Well-Ventilated Area
Select an area in your home with good airflow, preferably with windows that open to allow for proper ventilation. Consider placing fans near windows to assist with air circulation while you work.
– Protect Your Floors and Surroundings
Chalk paint, like any other paint, can cause a mess if it spills or splatters. To keep your floors and other surfaces clean and safe, it’s essential to cover the floor with a drop cloth, tarp, or heavy-duty plastic sheeting. Additionally, clear the area of unnecessary clutter or valuable items to prevent any accidents.
• Necessary Tools and Supplies for Indoor Chalk Painting
Before starting, gather all the necessary tools and supplies to ensure a quick and efficient painting process. Here’s a list of what you’ll need:
- Chalk paint
- Soft-bristle brushes or foam brushes
- A drop cloth or tarp to protect your floors
- Clean, lint-free cloths for wiping away any excess paint
- Painter’s tape to mask off any areas you don’t want to be painted
- Fine-grit sandpaper or a sanding sponge for distressing or smoothing the surface
- Protective gear, such as gloves and a mask to safeguard against fumes and paint dust
- A sealant, such as wax or polyurethane, to protect and preserve the paint finish
• Prepping Your Furniture for Chalk Paint
Before applying chalk paint, it’s essential to prepare your furniture piece to ensure a smooth and lasting finish.
– Clean the Surface
Start by cleaning the furniture piece thoroughly using a damp cloth and mild soap. This will help remove any dirt, grease, or grime that might interfere with the adhesion of the chalk paint. Allow the furniture to dry completely before moving on to the next step.
– Light Sanding
In most cases, chalk paints can be applied directly onto the furniture without the need for priming or sanding beforehand. However, lightly sanding the surface can help create an even smoother finish and improve paint adhesion.
Using fine-grit sandpaper or sanding sponge, lightly buff the furniture’s surface, being careful not to remove any existing paint or finish.
– Applying Painter’s Tape
If there are areas on the furniture you would like to keep paint-free, use painter’s tape to mask off these sections. This could include hardware, glass, or other decorative elements. Make sure the tape is securely pressed down to avoid any paint seeping underneath.
• Applying Chalk Paint to Your Furniture
Once your workspace, tools, and furniture piece are prepared, you can proceed with applying the chalk paint.
– Choose a Brush
Opt for soft-bristle brushes or foam brushes to apply the chalk paint evenly without leaving brush marks.
– Test the Paint
Before painting the entire piece of furniture, test the paint on an inconspicuous spot to ensure you’re satisfied with the color and coverage.
– Apply the Chalk Paint in Thin Coats
Apply thin coats of chalk paint, allowing each layer to dry thoroughly before applying the next coat. Two to three coats of paint should suffice for most furniture pieces. Allow the final coat to dry for a minimum of 24 hours.
• Distressing and Sealing Your Painted Furniture
After applying the chalk paint, some may opt for a distressed look, while others may prefer a smooth finish. Regardless of your preference, it’s essential to seal your painted piece for protection and durability.
– Distressing Technique (Optional)
For a distressed look, use a fine-grit sandpaper or sanding sponge to gently remove paint from areas prone to natural wear, such as edges and corners. Be sure to dust away any paint residue before sealing.
– Apply a Protective Sealant
A protective sealant, such as wax or polyurethane, will help preserve the paint finish and increase the durability of your furniture piece. Follow the manufacturer’s application instructions and allow the sealant to cure fully before using the furniture.
• Conclusion
Chalk painting furniture indoors is entirely feasible, provided you follow the necessary steps to ensure a safe and well-ventilated workspace. Preparing your furniture, using the proper tools and techniques, and sealing your finished piece will result in a beautiful and durable transformation of your furniture.
| Can you chalk paint furniture indoors? | |
|---|---|
| Chalk Paint | Yes, you can use chalk paint to paint furniture indoors. It is low-VOC paint and has minimal odor, making it safe for indoor use. However, make sure to work in a well-ventilated area and protect your floors and surrounding surfaces from paint spills. |