Dealing With Mold And Mildew During Surface Preparation
Mold and mildew are not only unsightly, but they can also pose health hazards and compromise the integrity of various surfaces. Dealing with these persistent culprits can be a challenge, especially during surface preparation for painting, renovation, or cleaning. Worry not. We have got you covered with comprehensive solutions to effectively tackle mold and mildew, ensuring a safe and clean surface for your projects.
Dealing with mold and mildew during surface preparation:
To deal with mold and mildew during surface preparation, first identify their presence through visual inspection and odor detection. Protect yourself with appropriate gear and ventilate the area. Prepare the surface by removing debris and cleaning it with soapy water. Choose the right cleaning solution, such as bleach, vinegar, ammonia, or commercial removers, based on the surface material. Apply the solution, scrub the affected area, rinse thoroughly, and let it air dry. Prevent future growth by addressing moisture issues and maintaining regular cleaning.

Are you tired of mold and mildew invading your space? Discover the most effective methods for dealing with these stubborn fungi during surface preparation.
Learn the dos and don’ts, best practices, and useful tools to prevent and eliminate mold and mildew from your premises. Read on for all this and more to keep your surfaces clean and healthy!
Contents
- 1 Managing Mold and Mildew in Surface Preparation
- 2 Mold Removal on Hard Surfaces: Best Cleaning Practices
- 3 Safety Measures for Handling Mold Issues
- 4 Preventing Mold Spore Exposure During Surface Cleaning
- 5 Eliminating Mold and Mildew Pre-Painting
- 6 Effective Cleaning Agents for Mold and Mildew Removal
Managing Mold and Mildew in Surface Preparation
Mold and mildew can present a significant problem when it comes to surface preparation, whether you’re tackling a painting project or cleaning your home. They can cause health issues and structural damage and ruin the aesthetics of any surface.
• Identifying Mold and Mildew
The first step in dealing with mold and mildew is properly identifying their presence. Mold is a type of fungus that grows in damp or humid conditions and can vary in color, including green, black, and white.
Mildew, on the other hand, is a type of mold that grows in thin layers and is typically gray or white.
Both mold and mildew have a musty smell and thrive in high-humidity environments, such as bathrooms, kitchens, and basements. It’s essential to visually inspect and look for signs of discoloration or a musty odor before commencing any surface preparation.
• Using Protective Gear
When dealing with mold and mildew, it’s crucial to protect yourself by wearing appropriate protective gear. This includes gloves, goggles, and a mask to prevent inhalation of mold spores, which can cause respiratory issues.
Additionally, make sure to ventilate the area properly by opening windows and doors. This will allow fresh air to circulate and help to reduce the risk of inhaling mold spores.
• Preparing the Surface for Cleaning
Before starting any cleaning process, the affected surface must be prepared. Remove any loose material or debris around the mold and mildew with a stiff brush. This helps to eliminate any existing mold spores and provides a clean surface to work on.
Once the debris is removed, clean the surrounding area thoroughly with soapy water to remove dirt, grease, and other contaminants. This will increase the effectiveness of the mold and mildew treatment.
• Choosing the Right Cleaning Solution
There are several options for cleaning mold and mildew, and it’s essential to select the right solution for the type of surface you’re working with. Some common options include:
- Bleach: A popular choice for killing mold and mildew, bleach is often diluted with water at a ratio of 1:10 before application. However, it’s essential to note that bleach should only be used on non-porous surfaces, such as tile, as it may damage porous materials like wood.
- Vinegar: White distilled vinegar is an effective natural alternative for removing mold and mildew, with many homeowners finding success using a 1:1 vinegar-to-water ratio. It’s generally safe for use on most surfaces, including wood, tile, and fabric.
- Ammonia: Like bleach, ammonia is a powerful cleaning solution that can kill mold and mildew on non-porous surfaces. However, it’s essential to note that ammonia should never be mixed with bleach, as the combination produces toxic fumes.
- Commercial Mold and Mildew Removers: There are many commercial cleaning products specifically designed for mold and mildew removal available at local retailers. These products often contain strong chemicals, so be sure to follow the manufacturer’s instructions carefully and wear appropriate protective gear.
• Cleaning the Mold and Mildew
Once you’ve selected your cleaning solution, apply it directly to the mold and mildew using a brush or sponge. Allow the cleaner to sit for the recommended time, typically around 10-15 minutes.
After the cleaning solution has had time to work, scrub the affected area vigorously with a stiff brush. Rinse the surface thoroughly with clean water, ensuring all traces of mold, mildew, and cleaning solution are removed.
Allow the surface to air dry completely before proceeding with any further surface preparation or finishing.
• Prevention Tips
To prevent future mold and mildew growth, it’s essential to address underlying moisture issues. This may involve fixing leaks, increasing airflow, using a dehumidifier, or applying water-resistant paint or sealants.
Proper cleaning and maintenance are also crucial in preventing mold and mildew growth. Be sure to clean high-humidity areas regularly and use mold-resistant cleaning products when necessary.
In conclusion, dealing with mold and mildew during surface preparation is a critical step in ensuring a successful and long-lasting project.
By properly identifying the issue, using the appropriate cleaning solution, and taking preventive measures, you can effectively eliminate mold and mildew from your home and maintain a clean, healthy living environment.
Mold Removal on Hard Surfaces: Best Cleaning Practices
Mold is a common problem in many households and businesses, and it can have adverse effects on the health of those exposed to it. To effectively deal with mold on hard surfaces, it is crucial to follow a specific cleaning procedure that ensures the complete removal of mold along with its spores.
• Identifying Mold on Hard Surfaces
First and foremost, it is essential to properly identify mold on a hard surface. Mold usually appears as black, green, or blue spots and is typically accompanied by a musty smell. You can also use at-home mold testing kits, which are available at your local hardware store.
If you’re unsure about whether the mold is present, you may want to consult with a professional. A guide from the Environmental Protection Agency (EPA) may be helpful in understanding more about mold issues and when to consult a professional.
• Preparing for Mold Removal
Before starting the cleaning process, it is important to gather the necessary tools and equipment. Here’s a list of recommended items:
- Rubber gloves
- Protective eyewear
- Face mask (N-95 respirator)
- Cleaning solution (bleach, detergent or specialized mold cleaner)
- Stiff-bristled brush or scrubbing pad
- Clean, dry cloth or paper towels
- Bucket of water
- Plastic drop cloth or tarp (optional)
- Fan (optional)
Additionally, ensure proper ventilation in the area where you will be working by opening windows and doors to promote air circulation.
• Protecting Yourself and the Area
While cleaning mold, it is crucial to protect yourself from mold spores that may become airborne during the cleaning process. An N-95 respirator provides suitable protection from mold spores, while rubber gloves and protective eyewear protect your hands and eyes.
Furthermore, consider covering the floor and surrounding items with a plastic drop cloth or tarp to prevent mold spores from spreading to adjacent areas.
• Removal Process
Here is a step-by-step cleaning procedure to follow when dealing with mold on hard surfaces:
- Mix the cleaning solution: In a bucket, combine water with your chosen cleaning agent, such as bleach, detergent, or specialized mold cleaner. Follow the manufacturer’s instructions for the appropriate ratio of water to the cleaning agent.
- Apply the solution: Dip the stiff-bristled brush or scrubbing pad in the cleaning solution and apply it generously to the moldy surface.
- Scrub away the mold: Using moderate pressure, scrub the surface to remove the mold growth. You may need to apply more cleaning solutions during this process, as needed.
- Rinse the surface: When the visible mold has been removed, rinse the hard surface using clean water to remove any residual cleaning solution and mold spores.
- Dry the surface: Using a clean, dry cloth or paper towel, dry the surface thoroughly to prevent any remaining mold spores from growing.
- Discard used materials: Dispose of used cleaning materials, such as the brush or scrubbing pad, along with paper towels or cloth, in a sealed plastic bag.
- Inspect and repeat: Inspect the area to ensure that all mold has been removed. If mold remnants are still visible, repeat the cleaning process as necessary.
– Additional Recommendations
- If mold persists despite repeated cleaning attempts, it is advisable to consult with a professional mold remediation service for further assistance.
- After successful mold removal, consider installing a dehumidifier in the affected area to maintain low humidity levels and prevent future mold growth.
- Regularly clean and inspect areas prone to mold growth, such as bathrooms and basements, to prevent future problems.
• In Conclusion
Mold on hard surfaces can be effectively removed by following the recommended cleaning procedure detailed in this article.
By taking the proper precautions, using the appropriate cleaning solution, and thoroughly drying the affected areas, you can successfully eliminate mold from your hard surfaces and maintain a healthy living environment.
Safety Measures for Handling Mold Issues
Mold can pose a significant risk to your health and can also cause considerable damage to your home or workplace. It is essential to take the necessary precautions when dealing with mold to minimize risks and ensure a safe environment.
• Identifying Mold
Before taking any precautions, it is crucial to identify the presence of mold. Mold typically appears as black, green, or white spots on surfaces and may have a musty odor. The most common places where mold can grow include:
- Bathrooms and kitchens
- Basements and crawlspaces
- Attics and roofs
- Window sills and walls
Mold thrives in damp, humid conditions, so if you’re noticing a persistent musty smell or dampness, it’s essential to investigate further. The Environmental Protection Agency offers comprehensive guidance on identifying and addressing mold problems.
• Preventative Measures
Taking preventive measures is crucial to minimize the risk of mold growth in your home or workplace. Here are some practical tips to help prevent mold growth:
– Maintain Proper Ventilation
Improving airflow throughout your property is essential in reducing humidity and preventing mold growth. Ensure that your home or office is well-ventilated, with adequate ventilation systems operating in damp areas like bathrooms and kitchens.
Regularly open windows and doors to let fresh air circulate, particularly during warmer months.
– Monitor Humidity Levels
Controlling humidity levels is crucial in preventing mold growth. Humidity levels within a property should be maintained at around 30-60%. Invest in a reliable humidity monitor to keep track of humidity levels and ensure they remain within safe limits.
If necessary, use a dehumidifier to help reduce excess moisture in the air.
– Repair Leaks
Water leaks can lead to excess moisture and trigger mold growth. Regularly inspect your property for water leaks and fix them promptly. Pay close attention to pipes, faucets, and appliances, as well as roofs, windows, and walls.
• Mold Cleanup and Removal
If you’ve identified mold growth in your home or workplace, it’s essential to take immediate action to clean it up and remove it. Here are some essential steps to follow when dealing with mold cleanup and removal:
– Assess the Extent of Mold Growth
Before you begin the mold removal process, it’s essential to assess the extent of mold growth. This will help you determine the most appropriate course of action and whether professional help is required.
For small, contained areas, such as a patch of mold on a wall, you might be able to manage the cleanup yourself. However, if mold growth is extensive or within the building’s structure, consulting a professional mold remediation company is recommended.
– Protect Yourself and Others
When dealing with mold, it is crucial to protect yourself and others from potential health risks. Wear protective gear, such as gloves, goggles, and a mask (preferably an N95 respirator), to minimize exposure to mold spores.
Ensure that the affected area is well-ventilated to avoid inhaling mold spores. If you’re using chemical cleaners, follow the manufacturer’s instructions carefully to avoid injury or damage.
– Remove Contaminated Materials
If possible, remove any moldy materials, such as carpeting, drywall, or wood, and dispose of them in a sealed plastic bag. Ensure that any other contaminated materials are cleaned or discarded following proper guidelines.
– Clean and Disinfect Surfaces
Thoroughly clean and disinfect any surfaces affected by mold growth using a combination of soap and water, followed by a mold-killing solution.
A mixture of one cup of bleach to one gallon of water is an effective DIY mold-killing solution. However, never mix bleach with ammonia, as it produces toxic fumes.
Ensure that surfaces are adequately dried after cleaning to prevent mold regrowth.
• Professional Help
If you’re unsure about how to handle mold problems or if mold growth is extensive and difficult to access, it’s essential to seek professional help.
An experienced mold remediation company will have the necessary equipment, knowledge, and expertise to handle mold removal safely and effectively.
In conclusion, taking the proper precautions when dealing with mold is crucial for ensuring a safe environment and minimizing health risks.
By identifying, preventing, and managing mold problems with appropriate measures, you can protect yourself, your family, and your property from the dangers of mold.
Preventing Mold Spore Exposure During Surface Cleaning
Mold is a common household problem, but it can also pose several health risks, especially for people with allergies or weakened immune systems.
Therefore, it’s essential to know the best practices for cleaning mold from surfaces and minimizing exposure to mold spores.
• Use the Right Personal Protective Equipment (PPE)
Before starting any mold cleanup, it’s important to wear appropriate PPE to protect yourself from exposure. This will help prevent the inhalation of mold spores and minimize contact with your skin and eyes. Some necessary PPE may include:
- N-95 respirator or mask: An N-95 respirator mask is designed to filter at least 95% of airborne particles, including mold spores. You can find these masks at most home improvement stores or online.
- Gloves: Wear long, non-porous gloves made of rubber, latex or nitrile. These materials will prevent mold spores from penetrating through to your skin.
- Goggles: Choose tight-fitting goggles without vent holes to prevent mold spores from entering your eyes during cleaning.
• Proper Ventilation and Air Filtration
When cleaning mold, it’s important to ensure adequate ventilation in the area to avoid concentrating mold spores.
Open windows and doors to increase air circulation and facilitate the removal of mold spores from the space. However, avoid using fans, as they can disperse mold spores and exacerbate the problem.
In addition, consider using an air purifier equipped with a High-Efficiency Particulate Air (HEPA) filter. HEPA filters are designed to capture at least 99.97% of particles measuring 0.3 microns or larger, which includes mold spores.
This can help reduce the concentration of mold spores in the air during cleaning.
• Choose the Right Cleaning Solutions
Using effective cleaning solutions is essential for removing mold and preventing its recurrence. Several cleaning solutions can be used to combat mold, including:
- Diluted bleach: Mix one cup of bleach with one gallon of water. This mixture can be used on non-porous surfaces like tiles, glass and certain types of countertops. Note that bleach can cause discoloration, so be sure to test the solution on a small, inconspicuous area first.
- Vinegar: Distilled white vinegar is a good alternative to bleach, as it is less harsh and does not pose a risk of discoloration. Apply undiluted vinegar to the affected surface and let it sit for about an hour before scrubbing and rinsing.
- Baking soda: Combine half a cup of baking soda with one gallon of water to create a paste. Apply the mixture to the moldy area and scrub with a stiff brush, then rinse with water.
Remember that porous surfaces like drywall or carpet may need to be replaced if the mold infestation is severe, as cleaning may not be sufficient in these cases.
• Clean Using a Wet Wipe Method
Dry wiping moldy surfaces can release mold spores into the air, increasing the risk of exposure. Instead, use the wet wipe method, where surfaces are dampened with a cleaning solution before wiping. This will help to capture the mold spores and prevent them from becoming airborne.
• Proper Disposal of Contaminated Materials
After completing the cleaning process, it’s crucial to properly dispose of any contaminated items. Place them in a sealed, heavy-duty garbage bag to prevent the release of mold spores.
Be sure to wear your PPE while handling these materials and, if possible, dispose of them outside to minimize the risk of reintroducing mold spores into your home.
• Consult a Professional, If Necessary
If you’re unsure about the best way to handle mold in your home or if the infestation is extensive and severe, consider consulting a professional.
A certified mold remediation expert can provide guidance and ensure that the mold removal process is conducted safely and effectively. The Environmental Protection Agency’s (EPA) website can provide additional information on mold cleanup and remediation.
In conclusion, cleaning mold from surfaces can expose you to potentially harmful mold spores.
By following the steps outlined above, including wearing appropriate PPE, ensuring proper ventilation, using effective cleaning solutions, and practicing safe disposal methods, you can minimize your risk of exposure to mold spores and maintain a healthier home environment.
Eliminating Mold and Mildew Pre-Painting
Mold and mildew are common problems homeowners face, especially in damp areas. When you decide to paint your home, it’s essential to get rid of mold and mildew first to avoid compromising the paint job and your family’s health.
• Identifying Mold and Mildew
Before starting the remediation process, you need to identify the presence of mold and mildew. Mold is usually black, green, or bluish and has a musty smell, while mildew is a powdery or fluffy white substance.
If you’re unsure, you can consult expert guidance from the United States Environmental Protection Agency (EPA) on mold and mildew identification and management.
• Preparing the Area for Mold and Mildew Removal
Before removing mold and mildew, it’s crucial to prepare the area for maximum safety and efficiency. Follow these steps:
- Wear appropriate protective gear, including gloves, goggles, and a mask.
- Move furniture, carpets, and other items away from the wall, or cover them with plastic sheeting.
- Create good ventilation by opening windows or using a fan to help get rid of mold spores.
• Removing Mold and Mildew Using a Cleaning Solution
You can use different cleaning solutions to deal with mold and mildew. Here are some of the most effective solutions:
– Commercial Mold and Mildew Removers
These products are available in most hardware stores and are specially formulated to kill mold and mildew. Make sure to follow the manufacturer’s instructions for optimal results.
– Bleach Solution
A bleach solution is an effective method for killing mold and mildew. Mix one cup of bleach with a gallon of water, then apply the solution to affected areas using a sponge or brush. Let it sit for at least ten minutes, then scrub the surface to remove mold and mildew remnants.
– Vinegar Solution
For a more natural alternative, use white distilled vinegar to kill mold and mildew. Pour the vinegar into a spray bottle and apply it to the affected areas. Let it sit for an hour, then scrub the surface clean.
• Drying the Area
After cleaning the affected areas, it’s essential to dry everything completely before painting. Mold and mildew thrive in damp conditions, so eliminate all moisture to prevent their reoccurrence.
- Wipe off excess water with a clean cloth.
- Use a dehumidifier, air conditioner, or heater to speed up the drying process.
- Ensure proper ventilation by opening windows and doors.
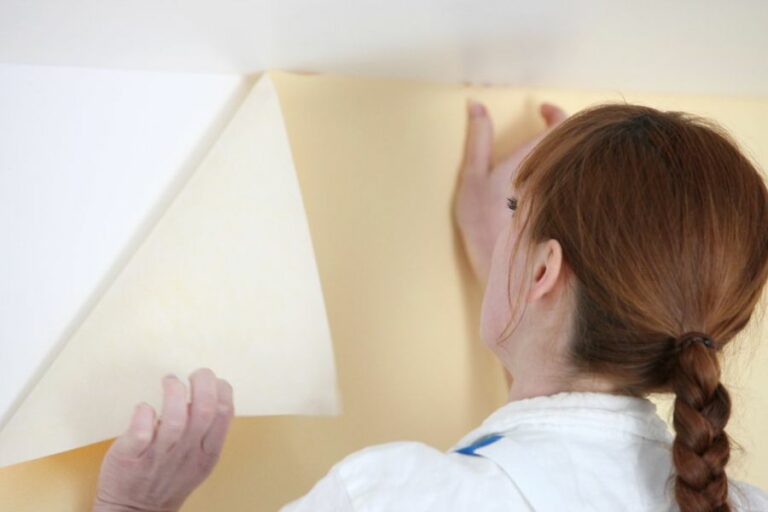
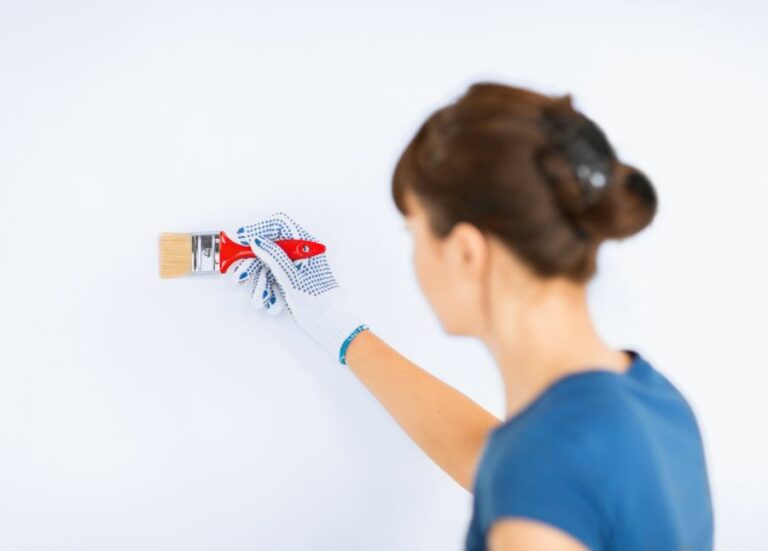
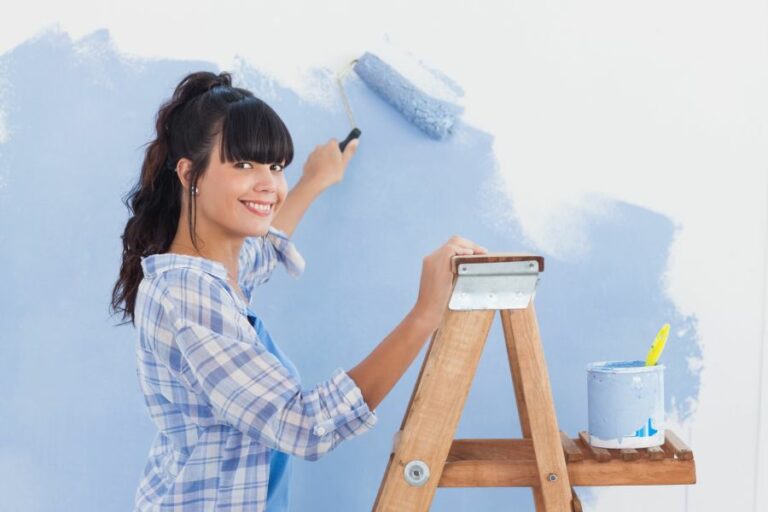
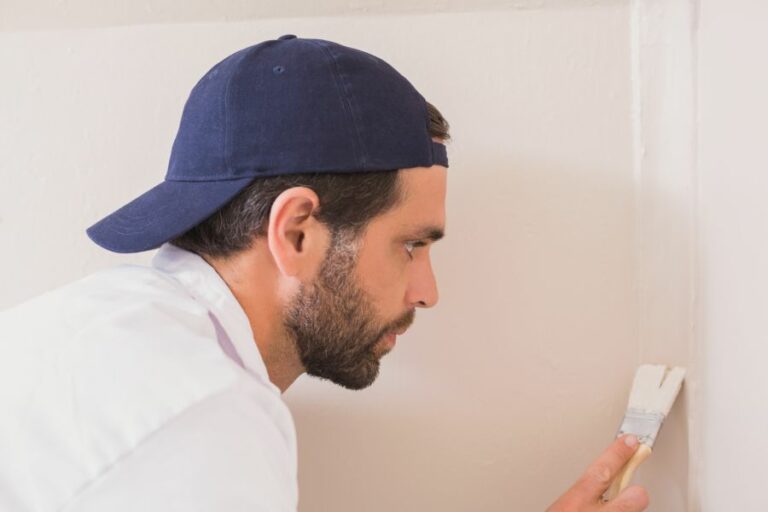
• Painting with Mold-resistant Paint
When painting over previously affected areas, choose mold-resistant paint to prevent mold and mildew growth. This type of paint contains additives that inhibit the growth and spread of mold and mildew.
- Apply a mold-resistant primer to the cleaned and dried surface.
- Wait for the primer to dry according to the manufacturer’s instructions.
- Apply at least two coats of mold-resistant paint, allowing each coat to dry before applying the next.
• Maintaining a Mold-free Environment
To keep your newly painted surfaces mold-free, consider these tips:
- Ensure proper ventilation in damp areas, such as bathrooms and basements.
- Invest in a dehumidifier to control moisture levels.
- Regularly clean and inspect prone areas for early signs of mold and mildew.
By following this comprehensive guide, you can effectively remove mold and mildew from your home and enjoy a fresh, clean, and safe environment when painting. Remember always to act promptly at the first sign of mold or mildew to protect your family’s health and maintain your home’s value.
Step | Instruction |
|---|---|
1 | Inspect the affected area for mold and mildew growth. |
2 | Prepare a solution of 1 part bleach and 3 parts water in a bucket. |
3 | Put on protective gloves and eyewear. |
4 | Apply the bleach solution to the moldy and mildewy areas using a brush, sponge, or spray bottle. |
5 | Allow the solution to sit for at least 15 minutes to kill the mold and mildew. |
6 | Scrub the affected areas with a brush, making sure to remove any visible mold and mildew. |
7 | Rinse the area thoroughly with clean water to remove any remaining bleach solution and loosened mold or mildew. |
8 | Allow the area to dry completely before painting. |
Effective Cleaning Agents for Mold and Mildew Removal
Mold and mildew are common household problems that can lead to stained surfaces and an unhealthy living environment. To effectively remove and kill mold and mildew spores, it is crucial to use the right cleaning agent.
• Bleach: A Powerful and Commonly Used Mold Remover
One of the most common and effective cleaning agents for mold and mildew removal is bleach. Bleach is a powerful disinfectant that can kill mold spores on surfaces, stop their growth, and remove stains caused by them.
– How to Use Bleach for Mold and Mildew Removal
To use bleach as a mold and mildew remover, mix one cup of bleach with one gallon of water. Apply this solution to affected surfaces using a sponge or cloth, and let it sit for at least 15 minutes.
Afterward, scrub the surface thoroughly and rinse with water. In cases of severe mold and mildew infestations, a second application may be necessary.
It is important to note that bleach should not be mixed with ammonia or other household cleaners, as this can produce toxic fumes.
Additionally, bleach may not be suitable for porous surfaces like wood, as it can damage the material and may not effectively reach the mold and mildew spores within the pores (EPA).
• Hydrogen Peroxide: An Eco-Friendly Option for Mold and Mildew Removal
Hydrogen peroxide is an eco-friendly alternative to bleach, which can also effectively kill mold and mildew spores and remove stains on surfaces. It is a safe and non-toxic cleaning agent that poses minimal risk to human health and the environment.
– Using Hydrogen Peroxide for Mold and Mildew Treatment
To use hydrogen peroxide as a mold and mildew remover, mix a solution containing a 3% hydrogen peroxide concentration with an equal amount of water.
Spray the solution onto affected surfaces and let it sit for at least 10 minutes before scrubbing the area thoroughly and rinsing it with water.
Hydrogen peroxide is safe to use on various surfaces, including porous materials like wood. However, it is essential to test the solution on a small, inconspicuous area first to ensure it does not damage the material or cause discoloration.
• Vinegar: A Natural Solution for Mold and Mildew Elimination
Vinegar is a natural and eco-friendly cleaning agent that can effectively kill mold and mildew spores and remove stains. Vinegar is mildly acidic, enabling it to penetrate porous materials and kill mold spores deep within the surface.
– How to Use Vinegar for Mold and Mildew Treatment
To use vinegar as a mold and mildew remover, pour undiluted white vinegar into a spray bottle and apply it directly to the affected surface. Allow the vinegar to sit for at least one hour, then scrub the surface with a brush and rinse with water.
It is important to note that vinegar has a strong smell, which may be unpleasant for some individuals. Opening windows and doors to ventilate the area can help reduce the vinegar odor.
• Borax: A Detergent that Eliminates Mold and Mildew
Borax is a laundry detergent that can effectively kill mold and mildew spores, remove stains, and prevent mold regrowth. It is a safe and non-toxic cleaning agent that does not emit harmful fumes or residue.
– Using Borax for Mold and Mildew Treatment
To use borax as a mold and mildew remover, mix one cup of borax with a gallon of water. Apply the solution to the affected area using a cloth or sponge, and scrub the surface thoroughly.
Unlike bleach or hydrogen peroxide, borax does not need to be rinsed after application, as the remaining residue can help prevent mold and mildew regrowth.
Borax is safe to use on various surfaces and materials. However, it is vital to ensure that the surface can tolerate the detergent by testing it on a small, inconspicuous area first.
• Conclusion
Several cleaning agents can effectively kill mold and mildew spores and remove stains from surfaces. These include bleach, hydrogen peroxide, vinegar, and borax.
Each of these cleaning agents has its benefits and drawbacks, so it is essential to consider the material and severity of the infestation when choosing the best one to use.
Always follow safety precautions and directions when using cleaning agents, as improper usage can harm both individuals and surfaces. By using the appropriate cleaning agent and methods, mold and mildew issues can be addressed, and a clean, healthy environment can be maintained.