Guide On Surface Preparation For Textures, What Pros Say
If you’ve been searching for the perfect guide on surface preparation for textures, look no further: we’ve got you covered! With proper surface preparation, you can significantly enhance the appearance and durability of textured finishes. Our step-by-step guide will walk you through the necessary process, ensuring impressive results every time.
Guide on surface preparation for textures:
Surface preparation is vital for a professional-quality textured finish in painting and building projects. Proper preparation ensures better adhesion, improved appearance, and enhanced durability. Techniques include inspecting and repairing the surface, removing loose paint, sanding, cleaning, and applying primer if necessary. Choose the right tools for effective preparation, such as scrapers, sandpaper, wire brushes, and power tools.

Discover the secrets to achieving the perfect texture in your design projects! In our comprehensive guide on surface preparation for textures, we delve into the methods and tools worth investing in for that seamless finish. Read on to level up your creative game and create the textures you’ve always imagined.
Contents
- 1 Comprehensive Guide to Surface Preparation for Texturing
- 2 The 8 Key Stages in Surface Prepping Process
- 2.1 • 1. Assess the Surface Condition
- 2.2 • 2. Select the Appropriate Surface Preparation Method
- 2.3 • 3. Develop a Surface Preparation Plan
- 2.4 • 4. Clean the Surface
- 2.5 • 5. Perform Mechanical or Chemical Surface Preparation
- 2.6 • 6. Inspect the Surface
- 2.7 • 7. Apply Primer or Surface Treatment (If Required)
- 2.8 • 8. Protect the Prepared Surface
- 3 Essential Steps for Effective Surface Preparation
Comprehensive Guide to Surface Preparation for Texturing
A well-prepared surface is essential for achieving professional-quality texture finishes in painting and other building projects. In this guide, we will discuss the importance of proper surface preparation, techniques and methods, and tips to ensure a flawless textured finish.
• Why Surface Preparation Matters
Surface preparation is a crucial step in the texture application process. A clean, smooth, and well-prepared surface ensures:
- Better adhesion: Properly-prepared surfaces allow the texture to bond efficiently, resulting in a long-lasting finish.
- Improved appearance: A smooth surface eliminates imperfections such as bumps, cracks, and peeling, helping the texture look its best.
- Enhanced durability: A well-prepared surface minimizes the risk of future damage, such as chipping or peeling.
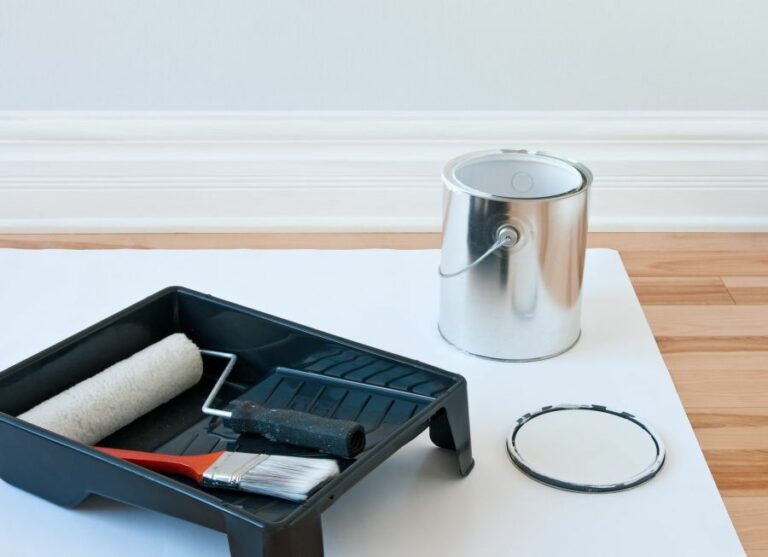
• Choosing the Right Tools for the Job
Selecting the correct tools and materials for your surface preparation is essential. Here are some of the most commonly used tools:
- Scrapers: Ideal for removing loose or peeling paint and smoothing rough surfaces.
- Sandpaper/Sanding Blocks: Used to smooth surfaces, remove minor imperfections, and create a better bonding surface.
- Wire Brushes: Useful for removing rust, flaking paint, and grime from metal surfaces.
- Power Tools: Electric sanders and grinders can expedite surface preparation for larger projects.
- Cleaning Materials: A combination of solvents, detergents, and clean water are used to clean and degrease surfaces before and after preparing them.
Remember to always read the texture product labels, as they often contain specific recommendations for surface preparation methods and tools.
• Steps for Surface Preparation
– Step 1: Inspect and Assess the Surface
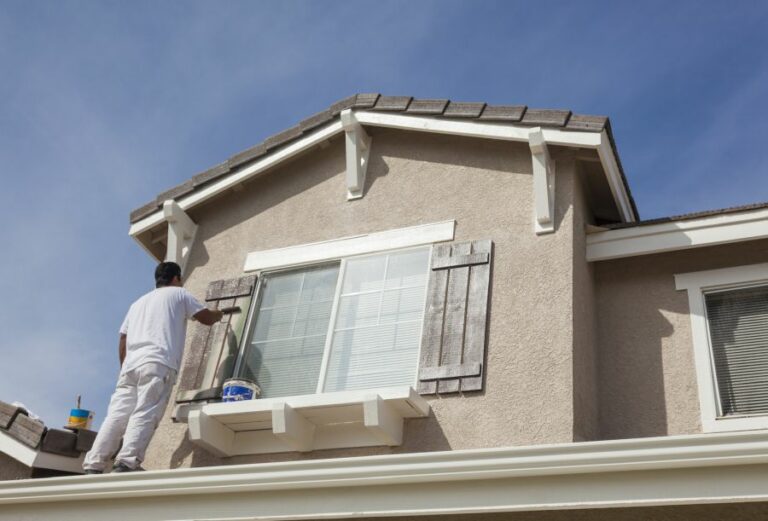
Before you start, inspect the surface to identify any damages, imperfections, or contaminants. This information will guide you in determining the appropriate surface preparation techniques.
– Step 2: Repair and Fill
For cracked or damaged surfaces, use a filling compound or patching material to repair the affected areas. Sand the filled areas to make sure they blend into the surrounding surface.
This Guide to Patching and Repairing Surfaces from the National Park Service offers helpful information on repairing various types of surfaces.
– Step 3: Remove Loose or Peeling Paint
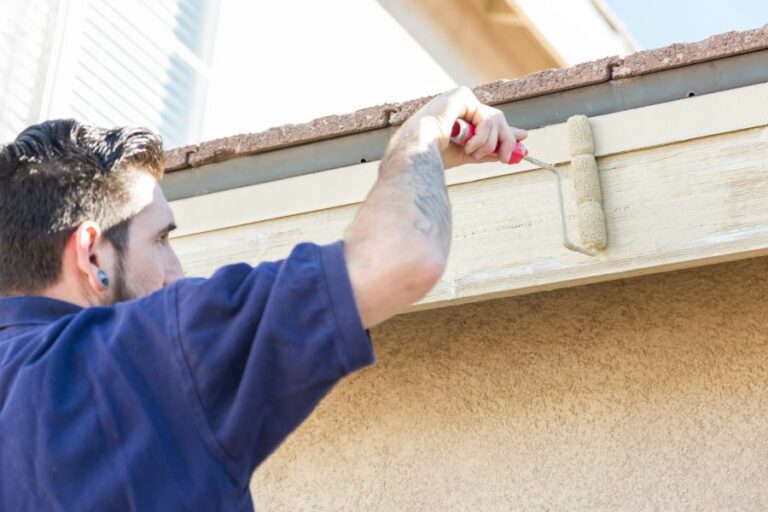
Using a scraper or wire brush, remove any loose or peeling paint from the surface. Remember to exercise caution when dealing with older paint containing lead.
– Step 4: Sanding
For most textures, a smooth surface is recommended. Sand the entire surface using appropriate grit sandpaper or a sanding block. Begin with coarse-grit sandpaper and progress to a finer grit if needed for a smoother finish.
– Step 5: Clean the Surface
After sanding, remove any dust, dirt, or grease by thoroughly cleaning the surface with a combination of solvents, detergents, and clean water. Allow the surface to dry completely before moving forward.
– Step 6: Apply a Primer (if necessary)
Some texture products require the use of a primer to enhance adhesion and overall appearance. Consult the texture product label for any specific priming recommendations.
• Expert Tips for Flawless Surface Preparation
- For large projects, consider investing in power tools like electric sanders or grinders. These tools can significantly speed up the surface preparation process.
- Always wear appropriate personal protective equipment, such as gloves and goggles or safety glasses, when working with tools and chemicals.
- Be patient. Proper surface preparation takes time, but the resulting texture finish will be worth the effort.
- Practice your surface preparation techniques on a small, inconspicuous area before tackling the main project. This will help you hone your skills and gain confidence in the process.
- When working with chemicals or solvents, ensure you are in a well-ventilated area to prevent exposure to harmful fumes.
In summary, adequate surface preparation is pivotal in achieving a professional-quality textured finish. By following the steps and tips outlined in this guide, you can ensure a durable, attractive, and long-lasting texture for your painting or building project.
The 8 Key Stages in Surface Prepping Process
Surface preparation is a fundamental step for ensuring the proper application of coatings, adhesives, and other materials to achieve superior performance, excellent adherence, and long-lasting durability.
As an experienced coatings professional, I will provide you with the crucial eight steps of surface preparation that I recommend in this comprehensive article.
• 1. Assess the Surface Condition
The initial step is to evaluate the condition of the surface. Check for the presence of rust, loose or flaking paint, dirt, grease, oil, or other contaminants that may affect the adhesion and performance of the applied coating or material.
• 2. Select the Appropriate Surface Preparation Method
Based on the surface’s condition and the specific application requirements, choose the most suitable surface preparation method, such as abrasive blasting, power tool cleaning, or chemical cleaning, among others.
Each method has its advantages and limitations; selecting the proper preparation technique ensures optimal results.
• 3. Develop a Surface Preparation Plan
A carefully designed surface preparation plan is vital for achieving the desired results. Identify each step required, the materials and equipment needed, the environmental and safety considerations, and any required inspections or tests.
A well-organized plan helps ensure that your surface preparation efforts are effective and efficient.
• 4. Clean the Surface
Before undertaking any mechanical or chemical surface preparation, clean the surface to remove loose debris, dirt, and other contaminants.
A thorough cleaning, which may involve power washing, detergent scrubbing, or vacuuming, depending on the surface, is essential for the success of the subsequent steps.
• 5. Perform Mechanical or Chemical Surface Preparation
Carry out the selected surface preparation method to obtain the desired level of cleanliness and roughness. This process may involve:
- Abrasive blasting: Using media such as sand, steel grit, or crushed glass to remove rust, scale, and old coatings and to provide a rough surface profile for improved adhesion.
- Power tool cleaning: Utilizing grinders, wire brushes, sanders, or needle guns to roughen and clean the surface.
- Chemical cleaning: Applying strippers, degreasers, or acids to dissolve rust, paint, and other contaminants, followed by rinsing or neutralizing.
Ensure that you follow safety guidelines and environmental regulations while performing these activities.
• 6. Inspect the Surface
After completing the mechanical or chemical surface preparation, inspect the surface to ensure that the desired level of cleanliness and roughness has been achieved.
You might use standards like ISO 8501 for visual inspection or surface profile comparators to evaluate the surface profile. Address any deficiencies or inconsistencies found during the inspection.
• 7. Apply Primer or Surface Treatment (If Required)
Depending on the application, a primer or other surface treatment may be necessary for enhanced corrosion protection, improved adhesion, or reduced porosity. Follow the manufacturer’s guidelines for the application of primers or surface treatments.
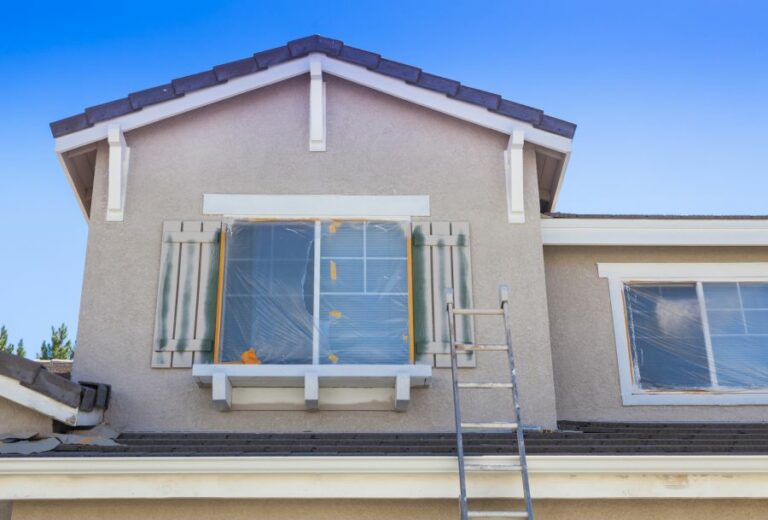
• 8. Protect the Prepared Surface
A cleaned and prepared surface is susceptible to contamination and corrosion. Therefore, apply the coating, adhesive, or other material promptly to maintain the prepared surface’s integrity.
If there is an unavoidable delay, protect the surface using temporary coatings, sheltering, or storage in a controlled environment.
In conclusion, proper surface preparation involves several crucial steps that ensure the effective application, adhesion, and performance of coatings and other materials.
By following these essential eight steps and adhering to the relevant standards and guidelines, you can achieve a durable, high-quality, and long-lasting finish.
Step Number | Step Description |
|---|---|
1 | Inspect and evaluate the surface |
2 | Decide on the surface preparation method |
3 | Clean the surface to remove dirt, dust, and other contaminants |
4 | Remove any old paint, coatings, or rust |
5 | Fix any surface imperfections, such as cracks, holes, or dents |
6 | Smooth the surface through sanding, grinding, or other methods |
7 | Apply a primer if necessary |
8 | Ensure the surface is clean and dry before applying the final coating |
Essential Steps for Effective Surface Preparation
Surface preparation is a crucial step in numerous construction and renovation projects because it ensures a successful outcome by allowing for the proper adhesion and durability of materials.
• Assessing the Surface Condition
Before you begin any surface preparation, it is essential to assess the surface’s condition. This process involves identifying any existing coatings, the presence of rust or contaminants, and any physical defects like cracks or unevenness.
Proper assessment allows you to tailor your surface preparation approach according to the specific needs of the project.
– Removing Old Coatings
If old coatings or paint are present on the surface, they must be removed before applying new materials. Techniques for this process include:
- Chemical stripping: The use of chemical strippers to break down the old coating, which can then be scraped or washed off.
- Sanding: Using abrasive materials like sandpaper to remove paint or loose material from the surface.
- Grinding: Removing old coatings using power tools like angle grinders with abrasive discs.
- Blast cleaning: This method involves the use of dry abrasive blasting equipment to clean away existing coatings, rust, and other contaminants from the surface. It’s particularly useful for large areas and steel structures in need of surface preparation.
– Cleaning the Surface
The next crucial step is to ensure the surface is clean and free from dirt, grease, and other contaminants. A dirty surface will impede the new coating’s adhesion and may compromise the project’s quality and longevity.
- Degreasing: Use solvents or degreasing agents, such as TSP (trisodium phosphate), to remove grease, oil, and similar contaminants from the surface.
- Pressure washing: A high-pressure water spray is an effective method for cleaning surfaces, particularly those with stubborn dirt and debris. This method can be used in conjunction with degreasers for optimal results.
- Steam cleaning: Steam cleaners can remove built-up grime and grease effectively without the need for harsh chemicals.
– Addressing Surface Defects
Once the surface is clean, it’s time to address any physical defects, such as cracks, holes, or uneven areas.
- Filling: Use fillers or patching compounds suitable for the specific surface material to fill any gaps or cracks.
- Sanding or grinding: After the filler is dry, sand or grind the area until it is level with the surrounding surface. This step ensures a smoother overall finish and better adhesion.
- Leveling: For larger uneven areas or concrete surfaces, you may need to use self-leveling compounds or employ grinding techniques to achieve an even surface.
• Preparing the Surface for Coating
Once the surface is clean, free of defects, and level, it’s time to prepare it for the application of the new coating or material.
– Abrasion
To improve adhesion, many surfaces benefit from some degree of abrasion, particularly metals and concrete. This process creates a rough surface which enables better bonding between the coating and the substrate.
- Manual abrasion: You can use sandpaper, abrasive pads, or wire brushes for small areas or less demanding projects.
- Powered abrasion: Power tools like angle grinders or sanders fitted with abrasive attachments can be used for larger surfaces or more stubborn materials.
– Priming
In some cases, a primer may be necessary to further enhance adhesion and provide a uniform, sealed surface for the subsequent coating.
- Use the appropriate primer: Make sure to choose a primer that is compatible with the surface material and the desired coating to ensure the best possible results.
- Follow manufacturer guidelines: Each primer may have specific instructions regarding application methods, drying times, and other factors. Carefully follow these guidelines for optimal results.
• Finalizing Surface Preparation
Once all of the above steps have been carried out, the surface is now prepared for the application of the new coating or material.
Take a moment to inspect the surface, ensuring it is clean, level, and free of any remaining defects or debris. With a well-prepared surface, you can confidently move forward with your project, knowing that you have laid the groundwork for a high-quality, long-lasting result.