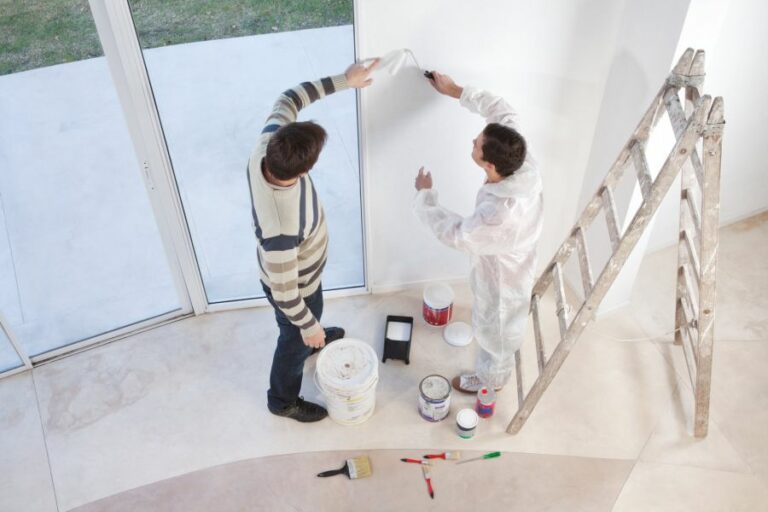
DIY: Getting Surfaces Ready For New Paint Layers, What Pros Say
Embarking on a DIY painting project can be exciting and daunting, but ensuring the best results requires proper preparation. Fear not, as we’ve got you covered in understanding the importance of getting surfaces ready for new paint layers. With our guidance, you’ll be well-equipped to tackle surface prep confidently and efficiently.
DIY: getting surfaces ready for new paint layers:
Proper surface preparation is vital for a professional and durable paint job. Depending on the surface, such as drywall, plaster, wood, or metal, various issues need addressing, including dents, cracks, old paint, or rust. Following the right steps and using suitable primers for each type and safety precautions ensure a successful, long-lasting result.

Unleash your inner DIY enthusiast as we dive into the world of preparing surfaces for new paint layers! Learn essential tips and techniques to achieve a flawless finish, ensuring your space looks impeccable. Read on for expert advice on achieving top-quality results every time.
Contents
- 1 DIY Guide: Prepping Surfaces for Fresh Paint Coats
- 2 Steps for Preparing Home Surfaces for Repainting
- 3 Pre-Painting: Best Cleaning Methods for Surfaces
- 4 Techniques for Painting Over Existing Paint Layers
- 5 Smoothing Uneven Surfaces: Preparing for Paint
DIY Guide: Prepping Surfaces for Fresh Paint Coats
• Importance of Surface Preparation
Proper surface preparation is crucial for achieving professional-looking paint jobs. Neglecting this step can lead to uneven paint application, poor adhesion, and eventual peeling or flaking off of the paint.
With the right tools, techniques, and patience, you can ensure your paint job will be long-lasting and visually appealing.
• Types of Surfaces and Common Issues
There are various surfaces that you may need to prepare for painting, including:
- Drywall
- Plaster
- Wood
- Metal
Each surface has unique issues that may need addressing before applying a new layer of paint. Let us look at each type and the corresponding issues.
– Drywall
Common issues with drywall include dents, holes, and seams from tape and joint compound.
– Plaster
Walls made of plaster can have cracks, loose plaster, or damaged areas from the removal of wallpaper.
– Wood
Wooden surfaces generally require the removal of the old paint or varnish, filling in any gouges, and sanding smooth.
– Metal
Rust, oxidation, scaling, or previous layers of paint may need addressing when preparing metal surfaces.
• Preparing Drywall Surfaces
Here are the steps to prepare a drywall surface for painting:
- Fill dents and holes with joint compound or spackling paste. Allow it to dry, and then sand smooth.
- Use a drywall primer on any repaired areas to create a uniform surface to paint to adhere to.
- Lightly sand the entire surface to remove any dust and rough spots. Remove the resulting dust with a clean, damp cloth.
• Preparing Plaster Surfaces
To get plaster surfaces ready for paint, follow these steps:
- Remove any loose plaster and repair cracks with a patching compound. Allow the compound to dry thoroughly.
- Sand-repaired areas smooth and remove any dust with a clean, damp cloth.
- Seal the entire surface with an appropriate primer to improve the paint’s adhesion.
• Preparing Wood Surfaces
Wood surfaces require more attention to produce immaculate results. Here’s how to do it:
- Remove old paint or varnish using a paint scraper or chemical paint remover, followed by sanding.
- Fill any holes or gouges with wood filler, and then sand smooth.
- Sand the entire surface to create a smooth and uniform base for the new paint. Clean the surface afterward with a tack cloth to remove dust.
- Apply a primer specifically designed for wood surfaces to ensure proper adhesion and a smooth finish.
• Preparing Metal Surfaces
To prepare metal surfaces for painting, follow these steps:
- Remove any rust, scaling, or previous paint layers using a wire brush or other abrasive tools. For stubborn issues, chemical rust removers can be used.
- Wipe the surface clean with a damp cloth to remove dust and any residue.
- Apply a metal primer to seal the surface and promote better paint adhesion.
• Safety Precautions
When preparing surfaces, it is essential to take safety precautions such as wearing gloves, goggles, and a dust mask. This is especially important when working with chemical removers, sanding, or scraping old paint and loose particles from surfaces.
Keeping the area well-ventilated is also important for reducing the risk of inhaling harmful fumes and dust.
• Final Thoughts
Proper surface preparation is an essential step in any successful paint job. By following the appropriate steps for each surface type, you can ensure a long-lasting and professional-looking result.
Investing time and effort into surface preparation guarantees that your final product will not only look great but also stand the test of time.
Steps for Preparing Home Surfaces for Repainting
Painting your home can be a daunting task, especially if you’re not sure where to begin. One of the most important aspects of any painting project is properly preparing the surfaces that you plan to paint.
• Assess the Surface Condition
Before diving into surface preparations, it is crucial to assess the current condition of the surface you will be painting.
- Check for damage: Inspect the surface for any cracks, holes, or damages. These need to be addressed and repaired before painting to ensure a smooth, even finish.
- Determine the type of paint: Identify if the existing paint is water-based (latex) or oil-based. This can be done by rubbing a small area with a cotton ball soaked in rubbing alcohol. If paint rubs off, it’s water-based; if not, it’s oil-based.
• Clean the Surface
A clean surface is essential for paint to adhere properly. Dirt, dust, and grease can prevent paint from sticking and may cause it to peel or chip over time.
- Dust the surface: Use a duster or soft brush to remove any loose dust or debris from the surface.
- Wash the surface: For most surfaces, a mixture of warm water and mild detergent is suitable; however, walls with mildew or mold may require a solution of bleach and water. Rinse the surface thoroughly with clean water and allow it to dry completely before proceeding.
• Repair Surface Damage
Repairing any damage to the surface prior to painting will help achieve a professional-looking finished product.
- Fill holes and cracks: Fill small holes and cracks with a pre-made patching compound or a mixture of powdered joint compound and water. For larger holes and cracks, use a fiberglass mesh or repair patch, then apply the patching compound. Once it dries, sand the patched area until it is level with the surrounding surface.
- Repair loose or damaged plaster: If the plaster is loose or damaged, use a plaster adhesive to reattach it to the wall lath. Fill any gaps with the patching compound, then sand the repaired area smooth once it is dry.
- Replace damaged woodwork: If any woodwork, such as baseboards or window trim, is damaged beyond repair, it’s best to replace it before painting.
• Sand the Surface
Sanding is a crucial step in surface preparation, as it helps to create a smooth, even surface for the paint to adhere to.
- Remove glossy finish: If the existing paint has a glossy finish, use a fine-grit (180 to 220) sandpaper to remove the sheen, ensuring the new paint will adhere properly.
- Smooth repairs and defects: Sand any patched areas, ensuring they are level with the surrounding surface. This step also helps to reveal any imperfections that may need additional attention.
• Apply Primer
Using a primer before painting is advised for several reasons, including enhancing paint adhesion, providing a consistent base for the paint, and blocking stains or discolorations.
- Choose the correct primer: Select a primer that is compatible with both the surface material and the paint you plan to use. Oil-based primers work well with any type of paint, while latex-based primers should only be used with latex (water-based) paints.
- Apply the primer: Use a brush for tight areas and a roller for larger surfaces to apply the primer evenly. Allow it to dry completely, following the manufacturer’s recommendations, before proceeding with painting.
• Prepare the Painting Area
Before you begin painting, take the time to prepare the area to minimize mess and ensure a smooth painting process.
- Remove or cover furniture: Move any furniture out of the room or, if that’s not possible, cover it with drop cloths or plastic sheeting to protect it from paint splatters.
- Protect floors: Lay drop cloths or plastic sheeting on the floors to guard against paint drips and splatters.
- Tape off edges: Use painter’s tape to cover any areas that you do not want to be painted, such as trim, outlet covers, or light switches.
With these steps completed, your home surfaces are now properly prepared for repainting. By dedicating time and effort to surface preparation, you’ll not only have a smooth and successful painting experience but also a beautiful, long-lasting finish.
For reference guidelines, the U.S. General Services Administration has provided a document with recommendations on surface preparation and coating application procedures that you can consult for further information.
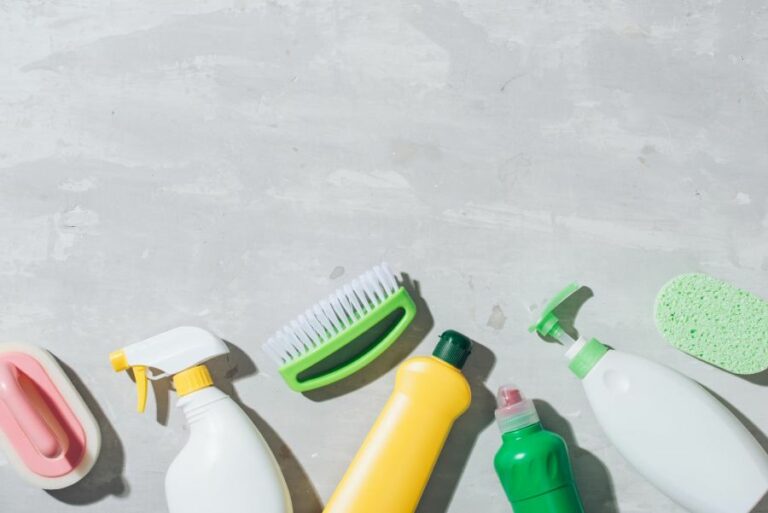
Pre-Painting: Best Cleaning Methods for Surfaces
• Importance of Surface Cleaning Before Painting
Cleaning surfaces before beginning any painting job is crucial to achieving a professional and long-lasting finish. Proper surface preparation allows the paint to adhere to the substrate, maximizing paint coverage, reducing peeling, and ensuring an even coat. Additionally, it promotes optimum paint durability and overall performance.
• Choosing the Right Cleaning Products
There are various cleaning agents and solutions available for different surfaces, ranging from mild and eco-friendly to heavy-duty and chemical-based. Depending on the surface material and the level of dirt or grease present, it is essential to select the appropriate cleaning product for your specific needs.
– Soapy Water
Soapy water is often the first choice for cleaning surfaces before painting. It is a simple, cost-effective, and environmentally friendly solution.
Mix a few drops of mild dish detergent with water, then use a sponge or rag to clean the surface thoroughly. This method works well for most interior surfaces, such as walls and furniture.
We recommend using a non-abrasive sponge to avoid damaging the surface. Rinse the area with clean water afterward to remove any soap residue.
– TSP Solution
Trisodium phosphate (TSP) is a versatile and effective cleaning agent, particularly for exterior surfaces and wood.
TSP solutions are ideal for removing heavy grime, grease, and chalking and can also help to neutralize mildew and mold. This powerful cleaner is available as a concentrate or a pre-mixed solution.
Follow the manufacturer’s instructions for mixing and applying TSP to ensure the best results. We recommend wearing gloves and safety goggles for protection.
Thoroughly rinse the area with clean water once cleaned and allow the surface to dry before proceeding with the painting process.
– Ammonia Solution
Ammonia solutions are another useful cleaning option that is especially effective for cleaning heavily soiled surfaces.
Mix one part ammonia with four parts water, and use a sponge or rag to apply the solution to the surface. Rinse thoroughly with clean water and allow it to dry before painting.
Note that ammonia should never be mixed with bleach or other acid-based cleaners, as this combination creates a toxic and dangerous gas.
– Commercial Cleaning Solutions
There are a variety of commercial cleaning products on the market that cater to specific materials, such as degreasers for metal surfaces, pre-paint cleaners for wood, or masonry cleaners for brick and concrete.
Always follow the manufacturer’s application guidelines, and ensure proper ventilation when using chemical-based cleaners. Rinse the surface with clean water, if necessary, and let it dry completely before proceeding with your paint project.
• Additional Cleaning Measures
Aside from using the appropriate cleaning solution, implementing these additional measures can significantly enhance the effectiveness of your pre-painting surface preparation:
– Dusting and Vacuuming
To effectively clean surfaces, begin by removing all visible dirt, dust, and debris. This step can be as simple as using a duster, vacuum cleaner, or a dry cloth to dust off the surface thoroughly.
This action will provide a cleaner work area and prevent the buildup of contaminants under the fresh paint.
– Sanding and Scraping
If the surface is unfinished or previously painted and exhibits any rough textures or loose flakes, sanding and scraping are necessary for creating a smooth surface for the new paint to adhere.
Use appropriate grit sandpaper or a paint scraper to remove any unwanted debris, then wipe the surface with a clean cloth to collect any dust particles.
– Priming
Priming is an essential step for several reasons. It provides a smooth, even base for the paint, prevents peeling and flaking, and extends the life of the paint job.
Always select the appropriate primer for the material being painted, such as oil-based primers for wood or specialized masonry primers for brick surfaces.
• Final Thoughts
Taking the time to clean surfaces before painting is an investment that pays off in the completed project’s quality, appearance, and longevity.
With clean surfaces, the paint will adhere better and provide a uniform, durable finish that will positively impact the overall satisfaction of your painting project.
By selecting the right cleaning products and practicing thorough preparation methods, you will be setting the stage for professional and long-lasting results.
Cleaning Solution | Surface Type | Description |
|---|---|---|
Soap and Water | Wood, Drywall, Metal | A gentle scrubbing with a mild detergent will remove dirt and grime from most surfaces. |
Trisodium Phosphate (TSP) | Wood, Drywall, Metal | A heavy-duty cleaner that is effective in removing grease, smoke residue, and stains. Mix with water according to the package instructions. |
White Vinegar | Wood | Natural, non-toxic cleaner that helps remove mold and mildew, particularly on wooden surfaces. |
Denatured Alcohol | Metal | An effective cleaner for removing grease, dirt, and other contaminants from metal surfaces before painting. |
Acetone | Metal, Concrete | A powerful solvent that dissolves and removes grease and other contaminants from metal and concrete surfaces. |
Mineral Spirits | Wood | An odorless solvent that helps remove oily deposits, wax, and other contaminants from wood surfaces before painting. |
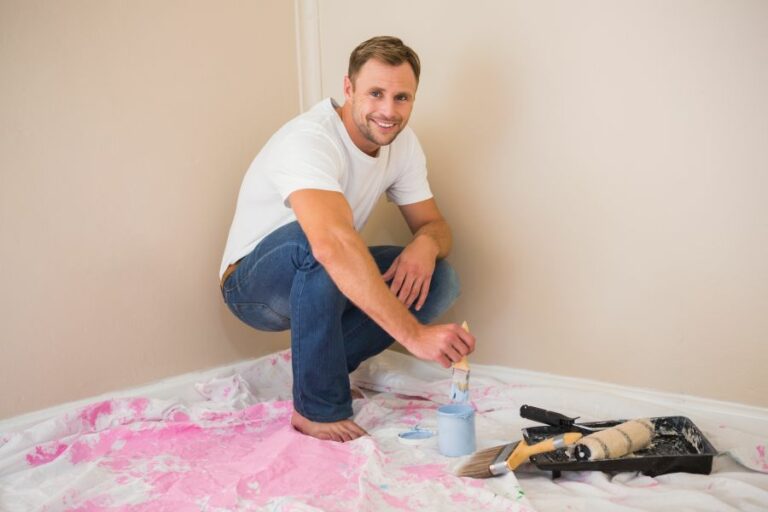
Techniques for Painting Over Existing Paint Layers
If you’re looking to give a fresh look to your walls or furniture, painting over old layers of paint is an excellent way to accomplish that. While the process might seem daunting, it’s relatively simple with the right preparation and tools.
• Importance of Preparing the Surface
Preparing the surface is absolutely crucial in ensuring that the new paint adheres properly and lasts a long time. Before you dive into painting, it’s important to assess the condition of the old paint and make necessary repairs.
– Removing Loose and Peeling Paint
Old paint that is loose or peeling must be removed to create a smooth surface for the new paint. Use a paint scraper or wire brush to gently scrape away any problematic areas.
If the old paint is particularly stubborn, consider using a heat gun or an infrared paint remover to loosen it for easier removal.
– Repairing Damaged Surfaces
Next, examine the surface for any damages, such as cracks, holes, or dents. Use a spackling compound or patching material to fill these imperfections. Once the compound has dried, sand the area smooth using fine-grit sandpaper.
– Cleaning and Degreasing the Surface
Thoroughly clean the surface to remove dust, dirt, and grease that can interfere with paint adhesion. A simple solution of mild dish soap and warm water works well.
For more stubborn grease or grime, consider using a trisodium phosphate (TSP) cleaner. After cleaning, rinse the surface with clean water and allow it to dry completely.
– Sanding the Surface
A critical step in preparing the surface is sanding. Lightly sand the entire surface with medium to fine-grit sandpaper.
This will not only remove any remaining loose paint but also create a slight texture for the new paint to adhere to more effectively. After sanding, wipe down the surface with a clean, damp cloth to remove residue and dust.
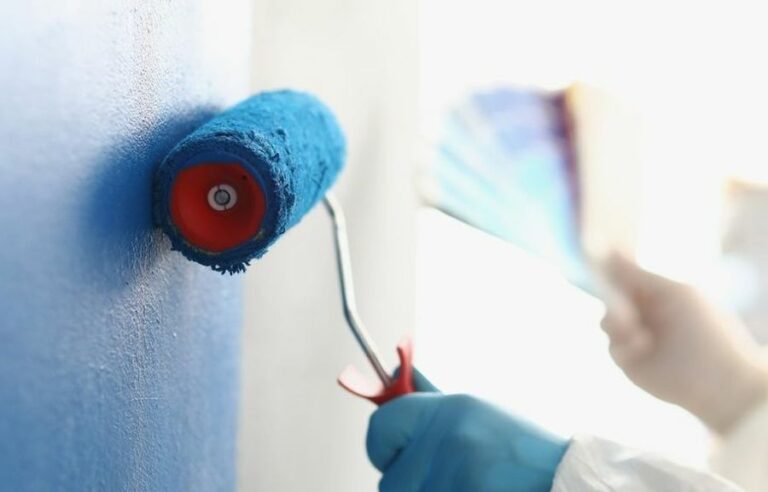
• Choosing and Applying Primer
Primer is essential for optimal paint adhesion and coverage. It creates a consistent base that helps the new paint adhere better and ensures uniform color and sheen on the finished surface. Here are some factors to consider when choosing a primer:
– Type of Primer
There are several types of primers, including oil-based, latex-based, and shellac-based. Latex primer is generally the most versatile and can be used on a variety of surfaces, such as drywall, wood, and metal.
Oil-based primer is typically used on surfaces that need extra adhesion or stain-blocking properties, like raw wood or metal. Shellac primer is excellent for sealing in odors and staining, making it ideal for dealing with water damage or smoke stains.
– Applying the Primer
After choosing the appropriate primer, stir it well before application. Using a paint roller, brush, or sprayer, apply a thin and even coat on the surface.
Ensure that you cover the entire area, paying particular attention to any repaired spots, as they may absorb more primer. Allow the primer to dry completely, following the manufacturer’s recommendations on drying time.
• Selecting and Applying the Paint
Once the primer has dried, it’s time to apply the new paint. Here are some important factors to consider when selecting and applying paint:
– Type and Finish of Paint
Determine the appropriate type and finish for your project. Latex and acrylic paint are suitable for most surfaces and are water-based, making them easier to clean and apply.
Oil-based paint is more durable but also has a longer drying time. As for finishes, matte or flat finish is best for hiding imperfections, while satin, semi-gloss, or gloss finishes help to reflect light and are easier to clean.
– Color Selection
Select a color that complements the existing decor and achieves the desired mood for the space. Don’t be afraid to test out different color options using paint swatches or small paint samples.
– Application Techniques
Use the appropriate tools and techniques for paint application, such as brushes for cutting in edges and corners, rollers for larger surfaces, and paint sprayers for bigger projects or a smoother finish. Ensure you apply even, thin coats of paint to avoid drips or uneven coverage.
– Drying Time and Recoating
Pay attention to the manufacturer’s recommendations for drying time between coats. It’s essential to allow the paint to dry thoroughly before applying the following coat.
This will help prevent peeling or bubbling. Most surfaces will require at least two coats of paint for adequate coverage and a professional finish.
• Final Thoughts
Painting over old layers of paint doesn’t have to be a daunting task. With proper surface preparation, primer application, and informed paint selection, you can achieve impressive results that will last for years to come.
For further information and guidance on painting best practices, check out the Paint Quality Institute as a helpful resource.
Step | Description |
|---|---|
1 | Clean the surface: Remove any dirt, grease, or mildew from the surface to ensure proper bonding of the new paint layer. |
2 | Scrape off loose and peeling paint: Use a paint scraper or sandpaper to remove any loose or flaking paint on the surface. |
3 | Sand the surface: Sand the area with medium-grit sandpaper to smooth out uneven edges and improve paint adhesion. |
4 | Remove sanding dust: Wipe the surface with a damp cloth to remove any dust or debris created from sanding. |
5 | Apply primer (optional): If the old paint is glossy, stained, or a drastically different color, applying a primer can help the new paint adhere better and cover evenly. |
6 | Paint the surface: Apply new paint using a brush or roller, following the manufacturer’s instructions for application and drying times. It may take multiple coats to achieve the desired coverage. |
7 | Allow to dry: Allow the paint to dry completely, according to the manufacturer’s recommendations, before reattaching hardware or placing furniture against the wall. |
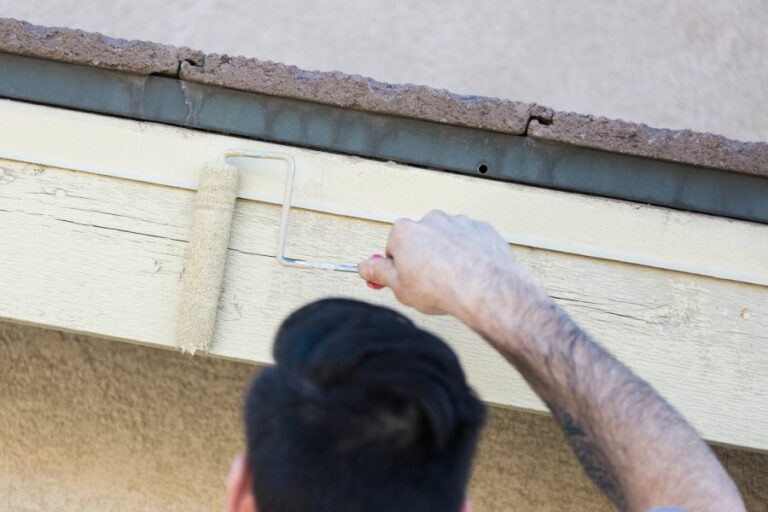
Smoothing Uneven Surfaces: Preparing for Paint
Painting an uneven surface can be a challenging task, but with the right tools and techniques, you can achieve smooth and seamless results.
• Assessing the Surface
Before starting any preparatory work, it’s crucial to assess the surface closely and determine the extent of unevenness. This will help you choose the appropriate tools and materials necessary for the task.
- Identify imperfections: Inspect the surface closely, taking note of any dents, cracks, holes, or uneven textures.
- Measure the size of the issue: Determine the scale of the problem and whether it’s limited to a small area or widespread across the entire surface.
- Check the surface material: Different materials like wood, concrete, or drywall require specific techniques and products for optimal results. Consult the Painting and Decorating Contractors of America guidelines for advice on the best approach for your surface material.
• Gather Necessary Tools and Materials
Assembling the right tools and materials will ensure a smooth and successful project. The following are some essential items to have on hand:
- Sanding tools (sanding block, sandpaper, or electric sander)
- Wood filler, joint compound, or cement patch
- Putty knife or scraper
- Primer
- Paintbrushes, rollers, or paint sprayer
- Paint and paint tray
- Drop cloths, masking tape, and other protective materials
• Preparing the Surface
– Cleaning the Surface
A clean surface is vital for paint adherence. To ensure a clean and even surface, follow these steps:
- Remove any loose debris: Use a brush or vacuum to remove dirt, dust, and debris from the surface.
- Clean grease and stains: Wipe down the surface with a solution of mild detergent and water, paying close attention to any grease or oily stains. Rinse the area with clean water and allow it to dry completely.
– Sanding the Uneven Areas
Sanding is a crucial step in achieving a smooth and even surface, especially for wooden surfaces. To sand uneven areas effectively:
- Choose the appropriate grit sandpaper: Assess the degree of unevenness to select the right sandpaper grit; start with a coarser grit for significant imperfections and finish with a finer grit for a smoother result.
- Sand in a consistent direction: Sand in the direction of the wood grain or along the length of the surface to ensure consistent results.
- Check your progress: Periodically stop sanding and run your hand over the surface to feel for uneven areas. Continue sanding until the surface feels smooth and consistent.
– Filling and Repairing Imperfections
Filling and repairing any imperfections in the surface will provide a solid foundation for your paint. Depending on the material and the type of imperfection, use the appropriate product:
- Select the suitable filler: For small cracks or holes in wooden surfaces, use wood filler; for drywall surfaces, opt for joint compound; and for concrete surfaces, choose a concrete patch.
- Apply the filler: Using a putty knife or scraper, apply the filler to the imperfection, pressing firmly to ensure full coverage. Scrape off any excess filler and allow it to dry according to the manufacturer’s instructions.
- Sand the repaired area: Once the filler has dried, sand the area with fine-grit sandpaper for a smooth finish. Wipe away any dust with a damp cloth.
• Applying Primer and Paint
– Priming the Surface
Priming is essential for promoting paint adhesion and ensuring an even finish. Follow these steps when applying primer:
- Ensure a clean, dry surface: Before priming, double-check that your surface is clean and dry.
- Apply the primer: Using a paintbrush, roller, or paint sprayer, apply the primer in smooth, even strokes or passes. For a spray application, hold the sprayer at an even distance from the surface, typically 12-18 inches, depending on the manufacturer’s recommendations.
– Painting the Surface
With the surface fully prepared, it’s time to apply the paint. Follow these best practices for a professional result:
- Choose high-quality paint: Select a durable and long-lasting paint suitable for the surface material and the environment in which it’s applied.
- Apply thin, even coats: Multiple thin coats usually provide better coverage and appearance than one thick coat. Allow each coat to dry according to the paint manufacturer’s instructions.
- Ensure proper painting techniques: Use a paintbrush, roller, or paint sprayer to apply the paint in smooth, even strokes or passes. Remember to maintain an even distance from the surface when using a paint sprayer.
By following these steps and employing the appropriate preparation techniques, you can transform an uneven surface into a perfectly painted masterpiece. Happy painting!
Step | Description |
|---|---|
1 | Clean the surface: Remove any dirt, dust, and debris from the uneven surface using a broom or vacuum cleaner. |
2 | Inspect the surface: Check for any damages, cracks, or holes that need to be fixed before painting. |
3 | Repair the surface: Fill any holes or cracks with a suitable filler or patching compound and allow it to dry. |
4 | Sand the surface: Sand the uneven surface and any filled areas using sandpaper or a power sander for a smoother finish. |
5 | Apply primer: Apply a coat of primer to the surface to ensure better adhesion of the paint and to cover any remaining imperfections. |
6 | Mask off areas: Use painter’s tape to mask off any areas that you don’t want to be painted, such as windows, doors, or trim. |
7 | Paint the surface: Apply the paint evenly using a brush, roller, or sprayer, based on your preference and the nature of the surface. |