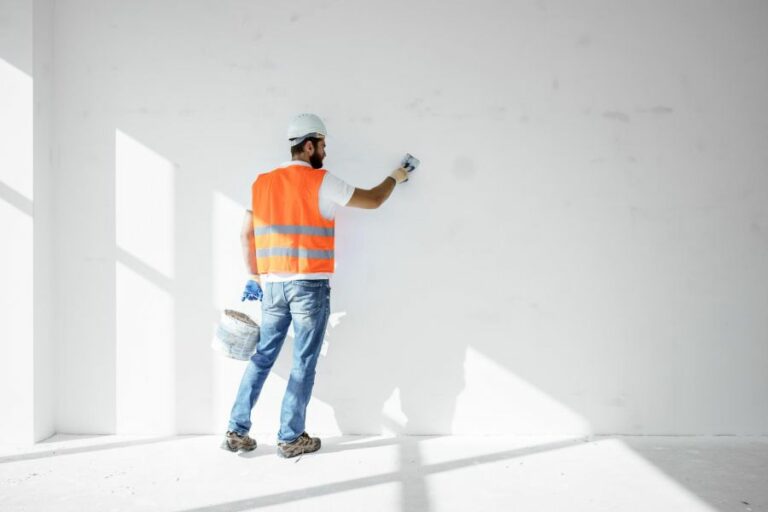
Lasting Paintwork: The Importance Of Prep. What Pros Say
When it comes to achieving lasting and flawless paintwork, proper preparation is key. With our years of experience and vast knowledge, we are confident that our insights will help you achieve stunning, long-lasting results. One cannot simply slap a coat of paint on a surface and expect it to withstand the test of time – this is where the importance of prep comes in.
Lasting paintwork: the importance of prep:
Proper surface preparation is crucial for a lasting paint job, as it ensures a clean and smooth canvas for effective paint adhesion, uniform appearance, and enhanced durability. The steps involved include cleaning, removing previous paint, repairing imperfections, and priming. Investing in thorough preparation leads to professional and long-lasting results.

Ready for a flawless paint job that stands the test of time? Discover the crucial role of preparation and learn essential tips to achieve lasting, eye-catching paintwork. Read on for expert advice and unlock the secrets of durable, stunning surfaces!
Contents
- 1 Durable Paintwork: The Significance of Preparation
- 2 The Crucial Role of Preparation in Painting Projects
- 3 Factors Contributing to Long-Lasting Paint Finish
- 4 Is Prepping Essential Prior to Painting Surfaces?
- 5 Consequences of Skipping Primer Application in Painting
Durable Paintwork: The Significance of Preparation
A beautiful and long-lasting paint job requires more than just quality paint and brushes. A crucial aspect that often gets overlooked is the preparation of the surface before the paint is applied.
• The Significance of Surface Preparation in Paintwork
Surface preparation is a critical component in a successful paint job. It provides a clean and smooth canvas for the new paint to adhere effectively to the surface. Properly prepared surfaces ensure a uniform appearance, enhance durability, and increase the lifespan of the paintwork.
Several factors may impact the efficiency of the paint job, such as dirt, grease, and peeling or uneven surfaces. Providing a solid solution for these factors is essential for achieving long-lasting paintwork.
– Cleaning the Surface
The first step in surface preparation is cleaning. Over time, dust, dirt, and grease accumulate on surfaces, leading to poor adhesion of the paint. A clean surface allows the paint to stick effectively, preventing issues such as peeling, flaking, or blistering.
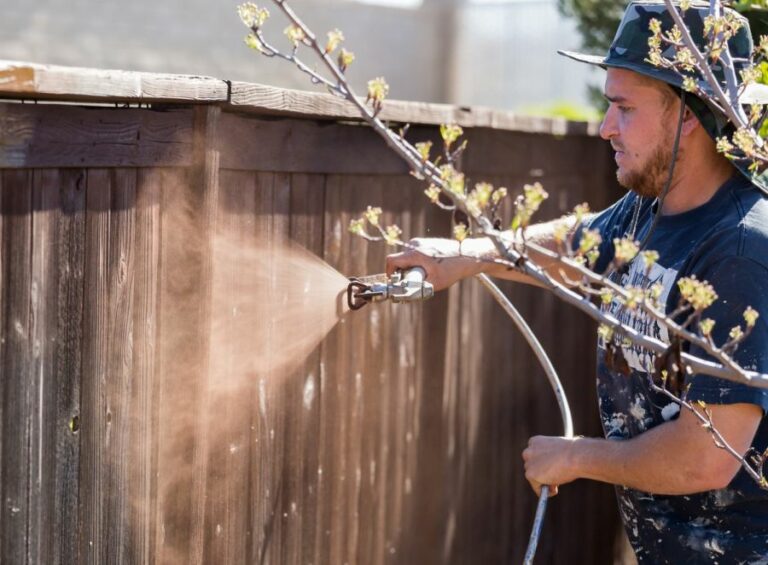
- Dust and Dirt: To remove dust and dirt, use a long-handled brush or a vacuum cleaner with a brush attachment. For exterior surfaces, power washing proves to be highly effective in removing surface dirt.
- Grease and Oil: Grease and oil stains require a degreasing agent for thorough cleaning. Common household items, such as dishwashing liquid, can be used to remove grease from interior surfaces. For garage floors or other oil-stained surfaces, use a specialized degreaser, followed by power washing.
- Mold and Mildew: Clean mold or mildew with a water and bleach solution (1:3 ratio of bleach to water). Wear protective gear and avoid scrubbing too vigorously, as it may damage the surface. After cleaning, rinse with fresh water and allow the surface to dry.
– Removing Previous Paint
Flaking, peeling, or cracked paint must be removed before applying a fresh coat of paint. This ensures an even surface and a proper bond between the new paint layer and the substrate.
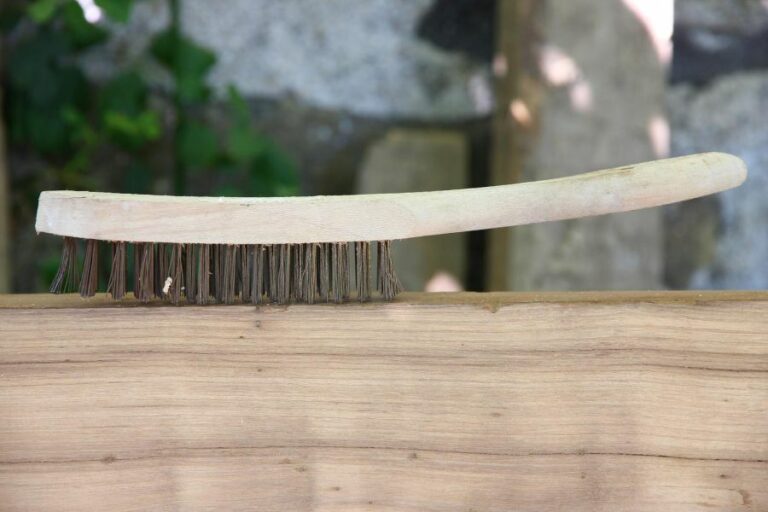
- Scraping: Use a paint scraper or a wire brush to remove loose, peeling, or flaking paint. Be sure not to damage the surface by applying too much pressure.
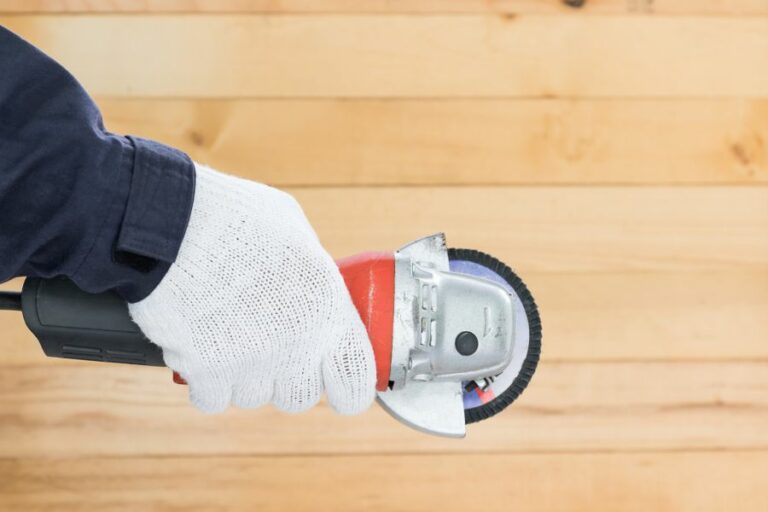
- Sanding: Sanding smooths the surface, ensuring an even paint application. Sandpaper or a power sander can be used for this purpose. Start with coarse-grit sandpaper, progressing to finer grits for a smoother finish.
– Repairing Surface Imperfections
Cracks, dents, and holes must be repaired before painting to achieve a smooth and consistent finish.
- Fillers: Use a suitable filler or patching compound, such as a joint compound or spackle, to repair small holes, cracks, or dents in the surface. Follow the manufacturer’s instructions regarding drying time and sand the area smooth once the filler is dry.
- Caulking: Seal gaps between surfaces, such as trim and wall joints, with a paintable caulk. Make sure to smooth the caulk before it dries to create a seamless appearance.
– Priming
Priming the surface provides a base for the paint to adhere to, improving its durability and appearance. Priming also helps hide surface blemishes and seals porous surfaces, reducing paint absorption and ensuring even coverage.
- Stain-blocking primers: These primers prevent stains, such as water or smoke damage, from bleeding through the paint. Consult the primer’s instructions for proper application and drying time.
- Latex or oil-based primers: Choose a primer that corresponds to your paint type. Latex paints generally require a latex primer, while oil-based paints need an oil-based primer.
• Achieving Flawless and Lasting Paintwork
Proper surface preparation ensures a smooth and durable paint job. By following the steps outlined above, you’ll not only achieve a beautiful and even finish but will also prolong the life of your paintwork.
Remember, investing time and effort in the preparation stage will go a long way in achieving professional and lasting results.
The Crucial Role of Preparation in Painting Projects
• A Well-Prepped Surface Makes a Difference
Preparing a surface correctly can make all the difference in the painting process, helping to ensure an impressive, long-lasting finish. As experienced painters know, a successful paint job relies heavily on the quality of the underlying surface you’re working on.
Poorly prepped surfaces can lead to bubbling, peeling, or an uneven finish. Ultimately, putting in the time and effort to properly prepare your surface will save you from potential rework, extra costs, and frustration.
– Saving Time and Money with Proper Preparation
While it may seem like a lengthy and tedious process, proper preparation can save you both time and money in the long run.
By investing the necessary effort up front, you’ll help prevent common issues like peeling or uneven coverage, which often requires extensive (and expensive) corrective work.
Plus, a well-prepped surface can significantly extend the life of your paint job, allowing you to enjoy the results for years to come.
• The Key Steps in Surface Preparation
Preparing a surface for painting can be broken down into four main stages: cleaning, repairing, sanding, and priming.
Each step plays a crucial role in achieving a professional-looking finish, and neglecting any part of the process can greatly impact the final outcome.
– Cleaning: The Foundation for a Smooth, Uniform Finish
Dirt, grease, and other contaminants can wreak havoc on a paint job, often causing the paint to adhere poorly or appear uneven.
Thoroughly cleaning your surface is crucial in removing these contaminants and ensuring a smooth, consistent finish. Depending on the material you’re working with, you may need to use different cleaning solutions or techniques.
For example, wood surfaces will often benefit from a mild detergent or wood cleaner, while masonry surfaces should typically be treated with specialized masonry cleaners.
When using any cleaning solution, always follow the manufacturer’s instructions and safety precautions. Furthermore, take care to thoroughly rinse your surface and allow it to dry before moving on to the next step in the preparation process.
– Repair: Creating a Flawless Base for Paint
Addressing any damage, cracks, or imperfections in your surface is crucial in achieving a smooth, even finish. By filling in gaps, repairing any damage, and resealing edges, you’ll not only create a more appealing finish, but you’ll also help extend the longevity of your paint job.
Before beginning any repair work, be sure to assess the extent of the damage and choose the appropriate materials for the job. From wood filler to joint compound, there are a variety of options available to effectively repair most surfaces.
Keep in mind that some materials may require time to cure or dry, so always consult the manufacturer’s guidelines for proper use.
– Sanding: Ensuring Proper Adhesion and a Smooth Finish
Sanding is an essential part of the surface preparation process. By roughening up the surface, sanding helps ensure proper adhesion between the paint and your surface, ultimately leading to a more durable and attractive finish.
When sanding your surface, it’s important to select the right grit of sandpaper, as using too coarse or too fine grit can cause problems.
Generally, coarse grit (60-80) is best suited for removing old paint or rough surfaces, medium grit (100-150) is ideal for smoothing surfaces and removing small imperfections, and fine grit (180-220) is perfect for final smoothing and refining the surface.
Moreover, always remember to sand in the direction of the surface’s grain, particularly when working with wood, to achieve the best possible finish.
– Priming: Providing a Strong Base for Your Paint
The final, and arguably the most important, step in surface preparation is priming.
A high-quality primer will help ensure optimal paint adhesion, minimize the appearance of surface imperfections, and improve color uniformity. Additionally, primers can help provide a protective barrier, preventing issues like peeling and chipping.
When selecting a primer, consider factors like the type of surface being primed, its condition, and the paint you plan to use. For instance, some primers are designed specifically for use on bare wood, while others are more suited for masonry or metal surfaces.
Furthermore, certain primers are intended to be used with specific types of paint, such as oil-based or latex.
• In Conclusion
Investing the necessary time and effort in properly preparing your painting surface is essential for a successful and long-lasting paint job. With thorough cleaning, repairing, sanding, and priming processes, you’ll create a smooth, uniform surface that will yield impressive results.
By focusing on the importance of preparation, you’ll be poised to achieve a professional-looking finish that will stand the test of time.
Factors Contributing to Long-Lasting Paint Finish
Paint is an essential component of our everyday lives, serving as a protective and decorative solution for various surfaces, from walls to furniture. However, not all paints are created equal, and some are more durable and long-lasting than others.
• Quality of Paint
One of the primary factors that determine the longevity of paint is its quality. Higher-quality paints generally contain a higher percentage of pigments and binders, which contribute to better adhesion and coverage, ultimately extending the life of the paint.
When it comes to paint quality, there are three primary categories:
- Economy paints: These paints are the most affordable and generally contain a lower percentage of pigments and binders, which can lead to less durability and a shorter lifespan.
- Mid-grade paints – A step up from economy paints, mid-grade paints offer better coverage, adhesion, and durability but are still relatively affordable.
- Premium paints: Premium paints offer the highest levels of pigments and binders, providing the best possible coverage, adhesion, and durability. They typically come with a higher price tag but can save money in the long run due to their longer lifespan.
I recommend opting for premium paints whenever possible, as they offer the best overall value in terms of durability and longevity.
• Proper Surface Preparation
Before applying any paint, it is crucial to properly prepare the surface to ensure the paint adheres correctly and lasts as long as possible. Some essential steps to follow when preparing a surface for painting include:
- Cleaning: This involves removing grease, dirt, and other contaminants from the surface, as they can prevent the paint from adhering effectively.
- Sanding: Sanding is a vital step, particularly when painting wood, as it helps promote adhesion and ensures a smooth, even finish. Ensure to use the appropriate sandpaper grit and thoroughly remove any dust afterward.
- Priming: Using a high-quality primer helps create a uniform surface that promotes better paint adhesion and coverage by filling in small imperfections and providing a consistent base color.
Keep in mind that skipping or rushing any of these steps can lead to a compromised paint job that will not last as long as it should.
• Application Techniques and Tools
Applying the paint correctly and using the right tools can make a significant difference in how long your paint job lasts. Some tips for proper paint application include:
- Using the appropriate brushes or rollers: High-quality brushes and rollers are less likely to leave streaks or uneven coverage, ultimately resulting in a longer-lasting paint job.
- Applying multiple thin coats: Applying several thin coats of paint is recommended, as it allows each coat to dry more thoroughly and promotes better adhesion to the surface.
- Maintaining a wet edge: Keeping a wet edge when painting helps prevent lap marks, which can negatively impact the appearance and durability of the paint job.
- Following the manufacturer’s recommendations: Always refer to the paint manufacturer’s guidelines for recommended application techniques, drying times, and other important information to ensure the paint’s optimal performance and longevity.
• Environmental Factors and Paint Longevity
Climate and weather conditions play a significant role in how long your paint job will last. In general, the paint lasts longer in mild, dry climates, as extreme heat, cold, and humidity can negatively impact the paint’s performance and lifespan.
Some measures to help mitigate the effects of environmental factors include:
- Choosing the right paint for your climate: Some paints are specially formulated to withstand specific climate conditions. For example, you might opt for paint with UV protection in sunny locations or moisture-resistant paint in high-humidity areas.
- Painting at the right time of year: Aim to paint in mild weather conditions, avoiding times of extreme heat, cold, or humidity, which can compromise paint adhesion and drying times.
- Properly maintaining your paint job: Regular maintenance, such as cleaning the painted surfaces and addressing any signs of damage promptly, can help extend the life of your paint job in any climate.
• Final Thoughts
In conclusion, several factors contribute to the longevity of a paint job, including the quality of the paint, surface preparation, application techniques, and environmental conditions.
By choosing high-quality paint and adhering to proper preparation and application procedures, you can maximize the lifespan of your paint job, ensuring it remains beautiful and functional for years to come.
Is Prepping Essential Prior to Painting Surfaces?
The short answer is: yes! Prepping is an essential part of the painting process, and its importance is often underestimated by DIY enthusiasts. There’s a lot more to painting than just grabbing a brush and putting paint on the walls.
Proper preparation makes a significant difference in the ease of application, the final appearance, and the overall durability of the paint job.
• Importance of Prepping
Let’s start by understanding the significance of prepping before diving into the details. Prepping not only helps in achieving a smooth finish but also prolongs the lifespan of the paint job.
- Smooth Finish: A well-prepped surface ensures that the paint adheres properly, reducing the chances of peeling, flaking, or bubbling in the future. It also ensures a smooth surface, which is essential for a polished appearance.
- Durability: Proper preparation ensures that the paint lasts longer on the surface. Skipping the prep work may lead to paint chipping, peeling, or fading sooner than expected.
• Cleaning the Surface
Begin by cleaning the surface thoroughly before you start painting. Dirt, dust, and grime may interfere with the paint’s adherence, resulting in an uneven finish or a shortened lifespan.
- Washing Walls: If the walls are visibly dirty, use mild detergent and water to clean them. Rinse with clean water and let them dry completely before proceeding. For stubborn stains, you can use a sponge and diluted trisodium phosphate (TSP) to clean them. However, be cautious; TSP is a strong cleaning solution that may cause harm to your skin or eyes. Wear gloves and follow the manufacturer’s instructions carefully.
- Dusting: If the walls aren’t visibly dirty, a thorough dusting will suffice. Use a dry cloth or a vacuum cleaner with a brush attachment to remove dust and cobwebs from the surface.
• Assessing the Surface and Repairing Damage
After cleaning the surface, check for any damage that may require repairs before painting. Damages might include cracks, holes, or loose paint. Addressing these structural imperfections beforehand will result in a better, long-lasting paint job.
- Fixing Cracks and Holes: Use a putty knife to fill any cracks and holes with a suitable filler or spackling compound. Once the filler has dried, sand it smooth using fine-grit sandpaper.
- Removing Loose Paint: Grab a scraper or putty knife to remove any loose or flaking paint. Sand the edges of the remaining paint to blend the surface and create a smooth transition.
- Sanding: Sanding the entire surface allows the paint to adhere better. Use fine-grit sandpaper to create a slightly rough texture. Remember to wipe off the sanding dust with a clean, damp cloth afterward.
• Priming the Surface
Applying primer is vital for specific surfaces and situations, particularly when painting over porous materials or covering dark colors with a lighter shade.
- Improved Adhesion: Primer forms a bond between the surface and the paint, ensuring that the paint adheres flawlessly.
- Uniform Color: Primers prevent previous colors or patterns from soaking through, allowing the new paint color to be uniform and true.
- Fewer Coats: In most cases, the primer application reduces the number of paint coats needed to achieve complete coverage, saving time and money.
• Protecting Areas from Paint
Take the necessary precautions to avoid getting paint on unintended surfaces, fixtures, or furnishings.
- Tape Off: Use painter’s tape to cover trim, switches, sockets, and any other features that you don’t want to be painted. Remember, it’s easier to tape before painting rather than having to clean up afterward.
- Drop Cloths: Place drop cloths or plastic sheeting on floors and furniture to protect them from paint splatters or spills.
• Final Thoughts
Prepping may seem time-consuming; however, it’s crucial for a successful and long-lasting paint job. Skipping the prep work can lead to uneven finishes, peeling, or bubbling, resulting in wasted effort, time, and money.
Invest the necessary time and effort in prepping, and you’ll be rewarded with a beautiful and durable paint job.
Preparation Activity | Yes / No | Explanation |
|---|---|---|
Remove dirt and dust from surfaces | Yes | Dirt and dust can prevent paint from adhering properly and create an uneven texture. |
Repair cracks and holes in walls | Yes | Smooth surfaces are essential for a professional paint finish. |
Scrape off peeling paint | Yes | Old paint can cause new paint to peel and affect the texture and appearance. |
Prime surface | Yes | Primer helps to cover stains, create a uniform surface, and increase the paint’s adhesion. |
Protect furniture and floors | Yes | This prevents accidental spills and splatters from damaging items and surfaces. |
Consequences of Skipping Primer Application in Painting
Undoubtedly, painting is an essential part of rejuvenating your home or office environment. However, the painting process is not as simple as slapping on a layer of paint.
As an experienced painter, I strongly advise taking the time to understand the importance of using a primer before delving into your painting project.
• Consequences of Skipping Primer
– Poor Adhesion and Shorter Lifespan
Skipping the primer stage can result in unsatisfactory adhesion of the paint to the surface. This may cause the paint to flake off or peel easily, leading to a shorter lifespan of your paint job.
Furthermore, this will necessitate repainting earlier than anticipated, costing you both time and money.
– Uneven Appearance
A lack of primer can lead to an uneven paint job, particularly over porous surfaces. Primer helps to fill in any pores, resulting in a smooth, consistent finish. Without primer, the paint may appear blotchy, which can be particularly noticeable in bright or deep colors.
– Increased Number of Coats
When you don’t use primer, you may find yourself applying multiple coats of paint in an attempt to achieve the desired color or coverage. This can be time-consuming and costly, especially if using high-quality paints. A primer would have helped to address this issue more efficiently.
• Benefits of Using Primer
– Enhanced Adhesion
Primers are specifically formulated to promote strong adhesion between the surface and the paint. This ensures your paint adheres to the surface more effectively, leading to a durable and long-lasting finish.
– Improved Coverage and Color Quality
Applying a primer before painting can greatly improve the paint’s coverage and overall appearance. A primer helps to provide a uniform base for the paint, leading to truer and richer colors.
Additionally, some primers contain tinting agents that can be matched to the color of your paint for an even better coverage result.
– Surface Protection
Using a primer can also contribute to prolonging the lifespan of your surface. Some primers contain sealants and other protective additives that serve as a barrier against moisture, mildew, and other potential damages.
– Efficiency
Though using a primer might appear to add an extra step to your painting project, it can save you time and effort in the long run. By providing better coverage and adhesion, you’ll likely require fewer coats of paint to achieve the desired result, speeding up the process.
• Choosing the Right Primer
When selecting a primer, consider the specific needs of your painting project. Here are some recommendations for various circumstances:
– New, Unpainted Surfaces
For new, unpainted surfaces, such as drywall or wood, opt for a high-quality latex primer. This type of primer is generally easy to work with and provides excellent coverage.
– Stained or Problematic Surfaces
If you’re dealing with a stained or problematic surface, choose a stain-blocking primer, such as an oil-based or alkyd-based primer. These primers can effectively seal out stains and odors, helping to create a clean canvas for your paint.
– Glossy or Smooth Surfaces
With glossy or smooth surfaces, it’s essential to choose a bonding primer. This type of primer promotes strong adhesion, which helps to secure the paint onto a slick surface.
– High-Moisture Areas
For rooms that experience high moisture, such as bathrooms or kitchens, a mold and mildew-resistant primer is important. This type of primer can help protect your paint job from moisture-related damage.
• Final Thoughts
In conclusion, primers are a crucial step in the painting process, providing enhanced adhesion, improved coverage, and increased durability.
Skipping this crucial step can lead to unsatisfactory results, requiring you to invest more time and money in redoing your paint job. As an experienced painter, I highly recommend taking the time to select an appropriate primer for your project and applying it before proceeding with painting.
Consequence | Description |
|---|---|
Poor adhesion | Without primer, the paint may not stick well to the surface, leading to peeling or chipping. |
Uneven coverage | Primer helps provide a uniform base, resulting in more even coverage when applying paint. |
Increased number of coats | Using a primer can reduce the number of paint coats needed to achieve the desired color and coverage. |
Shorter lifespan | Paint applied without primer may not last as long, requiring more frequent touch-ups or repainting. |
Surface stains | Primer helps seal and cover surface stains, preventing them from showing through the paint. |