Cleaning And Degreasing Surfaces Before Painting
Cleaning and degreasing surfaces before painting is essential to ensure optimal adhesion and long-lasting results. It’s important to note that even surfaces that may appear clean could have hidden dirt, grime, or grease that could lead to disappointing outcomes if not properly addressed.
Cleaning and degreasing surfaces before painting:
Cleaning and degreasing surfaces before painting is essential for proper paint adhesion and a professional finish. Identify common contaminants such as dirt, grease, oil, wax, and mold, and use appropriate cleaning agents like trisodium phosphate, detergents, or solvents to remove them. Lastly, follow the cleaning process by applying the cleaning agent, scrubbing, rinsing, and drying the surface completely before painting.

Are you planning to paint a surface and want a flawless finish? Discover the effective cleaning and degreasing techniques to achieve the ultimate smooth, long-lasting result. Read on to uncover the secrets that professional painters won’t tell you!
Contents
- 1 Preparing Surfaces: Cleaning & Degreasing Before Painting
- 2 Effectively Degreasing Surfaces Prior to Painting
- 3 Top Cleaning Solutions for Pre-Painting Preparation
- 4 Using Degreaser as a Pre-Painting Surface Prep
- 5 Importance of Surface Cleaning Before Painting
Preparing Surfaces: Cleaning & Degreasing Before Painting
• The Key to a Professional, Durable Paint Job
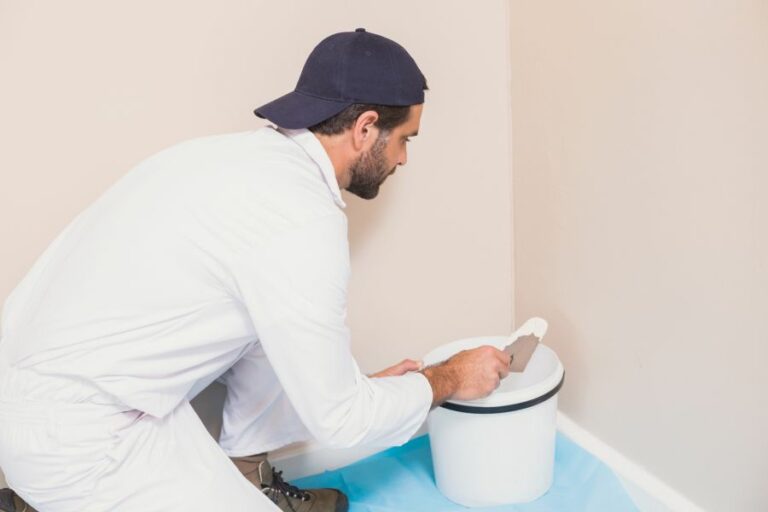
A successful painting project starts with proper surface preparation. Cleaning and degreasing surfaces before applying paint is a crucial step to ensure good adhesion, durability, and a professional finish.
Surfaces, especially those exposed to grease, dirt, and other contaminants, must be thoroughly cleaned to provide a clean and smooth surface for the paint to bond with.
• Identifying Contaminants
– Common Types of Surface Contaminants
Before you start preparing the surfaces for painting, it’s essential to identify the types of contaminants present. Here are some common surface contaminants you may encounter:
- Dirt: Soil and dust particles can accumulate on surfaces over time, especially in areas exposed to the elements.
- Grease: Grease is usually found in kitchen areas or places where machinery is operated.
- Oil: Oil can also accumulate in machine-operating areas and on surfaces near vehicles.
- Wax: Wax is often used as a protective coating on floors, furniture, and other surfaces. It must be removed as it can prevent proper paint adhesion.
- Mold and Mildew: These fungi can grow on damp surfaces and should be removed for health reasons and to avoid paint adhesion failures.
– Methods to Test for Surface Contaminants
To determine the level of contamination on your surfaces, you can use the following methods:
- Visual Inspection: Examine surfaces carefully for dirt, grease, or other contaminants. A flashlight can help highlight any contaminants that may be present.
- Tape Test: Press a piece of clear adhesive tape on the surface, then remove it. Examine the tape for any contaminants. This method is effective in detecting fine dust and other small particles.
- Water Beading Test: This test is helpful in identifying the presence of wax, oil, or grease on a surface. Sprinkle water on the surface and observe how it behaves. If the water beads up, it is an indication that contaminants are present.
• Determining Appropriate Degreasers and Cleaners
– Factors to Consider When Selecting a Cleaning Agent
It is essential to choose the right cleaning agent to effectively remove contaminants from the surfaces you intend to paint. These factors should be considered when selecting a cleaning agent:
- Type of Contaminant: Choose a cleaning product specifically formulated to remove the type of contaminants you identified during your inspection.
- Type of Surface: The cleaning agent must be safe for the surface you are cleaning. Some surfaces may be damaged by harsh chemicals.
- Environmental Factors: Choose an eco-friendly cleaning product if available. Many cleaning agents contain toxic chemicals that can harm the environment.
- Safety: Always prioritize your safety when selecting and using cleaning agents. Make sure the product is safe for you and those around you.
– Common Cleaning Agents
Some common cleaning agents suitable for preparing surfaces for painting are:
- Trisodium Phosphate (TSP): TSP is a highly effective cleaner and degreaser suitable for various surfaces. It can be found at most paint or hardware stores. It’s important to note that TSP can harm the environment, and alternatives such as TSP-PF (Phosphate-Free) are available.
- Detergents: Mild dish soap or laundry detergent can be effective for cleaning lightly soiled surfaces.
- Solvents: For surfaces with heavy grease or oil, solvents such as mineral spirits or denatured alcohol can help remove these contaminants.
• The Cleaning Process
Follow these steps to clean and degrease surfaces before painting effectively:
- Remove Loose Debris: Use a brush or vacuum to remove any loose dirt or debris from the surfaces you will be painting.
- Apply Cleaning Agent: Dilute the cleaning agent according to the manufacturer’s instructions and apply it to the surface using a sponge, brush, or sprayer.
- Scrub the Surface: Use a scrub brush or a sponge to scrub the surface thoroughly, focusing on the heavily soiled areas.
- Rinse the Surface: Use a hose or a wet cloth to rinse the surface thoroughly, removing all traces of the cleaning agent.
- Drying: Allow the surface to dry completely before moving on to the next step in the painting process.
• Final Notes on Surface Preparation
– Additional Steps for Optimal Results
Once the surfaces have been cleaned and degreased, you might need to follow additional steps, depending on the surface and paint type to be used. These steps may include sanding, priming, or patching any surface defects.
– Personal Protective Equipment (PPE)
Protect yourself during the cleaning process using personal protective equipment, such as gloves, goggles, and masks, as cleaning agents can pose health risks if they come into contact with skin or are inhaled.
Effectively Degreasing Surfaces Prior to Painting
Proper preparation of a surface before painting is essential to achieve a successful result. As an experienced professional, I can assure you that degreasing is one of the critical steps in this process.
• Importance of Degreasing
Paint doesn’t adhere well to greasy or oily surfaces, which can lead to uneven coverage, bubbles, and eventual peeling. Degreasing a surface ensures a clean, paint-ready surface for optimal adhesion and a long-lasting, attractive finish.
• Identifying Grease and Stains
Before beginning the degreasing process, it’s essential to identify grease, stains, and other contaminants on the surface. Pay close attention to areas frequently touched or used, such as kitchen cabinets, walls around light switches, and door frames.
• Choosing the Right Degreaser
There are various degreasers available, and the choice depends on the type of surface you’re working with and the intensity of grease and grime. Here are some recommendations:
– Household Degreasers
These are effective and safe for most household surfaces. I recommend using dish soap and warm water for light grease, while commercial cleaning sprays work well for medium to heavy grease.
– Heavy-Duty Degreasers
These products are specifically designed for more robust and stubborn stains. For challenging surfaces or industrial use, solvents like mineral spirits, acetone, or paint thinner can prove effective.
However, exercise caution and follow the product’s instructions, as heavy-duty solvents can damage some surfaces.
– Environmentally Friendly Degreasers
Eco-friendly alternatives such as citrus-based degreasers or white vinegar with water can effectively degrease surfaces. I recommend these options for individuals looking for eco-conscious solutions.
• Degreasing Process
After choosing the appropriate degreaser, follow these steps:
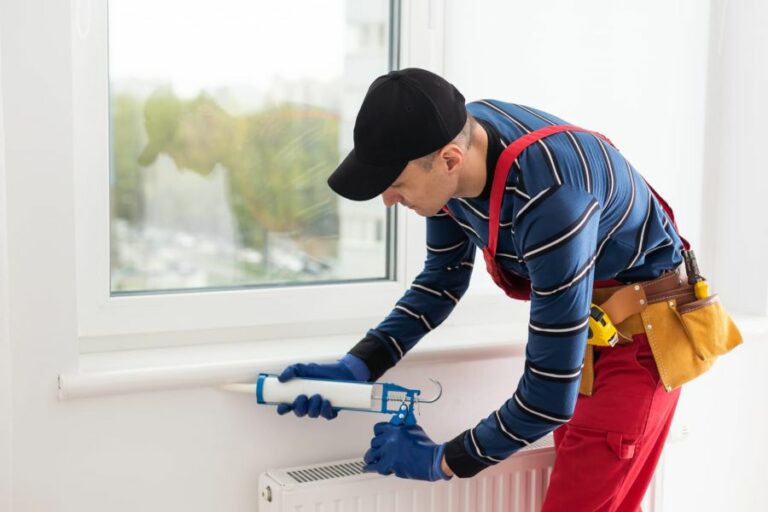
- Safety First: Put on gloves, eye protection, and ensure proper ventilation. Some degreasers can cause skin irritation or eye damage, and fumes might be hazardous if inhaled in enclosed spaces.
- Apply the Degreaser: Depending on the product, apply it to the surface using a spray bottle, sponge, or cloth. For large surfaces, consider using a pump spray to save time and ensure even coverage.
- Allow it to Sit: Let the degreaser sit and work on the grease for the time specified by the product’s directions. This dwell time allows it to break down and dissolve the grease for more effective removal.
- Agitate the Surface: Use a scrub brush, sponge, or cloth to agitate the surface gently. Apply more pressure for stubborn stains, but be cautious not to damage delicate surfaces.
- Rinse the Surface: Thoroughly rinse the surface with clean water. Rinse the sponge or cloth frequently in a bucket of clean water to avoid redepositing grease onto the surface.
- Dry the Surface: Use clean, dry towels or cloths to remove any remaining moisture from the surface. This step is crucial, as moisture can affect paint adhesion.
- Inspect the Surface: Check for leftover grease or residue. If necessary, repeat the degreasing process until the surface is thoroughly clean.
• Final Thoughts
Degreasing a surface before painting is essential to achieve a professional and long-lasting finish. Choose the appropriate degreaser based on the surface, and follow the steps outlined above to ensure optimal paint adhesion.
Step | Description |
|---|---|
1 | Clear the surface of any dirt, debris, and loose paint. |
2 | Prepare a degreasing solution consisting of water and a few drops of dish soap, or use a commercial degreaser following the manufacturer’s instructions. |
3 | Apply the degreasing solution to a cloth or sponge and gently scrub the surface. |
4 | Pay extra attention to areas with visible grease or oil stains. |
5 | Rinse the surface thoroughly with clean water to remove any residue from the degreasing solution. |
6 | Allow the surface to dry completely before proceeding with painting. |
Top Cleaning Solutions for Pre-Painting Preparation
A crucial aspect of painting, whether you’re a professional or novice, involves preparing the surface to ensure a smooth and lasting finish.
• Importance of Surface Cleaning
The importance of cleaning surfaces before painting cannot be overstated, as it dramatically affects the final results. Dirt, dust, and grease can accumulate on the surfaces over time and interfere with the paint’s ability to adhere.
If not addressed, these contaminants will cause the paint to peel or flake away in the long run, resulting in a less-than-perfect finish.
• Choosing the Right Cleaning Solution
There are many cleaning solutions and agents available in the market, but not all are suitable for painting preparation. Here are some of the best cleaning solutions that experts often recommend.
– TSP (Trisodium Phosphate)
Trisodium phosphate, or TSP, is a popular and powerful cleaning agent used primarily for prepping surfaces. TSP effectively removes grease, dirt, and other contaminants, ensuring a clean and ready-to-paint area. It is widely available in most hardware stores and can be mixed easily with water.
Follow the manufacturer’s instructions for the appropriate dilution ratio and safety precautions.
– TSP-Alternative Cleaners
For environmentally-conscious individuals, consider using TSP-alternative cleaners. These substitutes provide the same cleaning benefits as TSP but are phosphate-free and generally have a lower environmental impact.
Many TSP-free cleaners are available in stores and online, but it’s essential to read the labels carefully to ensure they meet your specific needs.
– Mild Detergent
In some cases, a mild detergent mixed with water can effectively clean surfaces before painting. This option is suitable for surfaces with minimal dirt and grease buildup and can be an economical choice.
Remember that using a strong detergent may leave residue, which can interfere with paint adhesion, so always opt for a mild option.
• Best Practices for Surface Cleaning
Now that we’ve discussed the top cleaning solutions, let’s explore some essential tips for cleaning surfaces effectively before painting.
– Assess the Surface
Inspect the surface you plan to paint to determine the level of cleaning required. If the surface has been painted before, you may need to remove any peeling or flaking paint using a scraper or power sander.
For surfaces with mildew or mold growth, consider using a cleaning solution with mildewcide or bleach to treat the problem adequately.
– Use Appropriate Tools
Using the right tools for the job can significantly impact the effectiveness of your cleaning process. Some commonly used tools include:
- Sponge or cloth: These are suitable for light cleaning and for surfaces that require minimal cleaning.
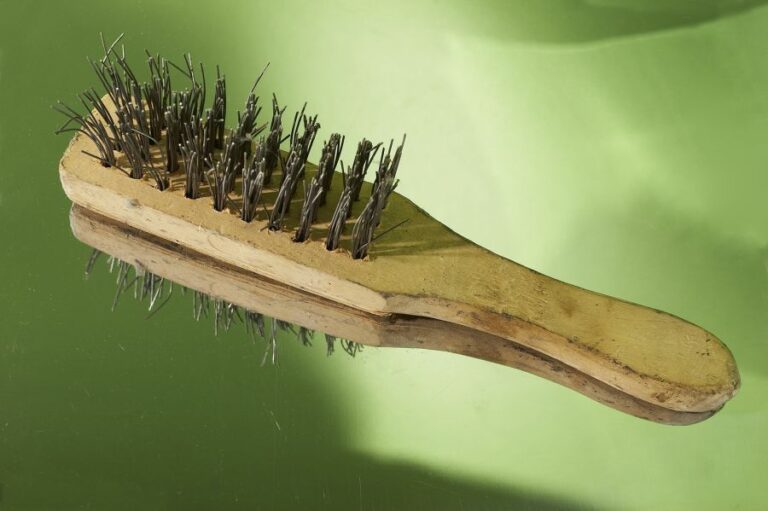
- Scrub brush: A scrub brush comes in handy when you need to tackle tougher stains, dirt, or textured surfaces that may require more effort to clean.
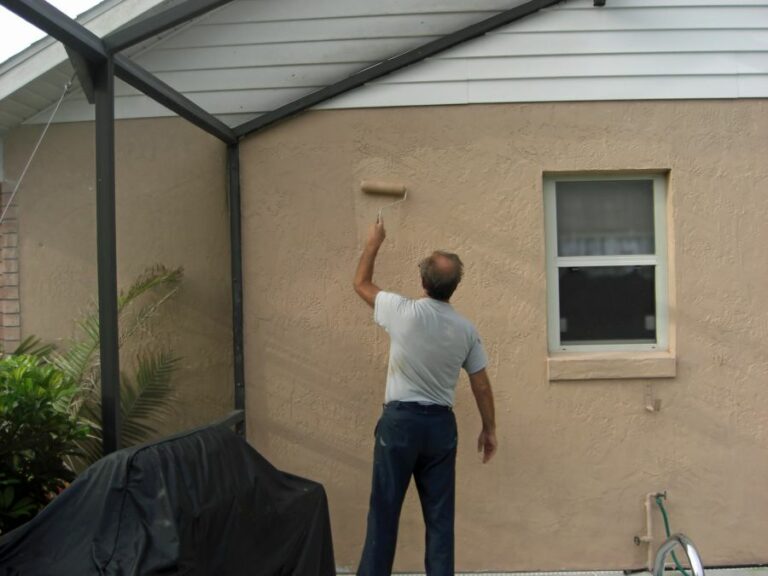
- Pressure washer: For outdoor surfaces, using a pressure washer can save time and effort as it quickly removes dirt, debris, and loose paint from surfaces.
– Rinse Thoroughly
After applying the cleaning solution and scrubbing the surface, it’s essential to rinse it thoroughly to remove any residue. Failure to do so can result in paint adhesion issues in the long run.
Use clean water and a hose, or pressure washer for outdoor surfaces, to ensure no cleaning solution remains on the surface.
– Allow Surface to Dry
Before starting the painting process, ensure the surface dries completely to prevent moisture from interfering with paint adhesion.
Depending on the climate and surface type, drying can take a couple of hours to a full day. Allowing for proper drying time is crucial for achieving optimal results.
• Conclusion
In summary, the best thing to clean with before painting depends on your specific project’s needs and your environmental preferences. TSP or TSP-alternative cleaners are the most popular choices among professionals, but mild detergent can also be effective in some cases.
Remember that proper surface cleaning, along with thorough rinsing and drying, is essential for a smooth and long-lasting paint finish.
For further information on preparing surfaces for painting, consider referring to resources provided by reputable institutions. Following best practices and recommendations from experienced professionals will set you up for a successful painting project.
Item | Description | Usage |
|---|---|---|
TSP (Trisodium Phosphate) | A heavy-duty cleaner that effectively removes dirt, grease, and grime from surfaces | Mix with water and apply to the surface with a sponge or cloth, then rinse thoroughly. |
Sugar Soap | A multi-purpose cleaner that can be used for cleaning paintwork, floors, and tiles | Mix with water and apply to the surface with a sponge, brush, or cloth, then rinse well. |
Vinegar | A natural cleaning solution that works well in removing light stains and grease | Mix equal parts water and white vinegar, then apply to the surface with a cloth or sponge and rinse well. |
Ammonia | An effective cleaner for removing tough grime and stains from surfaces | Mix with water according to the product instructions, then apply to the surface with a sponge or cloth and rinse well |
Dishwashing Detergent | A gentle cleaning solution that can be used to remove light dirt and grease from surfaces | Mix a few drops with warm water, then apply to the surface with a sponge or cloth and rinse thoroughly. |
Using Degreaser as a Pre-Painting Surface Prep
When it comes to painting surfaces, proper preparation is crucial to ensure a high-quality, long-lasting finish. One essential step of this preparation process is using a degreaser to remove dirt, grease, and grime from the surface.
• The Importance of Degreasing
Degreasing is a necessary step in prepping surfaces for painting, as it helps improve paint adhesion by removing contaminants like oil, dirt, and grime.
According to Purdue University, a surface should be thoroughly cleaned before painting to prevent adhesion problems, which can lead to peeling, chipping, or failing paint. Therefore, degreasing is a critical step in achieving a beautiful, long-lasting paint job.
• Choosing the Right Degreaser
There are various types of degreasers available on the market, and it’s essential to choose the right one based on the surface you’re working on and the type of contaminants you need to remove.
- Water-Based Degreasers: These degreasers are typically eco-friendly and less harsh on surfaces. They are suitable for light to moderate cleaning applications.
- Solvent-Based Degreasers: Solvent-based degreasers are more potent and may be necessary for removing heavy grease or oil. However, they can be harmful to the environment and may damage some surfaces.
- Biodegradable Degreasers: These degreasers are designed to break down naturally and have a minimal environmental impact. They are suitable for various applications, depending on their formulation.
I recommend checking the manufacturer’s recommendations for the specific degreaser you’re considering to make sure it’s suitable for your needs.
• Preparing the Surface
Before using a degreaser, it’s crucial to follow these steps to ensure the surface is ready for cleaning:
- Removing loose debris: Use a brush or vacuum to remove dust, dirt, and other loose particles from the surface.
- Washing with soap and water: For lightly soiled surfaces, washing with soap and water can help remove some of the dirt and grime. Rinse the surface thoroughly and allow it to dry.
- Scraping and sanding: If there are any loose or peeling paint, use a scraper or sandpaper to remove it. This step helps create a smooth surface for the new paint to adhere to.
• Using a Degreaser
Follow these steps to use a degreaser effectively and ensure a clean surface for painting:
- Safety first: Always wear appropriate personal protective equipment (PPE) when working with degreasers, such as gloves and goggles. Also, ensure proper ventilation by working in an open or well-ventilated area.
- Read the instructions: Follow the manufacturer’s recommendations for dilution, if necessary, and application methods. Some degreasers may require mixing with water, while others can be used directly from the container.
- Apply the degreaser: Use a sponge, brush, or spray applicator to apply the degreaser to the surface. Work in small sections to ensure even coverage and avoid allowing the degreaser to dry on the surface before wiping or rinsing.
- Allow it to sit: Let the degreaser sit on the surface for the recommended time, typically a couple of minutes, to break down grease and grime effectively.
- Wipe or rinse: Depending on the degreaser’s instructions, either wipe the surface clean with a cloth or sponge or rinse it thoroughly with water.
- Repeat if necessary: If the surface is still dirty or greasy, repeat the degreasing process until it is entirely clean.
- Let it dry: Ensure the surface is completely dry before proceeding to the next steps, such as sanding or priming.
• Final Steps Before Painting
Once you have successfully degreased the surface, some additional steps may be necessary before painting, such as:
- Sanding: Lightly sand the surface to promote paint adhesion further. Use fine-grit sandpaper and sand in the direction of the grain or texture, if applicable.
- Priming: Apply a quality primer to the surface to promote even paint coverage and adhesion. Allow the primer to dry, following the manufacturer’s recommended drying time.
- Tack cloth: Use a tack cloth to remove any remaining dust or debris before applying the paint.
By following these steps and properly degreasing the surface, you can ensure a high-quality, long-lasting paint job that will look professional and stand the test of time.
Questions | Answers |
|---|---|
Can you use degreaser to prep for paint? | Yes, using a degreaser to clean and prep the surface before painting is a crucial step in ensuring proper adhesion and a long-lasting paint job. |
Why use a degreaser? | Degreasers effectively remove dirt, grease, oil, and other contaminants that can negatively affect the bond between the paint and the surface. |
How to use a degreaser for paint prep? | 1. Choose the appropriate degreaser for the surface material. 2. Apply the degreaser according to the manufacturer’s instructions. 3. Scrub the surface thoroughly to remove all contaminants. 4. Rinse the surface with clean water to remove any residue. 5. Allow the surface to dry completely before applying paint. |
Importance of Surface Cleaning Before Painting
• Importance of Cleaning the Surface
Proper surface preparation is a crucial step in the painting process, as it ensures that the paint will adhere well to the surface, and the final result will look smooth and professional. Cleaning the surface before painting can greatly improve the final appearance and lifespan of your paint job.
Not only does it pave the way for better adhesion of the paint, but it can also help in identifying any other issues like cracks or damaged areas that need to be addressed before starting the painting project.
• Removing Dust and Dirt
Starting with a clean surface can help ensure that the paint will go on smoothly, without any imperfections caused by embedded dirt, dust or other contaminants. Dust can often accumulate, especially on horizontal surfaces or those that have been left untouched for a long time.
Use a vacuum cleaner, broom or dry cloth to remove dirt and dust from the surface before painting. If possible, use a tack cloth for smaller, hard-to-reach spots that a vacuum cleaner or broom might not properly clean.
• Cleaning Grease, Grime, and Stains
Some surfaces, like kitchen cabinets or walls near cooking areas, tend to accumulate grease, grime, or stains over time. These residues can prevent paint from adhering properly and lead to a less-than-ideal final result.
Cleaning such areas with a degreaser, like TSP (trisodium phosphate) or a TSP substitute can help to remove any grease or grime buildup. Follow the recommended proportions and safety guidelines provided by the cleaning product manufacturer.
After applying the degreaser, rinse the surface thoroughly with water to remove any remaining cleaning residues. Make sure the surface is completely dry before starting the painting process.
• Addressing Mold and Mildew Growth
Mold and mildew can pose a serious risk to your painting project if left untreated. Before starting the paint job, ensure that any mold or mildew growth is thoroughly removed.
This can be achieved by using commercially available mold-killing products or a solution of one part bleach to three parts water. When dealing with mold and mildew, always wear appropriate personal protective equipment like gloves, goggles, and a face mask.
After treating the affected areas, let the surface dry completely before proceeding to the next steps in the painting process.
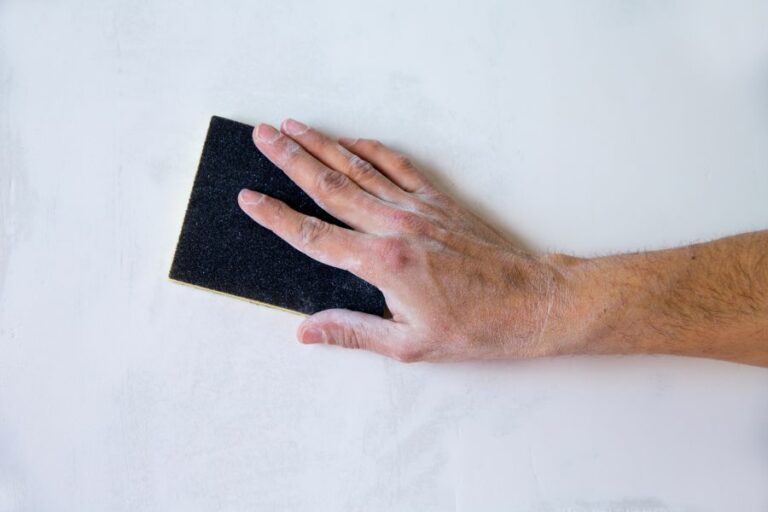
• Sanding the Surface
Sanding is an essential step in preparing the surface for painting, as it helps to remove old, peeling paint and create a smooth, even surface for the new paint to adhere to.
Sanding can be done manually with sandpaper or using power sanders, depending on the scale of the project and the surface being painted. For wood surfaces, it is crucial to sand in the direction of the wood grain to avoid scratches and maintain a consistent finish.
After sanding the surface, wipe it down with a damp cloth or a tack cloth to remove any remaining sanding dust.
• Repairing Damaged Areas
Before starting the actual painting process, it is essential to inspect the surface for any damages such as cracks, holes or dents. These areas should be repaired and filled with appropriate filler or patching compound, based on the surface material.
Once the repairs are done, sand the patched areas smooth to make sure they blend seamlessly with the rest of the surface.
• Priming the Surface
Priming is an important step in surface preparation, as it creates a base layer for the paint to adhere to, blocks stains from bleeding through the final finish, and helps in achieving an even, consistent color.
Make sure to use a high-quality primer suitable for the surface you are working on, and follow the manufacturer’s guidelines for application and drying times.
In conclusion, taking the time to properly clean and prepare the surface before jumping into your painting project can make all the difference in the final result. Following the steps outlined in this article can help you achieve a professional-looking paint job that will last for years to come.
Remember, a successful paint job relies heavily on the foundation on which it is built, which starts with a clean and well-prepared surface.