Pro Tips: Prepping Walls Before Adding New Paint. What Pros Say
Ready to give your walls a fresh, new coat of paint? You’ve come to the right place. As experts in the field, we understand that proper wall preparation is crucial for ensuring a smooth, long-lasting finish. To help you achieve professional results, we’ll explore essential steps and pro tips for prepping your walls for that stunning transformation.
Pro tips: prepping walls before adding new paint:>
To prep walls for new paint, assess the wall surface, fill holes and cracks, smooth out rough textures, remove or repair loose paint, clean the walls, apply primer and tape off adjacent surfaces. Proper preparation is crucial for a professional-quality paint job with an even, long-lasting finish.

Ready to give your walls a fresh look with new paint? Don’t miss our expert tips on proper wall preparation to ensure a flawless finish! Keep reading to discover essential pre-painting steps that can save you time, money, and frustration. Let’s get rolling!
Contents
Expert Advice: Preparing Walls for a Fresh Coat of Paint
• Proper Preparation is Key
When it comes to painting, proper preparation of your walls is essential for achieving professional-looking results. Skipping the preparation steps may lead to an uneven finish, peeling paint, or visible imperfections.
• Assess Wall Surface and Identify Problem Areas
Before beginning any wall prep work, it’s crucial to assess the condition of your existing walls. Look for any problematic areas, such as holes, cracks, loose paint, or water damage, that may require additional attention.
– Fill Holes and Cracks
To fill in small holes and cracks, use a premixed spackling compound or a high-quality wood filler. Apply the filler with a putty knife, and let it dry according to the manufacturer’s instructions. Once dry, sand the area with medium-grit sandpaper until it’s smooth and blends well with the rest of the wall.
For larger holes or deep cracks, you may need to use a patching compound or a drywall repair kit. Follow the manufacturer’s instructions for application and drying time, and then sand the area smoothly.
– Smooth Out Rough or Uneven Textures
Paint will highlight uneven or rough textures on your walls, so it’s important to smooth out these areas before painting. Sand down any rough spots with medium-grit sandpaper, or use a hand sander for larger areas. Be sure to clean up any sanding dust before moving on to the next step.
If you have heavily textured walls that need to be smoothed out, you may need to use a skim coat of joint compound. This process can be time-consuming, but it’s essential for creating a smooth, even surface for your new paint to adhere to.
• Remove or Repair Loose Paint
When examining your walls, you may notice areas of loose or peeling paint. It’s essential to remove this paint before applying new paint. A paint scraper or a putty knife can be used to remove the loose paint carefully, not to damage the surface beneath.
Once the loose paint has been removed, sand the area to ensure a smooth transition between the old and new paint. In some cases, a primer may be needed on the exposed surfaces to promote adhesion and prevent any remaining loose paint from lifting._
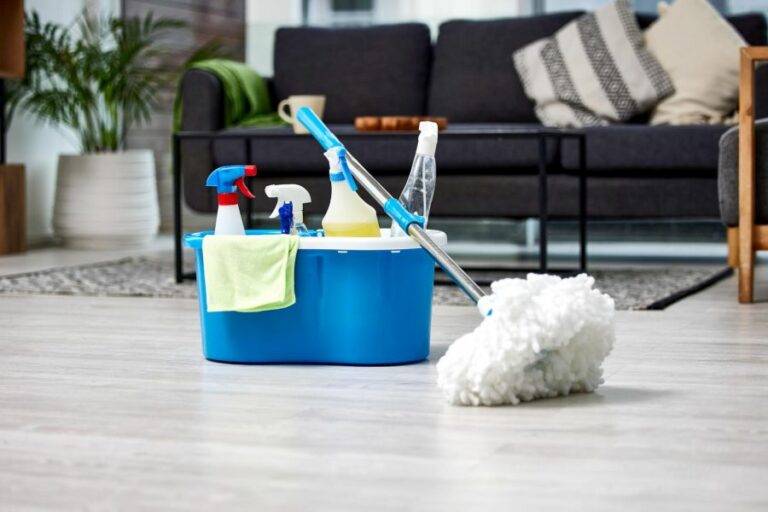
• Clean Your Walls
Dirt, grease, and dust on your walls can prevent your new paint from adhering correctly. Using a mild detergent mixed with warm water, gently wash your walls with a sponge or a cloth. Pay close attention to high-traffic areas, such as around light switches and door frames, where dirt and grease may be more prevalent.
For heavy grease stains, a mixture of trisodium phosphate (TSP) and water can be used. Make sure to follow the manufacturer’s instructions for using TSP and take the necessary safety precautions.
After cleaning, allow your walls to dry completely before moving on to the next step. The EPA suggests that walls should be adequately dry before applying paint to prevent issues with mold and mildew.
• Apply Primer
Priming your walls before painting is an essential step for both newly covered repairs and your existing wall surface. A primer will create a uniform surface for your paint to adhere to, help conceal any imperfections, and ensure an even and long-lasting finish.
Choose a primer that is appropriate for the type of paint you plan to use (i.e., an oil-based primer for oil-based paint, water-based primer for water-based paint) and the surface of your wall (i.e., drywall, plaster, or masonry).
Some paint products are now available with a paint and primer in one, but separate primers are still recommended for significant repairs or uneven surfaces.
Following the manufacturer’s instructions, apply the primer to your walls, and allow it to dry fully. This process usually takes between one and three hours.
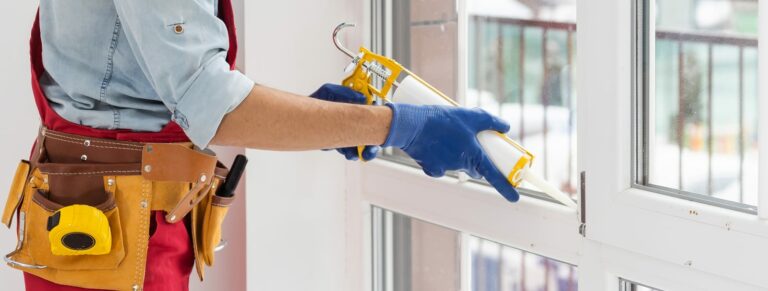
• Tape Off Adjacent Surfaces and Fixtures
To achieve clean lines and protect adjacent surfaces, apply painter’s tape around doorframes, window frames, baseboards, and any fixtures you don’t want to be painted. Press the edge of the tape down firmly to create a seal, which will help prevent paint from seeping underneath.
• Conclusion
By following these expert tips and investing the time in properly prepping your walls before adding new paint, you’ll achieve a professional-quality paint job that will last for years to come. Remember, thorough and detailed preparation is the key to a successful painting project.
Wall Preparation Techniques Used by Professional Painters
• Step 1: Inspection and Repair
Before beginning the wall preparation process, professional painters inspect the walls for any cracks, holes, or damages that need immediate attention. They use a putty knife or scraping tool to remove any loose or peeling paint, as well as sandpaper to smoothen the surface.
In case of any damage, they repair it using a joint compound or spackle. For cracks and small holes, a caulk is often used, and if the damage is more significant, a patching material might be necessary. The repaired areas must then be sanded down for an even surface.
• Step 2: Cleaning the Walls
Clean walls are essential for achieving a polished paint job. Professional painters use a mild detergent and water to clean the walls, removing dirt, grease, and grime that can interfere with the paint adhesion. They might also use a sponge or cloth for this process and then wipe the walls dry with a clean, lint-free cloth.
It’s crucial to pay attention to mildew and mold on walls, especially in humid areas. In such cases, using a solution of 1 part bleach to 3 parts water with a soft bristle brush can help to remove mildew and mold effectively.
• Step 3: Protection and Masking
To protect the flooring, furniture, and other fixtures during the painting process, professional painters lay down drop cloths and plastic sheeting. They also ensure that adequate ventilation is present, as painting releases various fumes that need proper ventilation.
For masking, they use painter’s tape to cover up any areas that should not be painted, such as trim, outlets, and switch plates. This step is crucial to achieve clean lines and prevent any unnecessary color overlap.
• Step 4: Sanding the Walls
Sanding is a critical step in wall preparation, as it ensures a smooth, even canvas for the paint to adhere to. Professional painters typically use a sanding pole or sandpaper with a grit of 100 to 150. They sand the entire wall surface in a circular motion, focusing on any rough spots or repaired areas.
After sanding, it’s essential to remove any residual dust using a tack cloth or damp cloth. This keeps the walls dust-free and ready for painting.
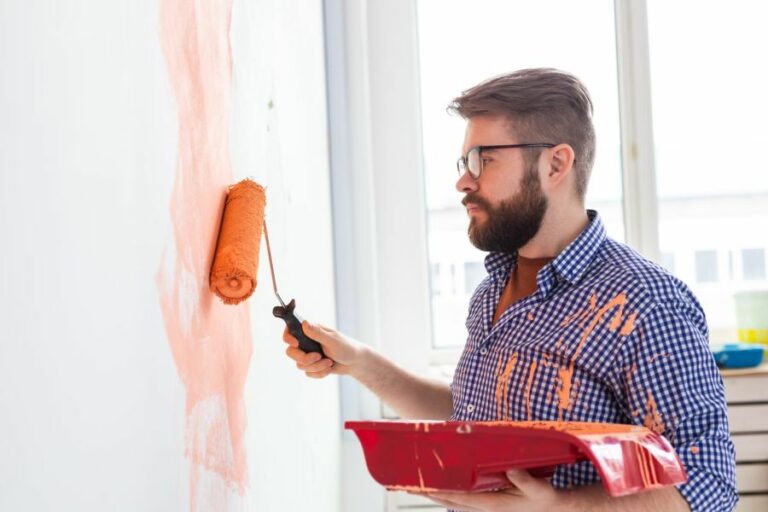
• Step 5: Applying Primer
A primer is crucial in wall preparation, as it enhances paint adhesion and helps in achieving a uniform, long-lasting finish. Professional painters select a primer based on the wall material and the type of paint they plan to use.
They typically use a paint roller or brush to apply the primer evenly on the walls. If there are any repair patches, it’s essential to use a primer with a higher build to cover those spots effectively. After applying the primer, they wait for it to dry completely before proceeding with the paint job.
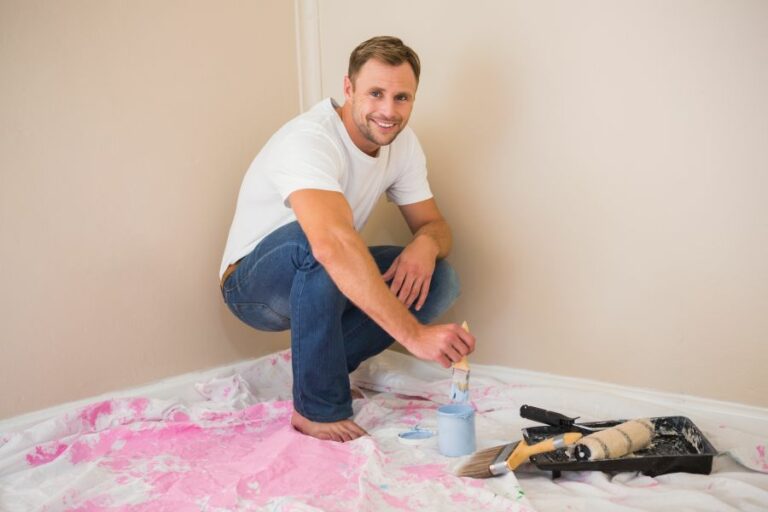
• Step 6: Final Touch-ups
Before the painting process begins, the professional painters ensure that they have their tools and materials at hand, such as paint trays, rollers, brushes, stir sticks, and the chosen paint.
It’s also essential to double-check the walls for any missed steps or imperfections. If necessary, they may need to sand down any rough areas and touch up the primer. Once they are satisfied with the wall preparation, the actual painting process can begin.
• Conclusion
Proper wall preparation is a key component in achieving a professional, long-lasting paint job. By following the steps mentioned above, professional painters ensure that the walls are clean, smooth, and primed, paving the way for a flawless finish.
For more information about wall preparation techniques and expert advice, the Paint Quality Institute provides valuable resources and guidance on professional painting practices.
Is Wall Preparation Essential for Painters Before Painting?
As an experienced painter, I cannot stress enough the significance of prepping walls before applying a fresh coat of paint. Skipping this crucial step can lead to unsatisfactory results, such as uneven surfaces or paint that does not adhere correctly.
• Benefits of Wall Preparation
– Better Paint Adhesion
One of the primary goals of wall preparation is to ensure that the paint adheres to the surface correctly. A well-prepped wall has a clean, smooth surface free of cracks, dirt, or grease, which allows the paint to bond correctly and last longer.
– Consistent Paint Finish
When you take the time to prep the walls, the final result is a consistent and professional-looking paint finish. This uniform appearance is achieved by patching holes, cracks, or other imperfections present on the surface before painting.
– Improved Durability
Prepared walls also lead to improved paint durability. If you skip the prep work, the paint may peel, crack, or chip much easier, making the job look unprofessional and requiring more frequent touch-ups or repaints.
• Essential Steps in Wall Preparation
– Wall Cleaning
Cleaning the walls is a vital initial step in the preparation process. It involves removing dirt, dust, grease, and any other contaminants that could affect the paint’s adherence. So, before you start painting, wipe down the walls with a clean, damp cloth, and if necessary, use a mild detergent to tackle stubborn stains or grease. Alternatively, you can also use a vacuum cleaner with a brush attachment to remove dust and debris.
– Repairing Surface Imperfections
After cleaning the walls, inspect them for any holes, cracks, or other defects. For minor damages, I recommend using a lightweight spackle or premixed joint compound to fill the holes or repair the cracks. You can apply these materials with a putty knife, and once it dries, sand the repaired areas to achieve a smooth and even surface.
For more significant damages like large cracks or holes, you might need to use a mesh joint tape followed by a joint compound. In this case, follow the manufacturer’s instructions and remember to sand the repaired areas well before painting.
– Removing Wallpaper
If you’re dealing with walls that have wallpaper already installed, removing it is a crucial step in the preparation process. You can begin by peeling off any loose or curling paper and then using a wallpaper stripper solution, or steam, to soften the adhesive.
Follow that up by scraping off the remaining wallpaper gently. Once completed, be sure to clean the walls thoroughly to remove any adhesive residue.
– Sanding
Sanding is an essential step in creating a smooth painting surface. Start by using medium grit sandpaper (80-120 grit) to level any rough areas, and then move to finer grit sandpaper (180-220 grit) for a smoother finish.
Ensure you wear a dust mask to protect your lungs from dust particles during the sanding process.
– Priming
A quality primer is crucial for a professional and long-lasting paint job. Priming your walls helps enhance the paint’s adhesion and ensures the color appears consistently, especially when painting over dark or vibrant colors. Additionally, some primers provide stain-blocking properties that prevent bleeding through the new paint.
When choosing a primer, select one that works with the type of paint you plan to use, such as water-based, oil-based, or latex paint. Apply the primer in thin, even coats and allow it to dry completely according to the manufacturer’s drying time.
• Conclusion
In conclusion, proper wall preparation is the foundation of a successful paint job. A well-prepped wall will enhance paint adhesion, create a consistent and professional finish, and boost the paint’s durability.
Whether you’re a professional painter or taking on a DIY project, investing time and effort into these crucial steps is critical.