Prepping Walls Before Indoor Painting, 25 Things You Should Know
Are you planning to give your interior walls a fresh coat of paint? Well, preparing walls for painting might seem like a daunting task, but we have all the guidance you need. With the right tools and techniques, you can master prepping and ensure a smooth, lasting finish on your walls. Let’s dive into the essential steps to prepare your walls for that beautiful transformation.
Prepping walls before indoor painting:
To prepare walls for interior painting, follow these steps: 1) Clean and repair the walls, remove dirt, and fix defects. 2) Sand and smooth the surfaces for better paint adhesion. 3) Remove hardware and fixtures to avoid damage. 4) Mask and protect areas not to be painted. 5) Apply primer for a smooth, uniform finish. Proper preparation ensures a professional-looking paint job.

Want to achieve a flawless paint finish on your walls? Proper wall preparation is the key! Dive in as we unveil essential steps and expert tips on prepping walls before indoor painting. Read on to find out more and elevate your painting skills to a professional level!
Contents
- 1 Preparing Walls for Interior Painting: Essential Tips
- 2 Importance of Interior Wall Preparation Prior to Painting
- 3 Cleaning Interior Walls: Key Steps Before Fresh Coats of Paint
- 4 Expert Painters: How They Clean Walls Before Interior Painting
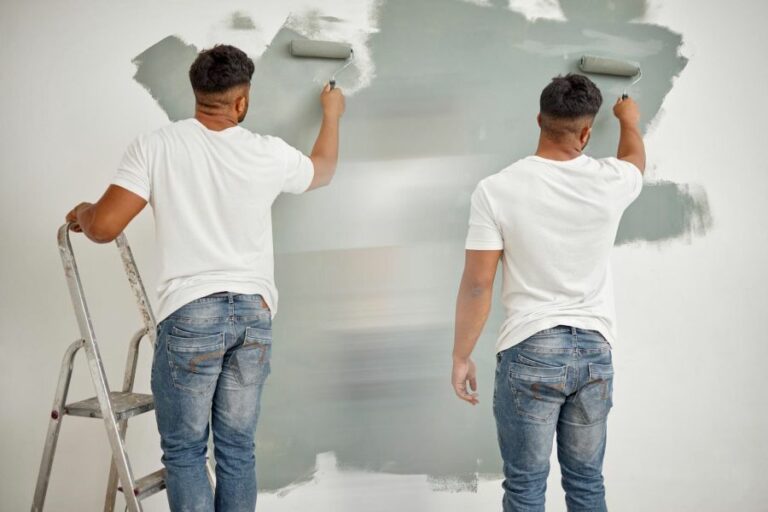
Preparing Walls for Interior Painting: Essential Tips
Painting the interior of a home can be an exciting yet intimidating task, as the outcome can drastically change the overall appearance and atmosphere of a room. Proper preparation is essential to achieving a professional-looking finish.
• Step 1: Cleaning and Repairing
Before you start painting, it is important to thoroughly clean the walls to remove any dirt, dust, or debris that may interfere with the paint adhesion. Use a mild detergent mixed with warm water and a soft sponge to scrub the walls gently.
A mixture of water and TSP (trisodium phosphate) may be helpful for stubborn stains. Be sure to rinse the walls with clean water to remove any residue.
After cleaning, the walls need to be inspected for any cracks, holes, or imperfections that require repair. Using a pre-made patching compound or a mixture of joint compound and water, fill in minor defects with a putty knife.
For larger repairs, such as nail holes, use a slightly wider knife to apply the compound, feathering the edges to blend with the surrounding area. Allow the repairs to dry according to the manufacturer’s instructions, usually between 24 and 48 hours.
Tip: I recommend using a quick-setting repair compound for time-sensitive projects, as these products often dry within an hour.
• Step 2: Sanding and Smoothing
To ensure a smooth painting surface, sand the walls lightly using fine-grit sandpaper or a sanding sponge. This step helps remove any rough areas or loose particles, as well as promotes paint adhesion. Focus on the repaired areas to ensure they blend seamlessly with the rest of the wall.
Remember to sand in a circular motion to avoid creating scratches that will be visible through the paint.
Once the sanding is complete, remove any dust and debris by wiping down the walls with a damp cloth or sponge. You can also use a vacuum cleaner with a brush attachment to remove dust from the entire room, including baseboards and trim.
• Step 3: Removing Hardware and Fixtures
Before painting, it is essential to remove any hardware or fixtures that could be in the way or become damaged during the painting process. This includes electrical outlets, light switches, thermostats, and vent covers.
By removing these items, you create a more seamless look and prevent accidental drips or brush marks.
Using a flathead screwdriver or a drill with a screwdriver bit, carefully remove all hardware and fixtures by unscrewing the attachment screws. Keep all screws and small parts organized in labeled containers or plastic bags to avoid losing them.
Tip: If you cannot remove certain fixtures easily or safely, mask them off using painter’s tape to protect them from paint.
• Step 4: Masking and Protecting
Now that the walls are clean and free of obstructions, it’s time to protect any surfaces you don’t want to be painted, such as windows, doors, trim, and baseboards.
Using painter’s tape, apply it along the edges of these areas, pressing it down firmly to create a tight seal. This ensures that the paint doesn’t bleed onto the protected surfaces and helps achieve clean, crisp lines.
Tip: To achieve the best results, use quality painter’s tape specifically designed for masking purposes.
For added protection, cover the floor with a drop cloth or plastic sheeting, securing the edges with tape to prevent it from shifting. This helps protect your flooring from spills, drips, or accidental paint splatters.
• Step 5: Priming
The final step in prepping walls for painting is applying a primer – this is crucial for achieving a smooth, uniform finish.
Primer acts as a barrier between the wall and the paint, helping the paint adhere better and preventing stains or imperfections from showing through. Additionally, primer can help reduce the number of coats needed, saving both time and money.
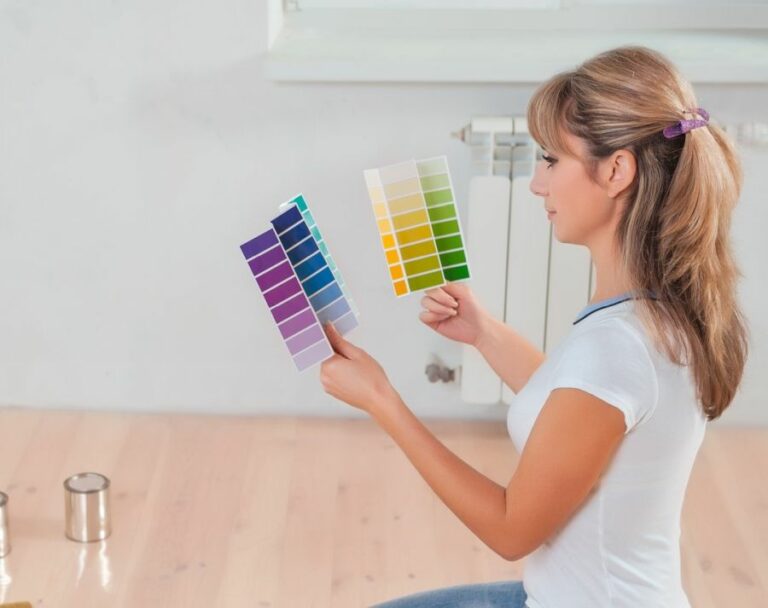
Choose the appropriate primer based on the type of paint you plan to use and the wall’s condition. For example, oil-based primers are best suited for oil-based paints, while latex-based primers work well with water-based latex paints.
If your walls have dark or stubborn stains, consider using a stain-blocking primer to prevent them from bleeding through the paint.
Using a brush or roller, apply the primer evenly to the walls, paying close attention to the repaired areas or any spots with a different texture or color. Allow the primer to dry according to the manufacturer’s instructions – this can range from a few hours to 24 hours.
Tip: Tinting the primer with a small amount of your paint color can help improve the final appearance and reduce the number of paint coats needed.
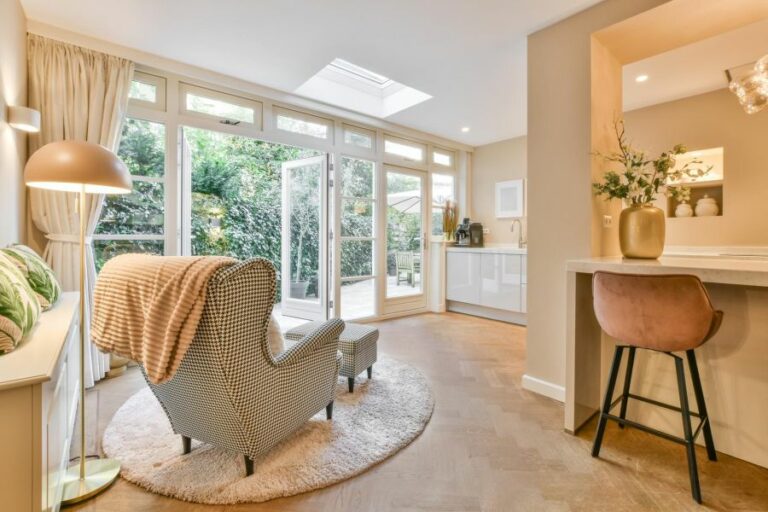
With the walls properly prepped, you are now ready to begin painting your space. By following the steps outlined in this article, you will set the foundation for a professional-looking paint job that will transform your room and enhance your home’s overall aesthetic.
For further guidance and expert advice on prepping walls before indoor painting, visit the DIY Network.
Importance of Interior Wall Preparation Prior to Painting
Preparing your interior walls before painting is crucial to achieving a smooth, professional finish. This article will explore the necessary steps for wall preparation and provide guidance for the painting process, ensuring a successful project outcome.
• Importance of Proper Wall Preparation
Neglecting proper wall preparation can lead to a number of issues, such as paint not adhering correctly, uneven surfaces, and visible blemishes. Addressing these problems later may require significant work, costing time and money.
Additionally, a well-prepared surface will create a clean canvas for your paint, ensuring long-lasting and aesthetically pleasing results.
• Cleaning the Walls
Begin by removing dirt, grease, and grime from your interior walls. Cleaning solutions specifically designed for wall surfaces can be found at most home improvement stores. Alternatively, use a solution of warm water and mild dish soap to clean the walls.
Use a sponge or soft cloth, then rinse with clean water and allow the walls to dry thoroughly.
Tip: While cleaning, make a mental note of any cracks, holes, or imperfections that need repair. This will help streamline the preparation process.
• Repairing Damaged Walls
Cracks, holes, and other imperfections must be addressed prior to painting. Small holes or cracks can be filled using a premixed spackling compound. For larger issues, consider using fiberglass mesh tape and joint compound.
- Apply the spackling compound or joint compound with a putty knife, spreading it evenly into the hole or crack.
- Smooth the surface using the putty knife, and allow the compound to dry according to the manufacturer’s instructions.
- Once dry, use fine-grit sandpaper to smooth the repair area and blend it with the surrounding wall.
Tip: Ensure adequate ventilation while working with spackling or joint compounds, as the fumes can be irritating.
• Sanding the Walls
Sanding is an essential step to ensure a smooth and even paint application. Start by using medium-grit sandpaper, then progress to fine-grit sandpaper for the best results. Pay particular attention to areas where repairs were made, as well as any visible seams, bumps, or rough spots.
Tip: For large or high walls, consider using a sanding pole to reach difficult areas without the need for a ladder.
• Removing Dust and Debris
Vacuum your walls using a soft brush attachment to eliminate any dust and debris from the sanding process. Wipe down the walls with a slightly damp, lint-free cloth to remove any remaining particles. Allow walls to dry thoroughly before moving on to the next step.
• Priming the Walls
Applying a primer is essential in achieving an even paint finish, especially when covering dark or bold colors. Primer can also help to promote paint adhesion and prevent any lingering stains from bleeding through your new paint.
Choose a primer specifically designed for your wall surface and paint type. Follow the manufacturer’s instructions for application, and allow the primer to dry thoroughly before proceeding with paint.
Tip: Tinting your primer to a color similar to your final paint shade can improve paint coverage and reduce the number of coats required.
• Taping and Protecting
Before beginning to paint, use painter’s tape to cover any trim, baseboards, outlets, or other surfaces, you wish to protect. Additionally, cover your floor with drop cloths or plastic sheeting to protect against paint splatters.
Tip: Press down firmly on the painter’s tape to create a tight seal, helping to prevent paint seepage and achieve clean lines when painting.
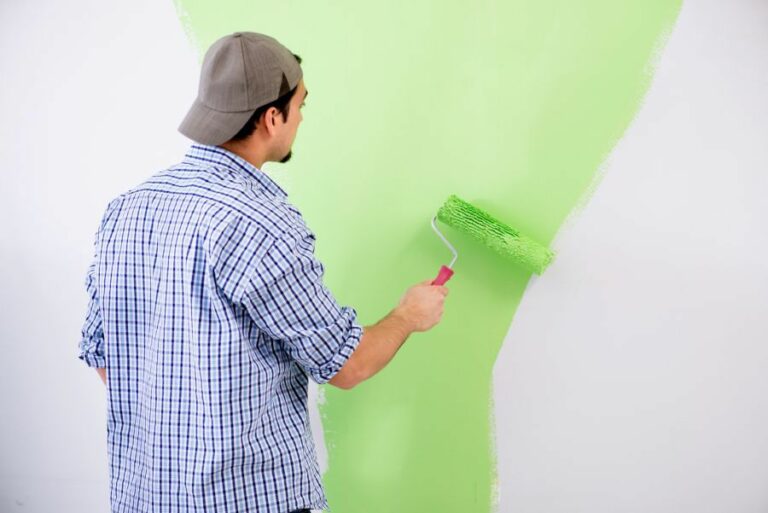
• The Painting Process
Now that your walls are prepped and protected, it is time to paint. Use a high-quality paintbrush or roller, ensuring even coverage and a smooth application. Allow adequate dry time between coats and follow the manufacturer’s instructions for best results.
• Final Thoughts
To summarize, proper wall preparation plays a critical role in the success of your interior painting project. By following each of the recommended steps, you can ensure a professional, long-lasting, and visually appealing result. Happy painting!
Cleaning Interior Walls: Key Steps Before Fresh Coats of Paint
Painting your home’s interior can be an exciting project that has the potential to completely transform the look and feel of your space. But before you dive into the task, it’s crucial to prepare your walls properly for the paint job to achieve the best result. One of the essential steps in the pre-painting process is cleaning the walls.
• Why Cleaning Walls Is Important Before Painting
Even if your walls appear clean, chances are that they have accumulated dust, dirt, and even grease over time. When you paint over a dirty surface, the paint may not adhere properly, leading to peeling or an uneven finish.
Additionally, any dirt or debris on the walls could cause imperfections in the final paint job. By thoroughly cleaning your walls before painting, you ensure a smoother application and a longer-lasting result.
• Dusting and Vacuuming: Removing Loose Debris
The first step to cleaning your walls before painting is to remove any dust or loose debris. Begin by using a vacuum cleaner with a brush attachment or a microfiber cloth to gently dust off any loose dirt.
Vacuuming allows you to remove dust and cobwebs without smearing or smudging the dirt on the walls, which could create more work for yourself later on.
• Washing the Walls: Eliminating Dirt, Grease, and Stains
Once you’ve removed any loose debris, it’s time to wash the walls with a cleaning solution to tackle dirt, grease, and other stains. There are various cleaning solutions you can use, depending on your wall’s condition and the type of paint or wallpaper present.
– Warm Water and Mild Detergent
For most walls, a mild detergent and warm water mixture should suffice. Fill a bucket with warm water and add a small amount of dish soap or a mild, non-abrasive cleaning detergent. Use a soft sponge or cloth to gently scrub the walls, working in small, circular motions.
– Trisodium Phosphate (TSP)
In case the walls are heavily stained by grease or similar substances, you might need a stronger cleaning agent. Trisodium phosphate (TSP) is a powerful cleaner commonly used for preparing walls before painting.
Make sure to follow the manufacturer’s instructions for diluting TSP with water, and wear gloves and goggles for safety. Apply the TSP solution with a sponge, moving from the bottom upward to prevent streaks or drips. You can find TSP at most hardware stores or online.
Note: If you prefer an eco-friendlier alternative, you can find phosphate-free TSP substitutes that still offer strong cleaning power.
– Vinegar and Water Solution
If you are dealing with walls with traces of mold or mildew, you will need a cleaning solution that can help eliminate these issues. A mixture of equal parts water and white vinegar can act as an effective and natural solution for such cases.
Apply the vinegar solution to the walls using a spray bottle or sponge, and then scrub gently to remove any mold or mildew stains.
• Rinsing the Walls: Removing Cleaning Residue
After you’ve finished washing the walls, it’s essential to rinse them with clean water to remove any cleaning residue. Fill a second bucket with clean, warm water and use a clean sponge or cloth to rinse the walls thoroughly.
Be sure to wring out the sponge or cloth frequently to avoid spreading dirty water on the walls.
• Drying and Final Preparations
Once the walls are cleaned and rinsed, allow them to air dry completely before proceeding with your painting project. It may take a few hours or even a full day, depending on factors like room temperature and humidity.
Use this drying time to gather your painting supplies or prepare your space by covering floors and moving furniture.
As a final step, ensure the walls are fully dry and do a visual inspection for any remaining dirt or stains. You may need to repeat the process if any stubborn spots are still visible.
• Conclusion
Properly cleaning your walls before painting is a crucial step to achieving a professional-looking finish. With the right cleaning solutions, some patience, and attention to detail, you will ensure a smooth, even surface for your paint to adhere to.
Remember to choose the appropriate cleaning methods based on your wall’s condition and allow them to dry completely before painting. By following these guidelines, you’ll set yourself up for a successful and satisfying painting project.
Cleaning Material | Description |
|---|---|
Soap and Water | Use a mild soap with warm water to scrub the walls clean of dirt and grime. |
Trisodium Phosphate (TSP) | A heavy-duty cleaner that removes grease, soot, and stubborn stains; dilute with water before use. |
Ammonia Solution | A diluted solution of ammonia in water can clean walls without leaving a residue; ensure proper ventilation when using. |
Vinegar Solution | A mixture of white vinegar and warm water is helpful for removing mild stains and odor from walls. |
Degreaser | A commercial kitchen degreaser can be used for heavily soiled walls, especially those with cooking grease and oil buildup. |
Expert Painters: How They Clean Walls Before Interior Painting
Whether you are taking on a home improvement project, updating a commercial space, or simply refreshing the colors in your living area, employing the expertise of a professional painter can significantly enhance the final results.
One critical step often overlooked during the painting process is the cleaning of interior walls before the first layer of paint is applied.
Those considering hiring a professional painter may wonder, ” Do professional painters clean interior walls before painting?” The straightforward answer is yes. Proper cleaning is an essential step to achieve optimal results.
• Importance of Cleaning Walls Before Painting
There are numerous reasons and benefits associated with cleaning walls before painting. Here are some key factors that make this step indispensable:
– A Smooth, Long-lasting Result
Dust, dirt, and grime accumulate over time on walls, whether they appear dirty or not. Painting over these particles may cause the paint to adhere unevenly, resulting in a lumpy finish and lifting at sections with higher levels of dirt.
Cleaning the walls beforehand ensures a smooth, even application and enhances the paint job’s longevity.
– Prevention of Mold and Mildew Growth
Moisture can lead to the growth of mold and mildew, which can severely impact the durability and appearance of your paint job. Cleaning the walls enables the professional painter to identify and address any preexisting mold or mildew issues, preventing them from re-emerging later on.
– Improved Overall Appearance
Cleaning walls removes stains, smudges, and dirt that can compromise the final appearance of the paint job. It helps reveal the true color of the paint and creates a more polished result.
• Recommended Cleaning Techniques and Solutions
Professional painters are well aware of the appropriate cleaning techniques and solutions to use on various wall surfaces. Here are some examples:
– Mild Detergent and Warm Water
For most walls, a simple solution of mild detergent and warm water is sufficient to clean the surface. This mixture is gentle enough not to damage the surface yet effective in removing grime and dirt.
– Trisodium Phosphate (TSP)
For heavily soiled walls or those with grease and oil stains, a stronger cleaning agent may be required. Trisodium Phosphate (TSP) is a popular choice used by professionals to cut through tough stains without harming the wall.
– Vinegar and Water
If you prefer a more eco-friendly cleaning solution, a mixture of equal parts white vinegar and water is a good alternative. This solution is particularly effective in removing mold and mildew.
– Specialized Solutions for Different Surfaces
Different wall surfaces, such as wallpaper, wood paneling, or concrete, may require specialized cleaning solutions. Professional painters are knowledgeable about these specific products and how to use them safely and effectively.
• Removing Dust with Tack Cloths
After cleaning the walls, it is important to remove any leftover dust particles, as they can still interfere with the paint application. Professional painters often use tack cloths, which are specially treated fabrics designed to pick up and hold dust particles without leaving a residue.
• Additional Steps for Preparation
Depending on the condition of the walls and the desired result, professional painters may take some additional steps before painting:
- Sanding: If there are rough patches or surface imperfections, lightly sanding the area can help create a smoother surface for painting.
- Priming: A primer can be applied to provide a better painting surface, particularly on dark or stained walls, to enhance the color and finish of the final paint job.
- Caulking: Cracks or gaps in the wall may require caulking, particularly in high-moisture areas, to prevent water intrusion and future mold growth.
In conclusion, it is evident that cleaning interior walls before painting is a crucial step for professional painters. This process contributes to the final appearance and ensures a durable, long-lasting result.
By employing a professional painter, you can rest assured that your walls are being properly prepared and cleaned, ultimately leading to a superior and satisfying finished product.