Prepare And Paint Plastic Surfaces Like A Pro
Tired of lackluster results when painting plastic surfaces? We’ve got you covered. In this discussion, we will explore the ins and outs of preparing and painting plastic surfaces like a pro, ensuring you achieve flawless results every time. So buckle up and get ready to transform your plastic items into eye-catching, attractive pieces with our expert tips and techniques.
Prepare & paint plastic surfaces like a pro:
To prepare and paint plastic surfaces like a pro, gather necessary materials such as plastic primer, sandpaper (400-600 grit), tack cloth, and spray paint designed for plastic use. Clean the surface thoroughly, sand it lightly, remove the sanding residue, and apply primer. Shake the paint well, test it, and apply thin, even coats with smooth, sweeping motions. Optionally, apply a clear top coat sealer for enhanced durability and appearance. Follow all product instructions and safety precautions.

Ready to unleash your inner Picasso on plastic surfaces? There’s more to it than just brushing on a coat of paint. Keep reading to uncover expert tips and tricks for preparing and painting plastic like a pro, and watch your projects transform from ordinary to extraordinary!
Contents
Expert Guide to Prepping & Painting Plastic Surfaces
As someone who has painted numerous plastic surfaces, I know the importance of the right preparation and techniques for a successful, professional-looking result.
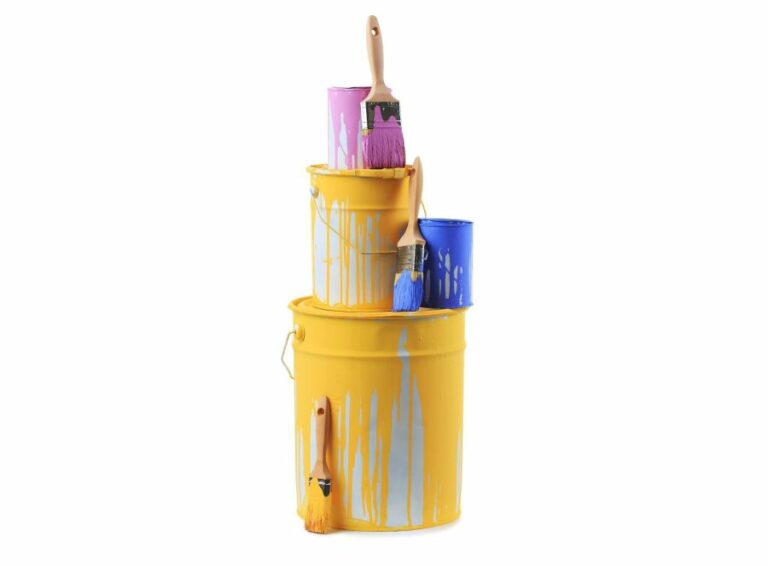
• Necessary Materials for Painting Plastic Surfaces
Before starting your project, gather the following materials:
- Plastic primer or adhesion promoter
- Sandpaper (400 to 600 grit)
- Tack cloth or microfiber cloth
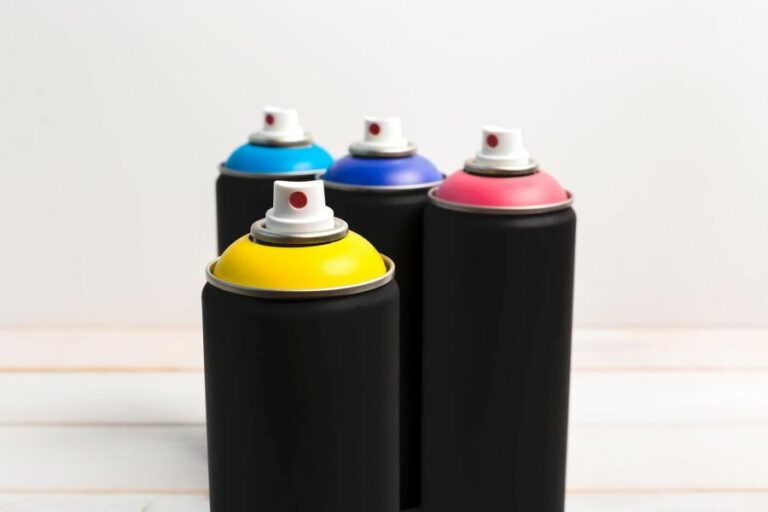
- Spray paint designed for plastic use
- Clear top coat sealer (optional)
Always read the labels of the products you choose to use, and follow the manufacturer’s recommendations.
• Choosing the Right Paint for Plastic Surfaces
The type of paint you choose is crucial to the success of your project. Look for spray paints specifically designed for use on plastic surfaces. These paints contain additives that enable them to bond well with plastic materials, resulting in a durable and long-lasting finish.
Some popular options include:
- Krylon Fusion for Plastic
- Rust-Oleum Painter’s Touch Ultra Cover 2x
- Valspar Outdoor Plastic Spray Paint
• Preparing the Plastic Surface for Painting
Proper surface preparation is essential for a professional-looking finish. Follow these steps to prepare your plastic surface:
– Step 1: Clean the surface
Remove any dirt, dust, or grease from the surface. You can use a mild soap and water solution to clean the surface and let it dry thoroughly.
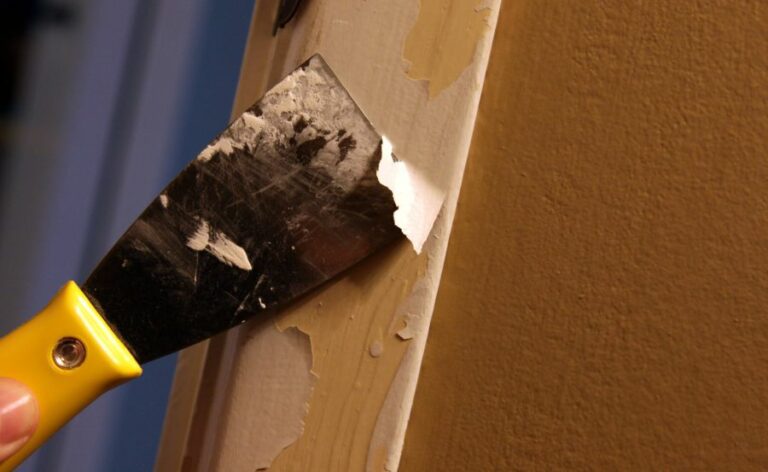
– Step 2: Sand the surface
Using 400 to 600 grit sandpaper, lightly sand the entire surface. This will provide the primer or paint with scratches to “grip” onto, ensuring better adhesion. Be cautious not to overdo it and avoid damaging the surface.
– Step 3: Remove sanding residue
Using a tack cloth or microfiber cloth, wipe away any sanding residue from the surface.
– Step 4: Apply plastic primer or adhesion promoter
Applying a plastic primer or adhesion promoter is essential for the paint to adhere properly to the plastic surface. Follow the manufacturer’s instructions for proper application and drying time.
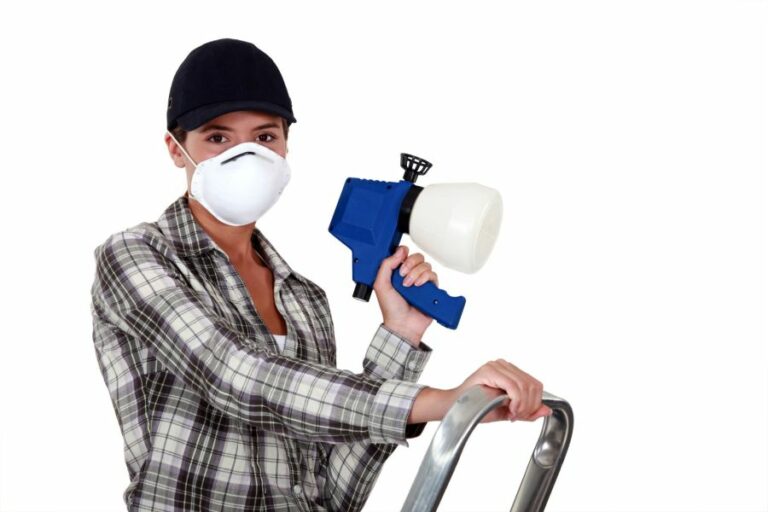
Make sure you work in a well-ventilated area and use appropriate safety gear like masks and gloves during the process.
• Painting the Plastic Surface
After the primer dries, it’s time to apply your chosen paint. Follow these tips for a professional result:
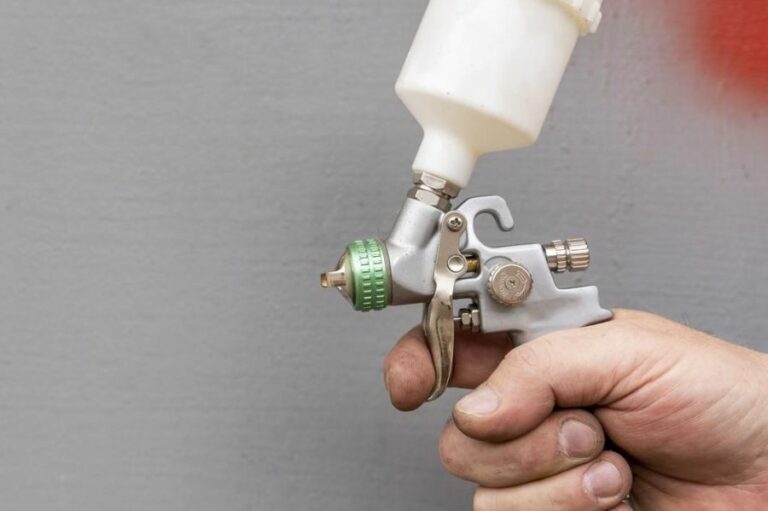
– Step 1: Shake the can well
Before you start painting, shake the can for at least one minute to ensure the paint is well-mixed.
– Step 2: Test your spray paint
Use a piece of cardboard or scrap material to test your spray paint. Adjusting the distance can help ensure smooth, even coverage and avoid drips.
– Step 3: Apply thin, even coats
Apply the paint in thin, even coats using smooth, sweeping motions. Keep the can about 10-12 inches away from the surface. Allow each coat to dry for the recommended time before applying additional coats. It’s better to apply several light coats rather than one heavy coat.
This will help to prevent drips and provide a smoother, more professional finish.
– Step 4: Apply a clear top coat sealer (optional)
Once the paint is fully dry, you can apply a clear top coat sealer to enhance the durability and appearance of the paint job. Follow the manufacturer’s instructions for the application and drying time.
• Final Thoughts and Tips
By following these steps, you can achieve a professional finish on your plastic surface. Here are a few additional tips to consider:
- Work in a well-ventilated area and use appropriate safety gear such as masks and gloves.
- Avoid painting in extreme temperatures or high humidity, as this can affect the paint’s drying time and overall finish.
- Always read and follow the manufacturer’s instructions for the products you choose.