Essential Steps To Prep Surfaces For Paint. What Pros Say
Are you tired of paint peeling off, chipping, or not adhering well to surfaces? Fret no more – we’ve got you covered! In this upcoming discussion, we’ll dive deep into the essential steps to properly prep surfaces for paint, ensuring a flawless and long-lasting result. From choosing the right materials to mastering the art of surface preparation, we have the ultimate guide to help you achieve the perfect paint job every time.
Essential steps to prep surfaces for paint:
Essential steps to prep surfaces for paint include assessing surface condition, addressing defects, cleaning the surface, sanding, repairing and caulking, applying primer, and protecting surrounding areas. These steps ensure a smooth, long-lasting, and professional-looking paint finish.

Ready to change up your space with a fresh coat of paint? Learn the essential steps to properly prep surfaces, ensuring a smooth and long-lasting result. Don’t miss out on these vital tips and tricks; read on to elevate your painting project to professional levels!
Contents
Crucial Steps to Prepare Surfaces for Painting
Painting a surface is not just about picking out the perfect color and getting to work. To ensure that you get a professional-looking result, there are some essential steps you need to take to prepare the surface before painting.
• Assessing the Surface Condition
Before you begin your preparation work, it’s crucial to carefully inspect the surface for any issues that might affect the final outcome of your painting job. Some common surface problems include:
- Peeling or flaking paint
- Cracks and gaps
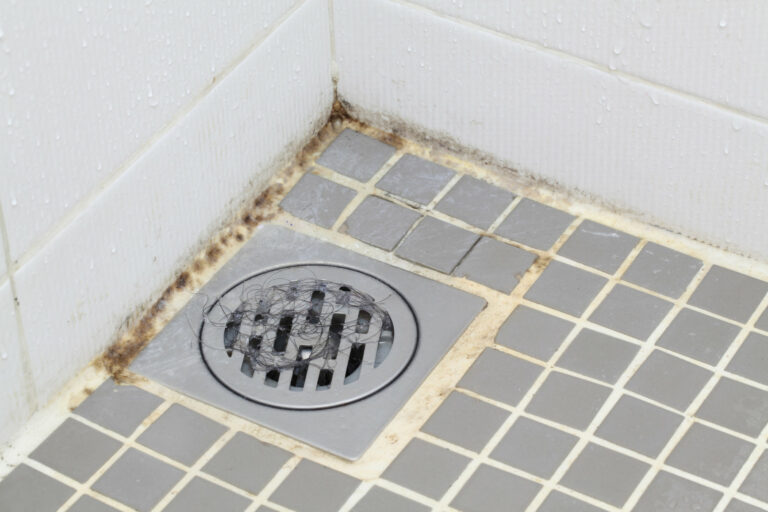
- Mold or mildew
- Loose or damaged caulking
- Rotten or warped wood
If you notice any of these issues or other defects, it’s essential to address them to ensure a smooth, long-lasting paint finish. For instance, you may need to scrape off loose paint or apply a patching compound to fill any cracks or gaps.
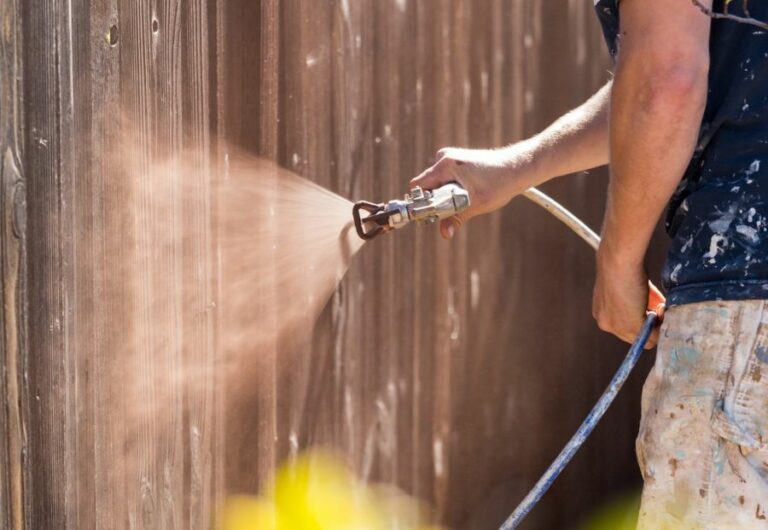
• Cleaning the Surface
Once you’ve addressed any surface problems, it’s time to clean the area to ensure a strong bond between the paint and the surface.
For most surfaces, a simple mixture of warm water and mild soap will suffice. Use a cloth, sponge, or soft brush to scrub away any dirt, grease, or grime.
For more resilient stains or substances like mold and mildew, consider using specialized cleaning solutions available at your local hardware store.
The Environmental Protection Agency (EPA) provides guidelines on how to safely remove mold from various surfaces. You can visit their website here.
• Sanding the Surface
Sanding the surface is a critical step in preparing it for paint, as it smooths out any irregularities and creates a better bond between the surface and the paint. Using fine-grit sandpaper, gently sand the surface to remove any rough spots, old paint, or patches of uneven texture.
For larger surfaces or areas with extensive damage, you may want to consider using a power sander, which can save time and energy. However, make sure to use caution with these tools, as aggressive sanding can cause damage to the surface.
After sanding, wipe down the surface with a tack cloth or damp cloth to remove any dust and debris.
• Repairing and Caulking
If you identified any cracks, gaps, or damaged areas during the initial assessment of the surface, now is the time to address these issues. You can use a patching compound or wood filler for small repairs or replace entire sections of damaged wood or siding if necessary.
After completing any repairs, apply a high-quality, paintable silicone caulk to seal any gaps, particularly where different building materials meet (e.g., wood siding and window trim). This step will help prevent air and water infiltration, contributing to a seamless and durable paint job.
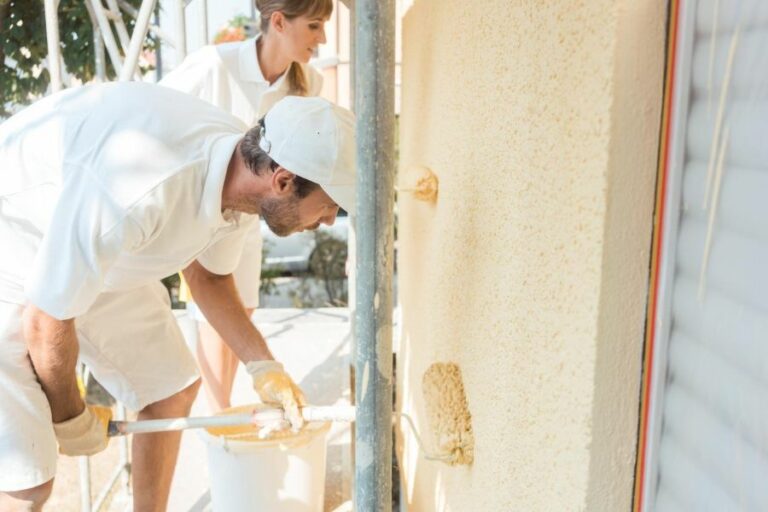
• Priming the Surface
A crucial step in preparing surfaces for paint is applying a high-quality primer. Priming serves several purposes:
- It helps to even out the color and texture of the surface.
- It creates a better bond between the paint and the surface.
- It allows for better paint coverage, which can save you money on additional coats.
When choosing a primer, be sure to select one that is compatible with the paint you plan to use. You can consult with your paint store or check the paint can label for guidance.
To apply the primer, use a brush, roller, or spray, depending on the size of the surface and your preference. Ensure that you cover the entire surface evenly and allow the primer to dry completely before moving on to painting.
• Protecting the Surrounding Area
Before you begin painting, take the time to protect nearby surfaces and objects from paint splatter or accidental brush strokes.
You can cover the ground, furniture, and plants with drop cloths or plastic sheeting. It’s also a good idea to use painter’s tape to protect window panes or edges that you do not want to paint.
By taking these essential steps to prepare your surface for painting, you will significantly increase your chances of achieving a professional and durable finish.
Proper surface preparation may take more time and effort initially, but the results will be well worth it in the long run. So, roll up your sleeves and start prepping for the perfect paint job!