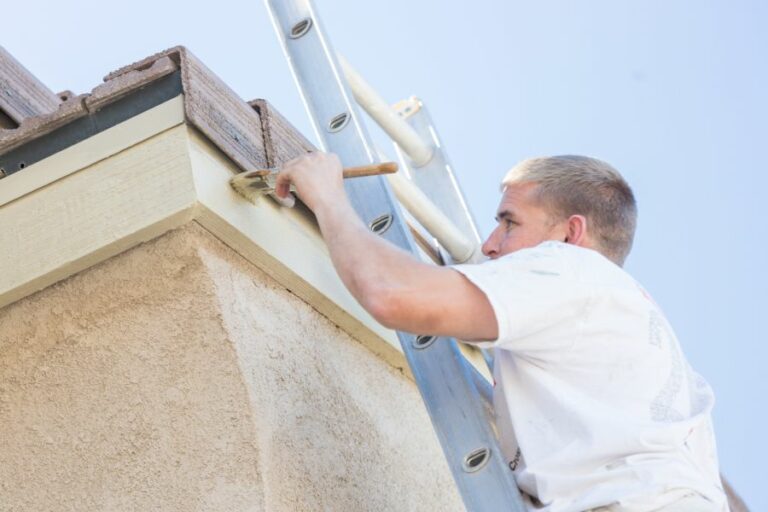
Surface Preparation Tips For Repainting Projects
Embarking on a repainting project can seem daunting, but we’re here to help you achieve stunning results. Proper surface preparation is crucial to a smooth, long-lasting finish. With our expert guidance, you’ll be able to easily tackle the essential prep steps, making your repainting project a success.
Surface preparation tips for repainting projects:
Before repainting, prepare surfaces by thoroughly cleaning them to remove dirt, grime, and mildew. Fill holes and cracks with spackle or caulk, and sand the surface for a smooth finish. Address paint problems such as peeling or bubbling, and prime the surface to promote adhesion and durability.

Embarking on a repainting project? Discover expert advice on surface preparation to achieve flawless results. Our comprehensive guide reveals essential tips to ensure your surfaces are primed for a transformative makeover. Stay with us to unlock the secrets of a perfect paint job!
Contents
- 1 Expert Tips for Prepping Surfaces Before Repainting
- 2 Essential Steps for Prepping Surfaces Prior to Painting
- 3 Importance of Sanding Surfaces Before Applying Paint
Expert Tips for Prepping Surfaces Before Repainting
A successful repainting project begins with proper surface preparation. Using the right techniques and tools will ensure a long-lasting and visually appealing result. This guide will discuss essential preparation steps, from cleaning and filling to sanding and priming.
• Cleaning the Surface
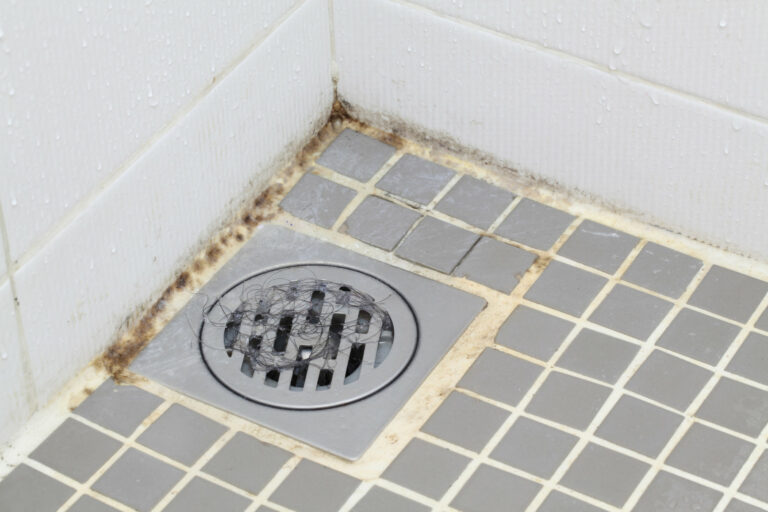
Before repainting any surface, it is crucial to thoroughly clean it. Grime, dust, and dirt will interfere with paint adhesion and may result in a poor finish. Moreover, failure to clean the surface can lead to mold growth or that of other organisms, which weakens structures over time.
– Recommendations for Cleaning
- Remove dirt and dust using a cloth or duster.
- For mildew-covered surfaces, use a solution of bleach and water (1:3 ratio). Please note that bleach should not be used on wallpaper or metal.
- For complex cleaning tasks like removing old paint or adhesive residue, consider using a paint stripper or adhesive remover. Make certain to follow the manufacturer’s instructions and safety guidelines.
For more information about mold prevention and treatment, visit the U.S. Environmental Protection Agency website.
• Filling Holes and Cracks
Unsightly holes and cracks in walls and other surfaces can ruin the appearance of a repainted space. Sealing these imperfections provides a smooth surface for paint application and prevents potential structural damage.
– Recommendations for Filling
- Utilize a filling compound or spackle to cover small holes or cracks. Apply using a putty knife, ensuring a smooth, even finish.
- For larger gaps or crevices, consider using a caulk gun with a tube of paintable caulk.
- When filling any surface, always allow the chosen material to dry fully and adhere before proceeding.
• Sanding to Achieve a Smooth Finish
Sanding is an essential step when preparing surfaces for repainting. Properly sanded surfaces reduce paint consumption and enhance the final appearance.
– Recommendations for Sanding
- Use fine-grit sandpaper (150-180 grit) for wooden surfaces, as it is less likely to leave scratches or grooves.
- For larger surfaces, consider employing an electric sander to expedite the process.
- When sanding, always work in a consistent direction for an even finish.
- After completing the sanding process, wipe the surface with a tack cloth or damp rag to remove residual dust.
• Addressing Existing Paint Problems
Older surfaces may present a variety of paint issues, including flaking, peeling, or bubbling. Addressing these problems is crucial for a successful repainting outcome.
– Recommendations for Problematic Paint
- Gently scrape away loose or peeling paint using a scraper or wire brush.
- If bubbling is present, this may be the result of moisture or heat exposure. Identify and fix the root cause before repainting.
- For severely damaged paint surfaces, consider using a paint remover to strip the existing paint and start fresh.
• Priming for Optimal Adhesion and Durability
Priming the surface will promote paint adhesion, improving the final appearance and increasing paint durability. Skipping this step can cause the new paint to peel or crack over time.
– Recommendations for Priming
- Choose the appropriate primer for your surface material. Consult the primer packaging for guidance.
- For previously painted surfaces, a latex primer is generally recommended.
- If the repainting project involves a drastic color change, consider using a tinted primer to reduce the number of paint coats needed.
- Allow the primer to dry completely before applying any paint.
By following these expert surface preparation tips, you can ensure a smooth and durable finish for your repainting project. Taking the time to correctly clean, fill, sand, and prime your chosen surface will result in a stunning and long-lasting result.
Essential Steps for Prepping Surfaces Prior to Painting
As a painting expert, I cannot emphasize enough the importance of prepping your surface before starting the actual painting process.
Many people skip this step, only to find that their paint job has suffered as a result. By taking the time to properly prep your surface, you can ensure a beautiful, long-lasting paint job.
• Choosing the Right Materials and Tools
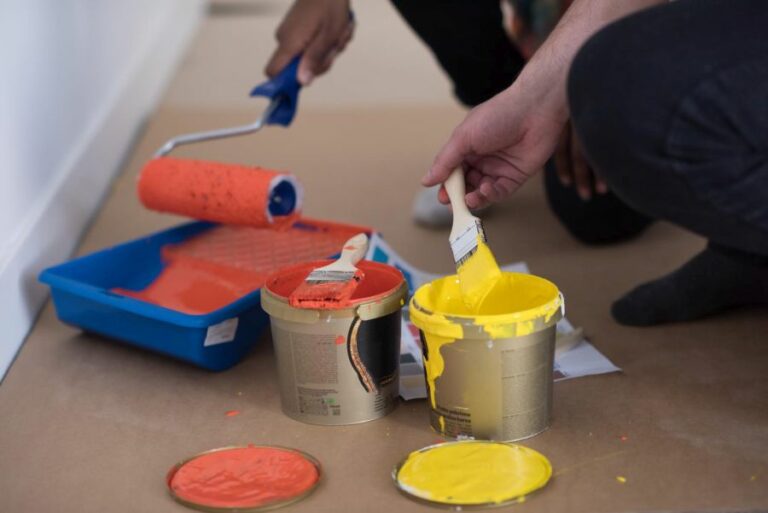
Selecting the right materials and tools for your specific painting project is crucial. Starting with the right brushes, rollers, and paint can save you time and effort. Here are my recommendations for essential materials and tools:
- A high-quality paintbrush (2-inch angled sash brush works well for most projects)
- A durable paint roller and extension pole
- Paint tray and liners
- Drop cloths or plastic sheeting
- Painters tape
- Sandpaper or a sanding block
- Ladder for elevated areas
• Prepping the Surface: Cleaning and Repairing
Before you begin to cover your walls or surfaces with paint, it’s essential to have a clean and damage-free surface. This involves removing any dirt, dust, or grease that might have accumulated.
– Cleaning the Surface
- Handling Mildew: If your walls have developed mildew, use a bleach and water solution to remove them. The Environmental Protection Agency recommends a mixture of one cup of bleach for every gallon of water for mildew removal. Always wear protective gloves and eye protection when handling bleach.
- Removing Dirt and Dust: Wipe the walls using a damp cloth or sponge with a mild detergent solution. Rinse with clean water and let the surface dry completely before moving on to the next step.
– Repairing Damaged Areas
- Filling Holes and Cracks: Inspect the surface for any holes, cracks, or other damage. Use a putty knife to apply a patching compound or spackling paste to fill in these areas. Once the compound has dried, use fine-grit sandpaper to smooth the surface.
- Sanding Rough Areas: If you find any rough spots or areas with peeling paint, use sandpaper or a sanding block to gently sand the area. This will help ensure a smooth and even paint job. Be sure to remove any dust or debris before moving on to the next step.
• Prepping the Area: Protecting and Taping
After cleaning and repairing the surface, you’ll need to protect nearby areas and tape off any edges that should not be painted.
– Protecting Floors, Furniture, and Fixtures
- Move Furniture: Remove any furniture from the room or move it to the center and cover it with drop cloths.
- Cover Floors: Protect your flooring from paint splatters or drips by covering it with drop cloths. Make sure the cloths are secure and completely cover any exposed areas.
- Protect Fixtures: Remove or cover any light fixtures, electrical outlets, and switch plates. You can use painter’s tape or plastic sheeting for this purpose.
– Taping Edges and Corners
- Applying Painters Tape: Apply painter’s tape along any edges and corners where the walls meet the ceiling, baseboards, or other surfaces that should not be painted. Press the tape down firmly to create a tight seal and prevent paint from seeping under the tape.
- Covering Adjacent Surfaces: If you are painting near windows and doors, it’s a good idea to tape off the frames or trim to avoid getting paint on glass or other surfaces.
• Priming and Painting
After properly prepping the surface and surrounding area, you can move on to priming the surface (if necessary) and applying paint. Using a primer can help to ensure a more professional, long-lasting paint job, especially on surfaces with stains or in high-moisture areas.
– Applying Primer
- Choosing the Right Primer: Check with your local paint store to select a primer that is best suited for your specific project and paint type.
- Priming Techniques: Apply the primer using a brush or roller, starting at the top and working your way down. Allow the primer to dry for the recommended time before applying paint.
– Painting Your Prepped Surface
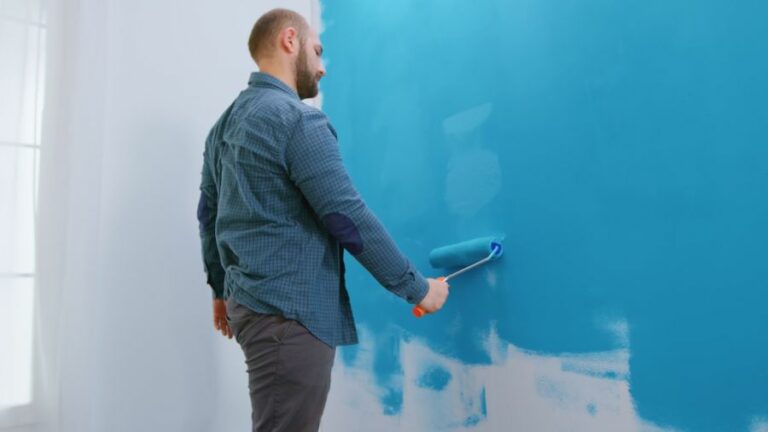
- Paint Application: Start by cutting in the edges with a brush (painting a 3-inch border around the perimeter). Then, move on to using a roller to paint the rest of the surface, working in a consistent pattern (such as a W or M) to ensure even coverage.
- Drying and Second Coats: Allow the paint to dry for the recommended time before assessing whether a second coat is necessary.
By following these steps for prepping your surface before painting, you can achieve a professional-looking, long-lasting paint job. Remember, taking the time to prep correctly will save you time and frustration in the long run.
Step | Description |
|---|---|
1 | Clear the area by removing any furniture, decorations, and fixtures. |
2 | Clean the walls with water and a mild detergent to remove dirt, dust, and grease. |
3 | Fix any holes, cracks, or damage on the surface using a patching compound or putty. |
4 | Sand the walls with a fine-grit sandpaper to create a smooth, even surface. |
5 | Apply painter’s tape to the edges of any surfaces you don’t want to get paint on, like mouldings and trim. |
6 | Place drop cloths on the floor and any remaining furniture to protect them from paint splatters. |
7 | Prime the walls with a high-quality primer to ensure proper paint adhesion and even coverage. |
Importance of Sanding Surfaces Before Applying Paint
Sanding a surface before painting is often considered an essential step in the preparation process. However, not all surfaces require sanding before painting.
Understanding the reasons for sanding and identifying the circumstances in which it’s necessary can help ensure a successful and long-lasting paint job.
• Why Sanding is Important
Sanding a surface before painting serves several purposes:
- Improves Adhesion: Sanding creates tiny scratches on the surface, which helps the paint to better grip and adhere to the surface. This results in a more durable and long-lasting paint job.
- Removes Imperfections: Sanding evens out any bumps, ridges, or other imperfections, providing a smooth surface for the paint to be applied to. This ensures a more uniform and professional-looking finish.
- Promotes Better Paint Coverage: Sanding removes dirt, grease, and old paint, allowing the new paint to cover the surface more effectively and evenly.
- Increases Paint Longevity: Proper surface preparation, including sanding, can help extend the life of the paint job by reducing the chance of peeling, flaking, or chipping.
• How to Determine Whether Sanding is Necessary
There are a few instances when sanding is necessary before painting:
- Previously Painted Surfaces: If a surface has been previously painted, sanding is generally required. This removes any loose or flaking paint and helps the new paint adhere better to the surface.
- Uneven or Damaged Surfaces: If a surface has visible imperfections, such as scratches, dents, or cracks, sanding can help create a smooth, even surface for painting.
- Wood Surfaces: Wooden surfaces, such as furniture or trim, should always be sanded before painting to promote proper adhesion and achieve a smooth finish.
- Metal Surfaces: Some metal surfaces may require sanding, especially if there’s existing rust or peeling paint. This helps provide a clean and smooth surface for the paint to adhere to.
If the existing paint is in good condition and the new paint is the same type (e.g., both latex or both oil-based), a light sanding may suffice. However, if the existing paint is glossy or the new paint is a different type, more thorough sanding is needed.
In contrast, there are a few cases where sanding is not necessary:
- New or Unpainted Surfaces: If a surface is brand new and has never been painted, sanding may not be required. However, ensure the surface is clean and free of any dust or debris.
- Flat or Low-Sheen Paints: If the existing paint is flat or low-sheen, it typically doesn’t require sanding, provided the surface is clean and in good condition.
• Sanding Best Practices
Here are some best practices to follow when sanding a surface before painting:
- Choose the Right Grit Sandpaper: Select the appropriate grit sandpaper for the job. A coarse grit (60-80) is best for removing old paint and leveling out imperfections. A medium grit (100-150) is suitable for smoothing out the surface and rounding sharp edges. Fine grit (180-220) is ideal for final preparation before painting.
- Use a Sanding Block or Sander: When sanding flat surfaces, use a sanding block or an orbital sander to ensure even pressure and consistent results. For curved or detailed surfaces, manually sand using your fingers or a flexible sanding sponge.
- Work in a Well-Ventilated Area: Sanding creates dust, which can be hazardous to inhale or cause irritation. Ensure you work in a well-ventilated area and wear a dust mask and safety goggles for protection.
- Clean the Surface Thoroughly After Sanding: After sanding, it’s essential to remove all dust and debris from the surface before painting. Use a tack cloth or a damp cloth to wipe down the surface and ensure it’s clean.
- Prime the Surface: Once the surface has been properly sanded and cleaned, apply a suitable primer before painting. This promotes better adhesion, coverage, and durability of the paint.
• Final Thoughts
Sanding is an essential step in preparing a surface for painting in many cases. Not only does it improve paint adhesion, but it also removes imperfections and promotes a smooth, professional finish.
Before starting any painting project, it’s crucial to assess the surface and determine whether sanding is necessary based on the factors discussed in this article. By following best practices for sanding and surface preparation, you ensure a successful, long-lasting paint job.
Surface Material | Do you need to sand? |
|---|---|
Wood | Yes, to ensure smooth adhesion and remove any imperfections. |
Metal | Yes, to remove rust and create a better bonding surface for primer. |
Drywall | Yes, to remove any bumps or imperfections before applying primer and paint. |
Concrete | Yes, to open pores in the material and ensure better adhesion. |
Previously Painted Surfaces | Yes, but only if the old paint is peeling, glossy or uneven. Light sanding helps create a better surface for the new paint to adhere to. |
Plastic | Consult the paint manufacturer’s instructions. Some plastic surfaces may require light sanding for better adhesion. |

