UV-Reactive Spray Paint Basics: How It Works
Are you interested in creating stunning, glow-in-the-dark artwork or enhancing your event with a touch of vivid color? Look no further, as I’m here to help you understand the world of UV-reactive spray paint and its amazing capabilities. With a grasp on the basics and a little creativity, you’ll be transforming spaces into luminous masterpieces in no time!
UV-reactive spray paint basics: how it works:
UV reactive spray paint, also known as glow-in-the-dark paint, visibly glows when exposed to ultraviolet (UV) light. It contains specialized pigments or dyes called fluorescent pigments or phosphors, which absorb UV light and re-emit it as visible light. These pigments come in organic fluorescent and inorganic phosphorescent forms, producing either short-lived, intense glow or prolonged, less intense glow.
Ready to bring your artwork to life with some eye-catching glow? Discover the fascinating world of UV-reactive spray paint, uncover the magic behind its vibrant luminescence, and unleash your creativity like never before. Keep reading for brilliant tips and techniques to master this stunning medium!
Contents
- 1 Fundamentals of UV Reactive Spray Paint: Functionality Explained
- 2 Utilizing UV Spray Paint: Proper Application Guide
- 3 Unveiling the Secrets of Ultraviolet Reactive Paint
- 4 Unmasking the Glow: Does UV Reactive Paint Illuminate in Darkness?
- 5 Demystifying the Process: How Glow-in-the-Dark Spray Paint Operates
Fundamentals of UV Reactive Spray Paint: Functionality Explained
• What is UV-Reactive Spray Paint?
UV reactive spray paint, also known as fluorescence spray paint or glow-in-the-dark paint, is a type of paint that visibly glows when exposed to ultraviolet (UV) light. This type of paint is commonly used in a variety of applications, such as art installations, safety markings, and party decorations.
• Understanding Ultraviolet Light
To comprehend how UV-reactive spray paint works, one must first understand the concept of ultraviolet light. Ultraviolet light is a type of electromagnetic radiation that is not visible to the human eye. It has a wavelength shorter than that of visible light but longer than X-rays.
The sun is a primary source of UV light, but it can also be produced artificially using UV lamps and blacklights.
• The Science Behind UV Reactive Spray Paint
The key ingredient in UV reactive spray paint is the addition of specialized pigments or dyes that can absorb UV light and then re-emit it as visible light, causing the paint to glow. These pigments are known as fluorescent pigments or phosphors.
There are two primary categories of phosphors used in UV-reactive spray paint:
– Organic Fluorescent Pigments
Organic fluorescent pigments are usually derived from chemical compounds known as fluorescent dyes. These compounds have the ability to absorb energy from UV light and then emit that energy as visible light. This process is known as fluorescence.
Organic fluorescent pigments typically produce bright, vibrant colors when exposed to UV light.
– Inorganic Phosphorescent Pigments
Inorganic phosphorescent pigments, on the other hand, are made of metal compounds like zinc sulfide or strontium aluminate. These compounds can store energy from UV light and then slowly release it as visible light over time.
This process is known as phosphorescence. Phosphorescent pigments produce a more prolonged glow compared to fluorescent pigments but may not be as intense in brightness.
• Picking a UV-Reactive Spray Paint
When selecting a UV-reactive spray paint for your project, there are various factors to consider. Some of the essential aspects to look for include:
– Type of Pigment
As mentioned earlier, the two primary categories of pigments used in UV reactive spray paint are organic fluorescent pigments and inorganic phosphorescent pigments.
Depending on your particular needs, you’ll need to decide whether you want a short-lived, intense glow or a more prolonged, less intense one.
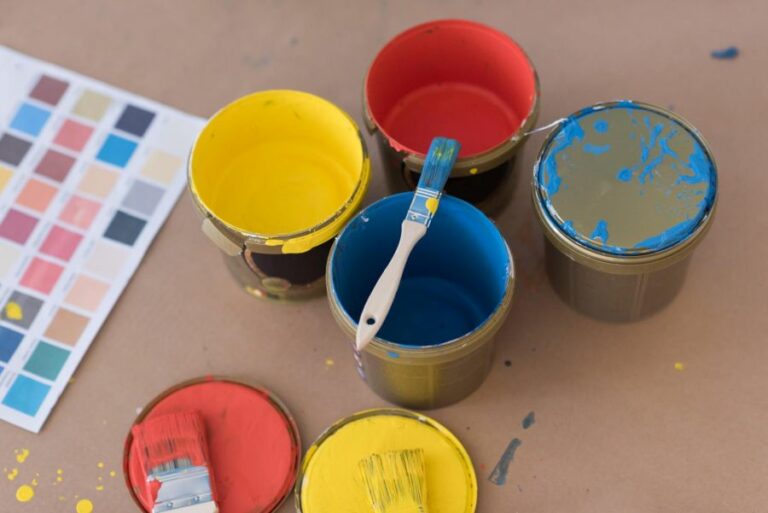
– Color and Brightness
UV reactive spray paints come in a wide range of colors, including standard neon colors like green, yellow, and orange, as well as other colors like blue, red, and even white.
The brightness and intensity of the glow will also vary depending on the specific pigment used and the concentration of the pigment within the paint.
– Durability
When using UV-reactive spray paint, consider the durability of the paint itself. For outdoor applications, you’ll want to select a paint that is weather-resistant and has a longer lifespan. For indoor use or temporary projects, durability may be of less concern.
– Application and Drying Time
The application method and drying time for UV-reactive spray paints can vary between brands and types. Some paints may require multiple coats for adequate coverage, while others may dry quickly and only need one coat.
It’s essential to read the manufacturer’s instructions and follow them carefully for the best results.
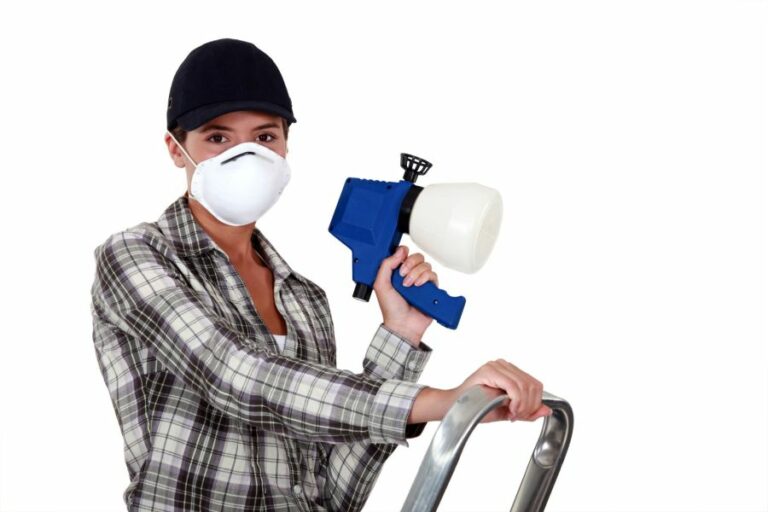
• Safety Considerations for Using UV-Reactive Spray Paint
When using UV-reactive spray paint, it is crucial to take the necessary safety precautions to ensure safe handling and use. Some recommendations include:
- Work in a well-ventilated area to prevent inhalation of harmful fumes.
- Wear protective clothing, gloves, and glasses to avoid skin and eye contact.
- Store paint and aerosol cans out of reach of children.
- Dispose of empty containers and any waste materials according to local regulations.
In conclusion, understanding the basics of UV reactive spray paint and how it works will allow you to make an informed decision when selecting the right product for your project.
From vibrant art installations to practical safety applications, these glow-in-the-dark paints offer a unique and eye-catching solution for a wide range of needs.
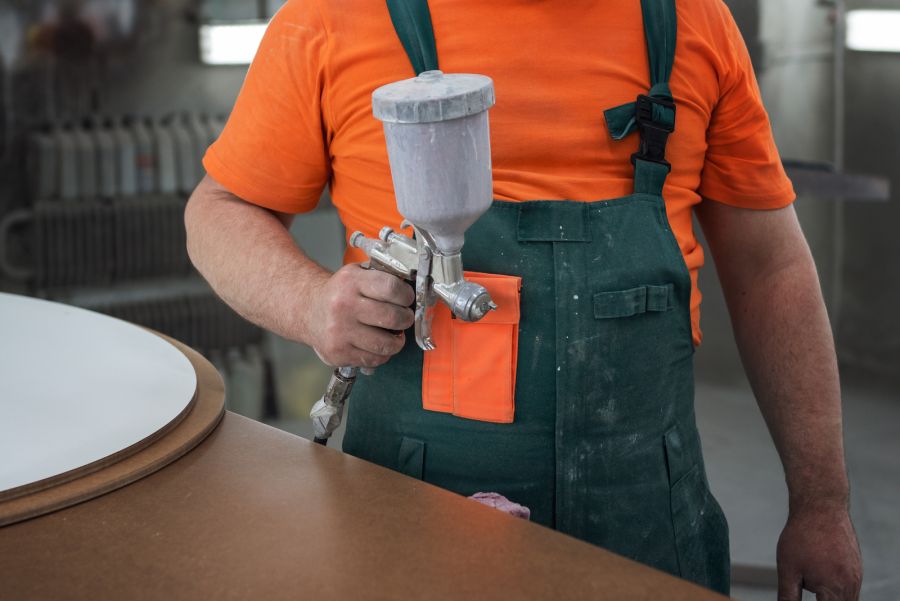
Utilizing UV Spray Paint: Proper Application Guide
UV spray paint, also known as fluorescent or glow-in-the-dark paint, is a unique and creative way to add a touch of brightness to any project, be it for artwork, decoration, or safety purposes.
• Preparation is Key
– Choose the Right Surface
Select a suitable surface to work on, as not all materials work well with UV spray paint. The best surfaces to use include wood, metal, plastic, fabric, and canvas. Make sure the surface is clean, dry, and free of any dust or debris.
– Protect Your Workspace
Ensure your workspace is adequately protected to prevent any paint from accidentally staining the area or other surfaces. Lay down a drop cloth, tarp, or old newspaper and make sure they can cover the entire area.
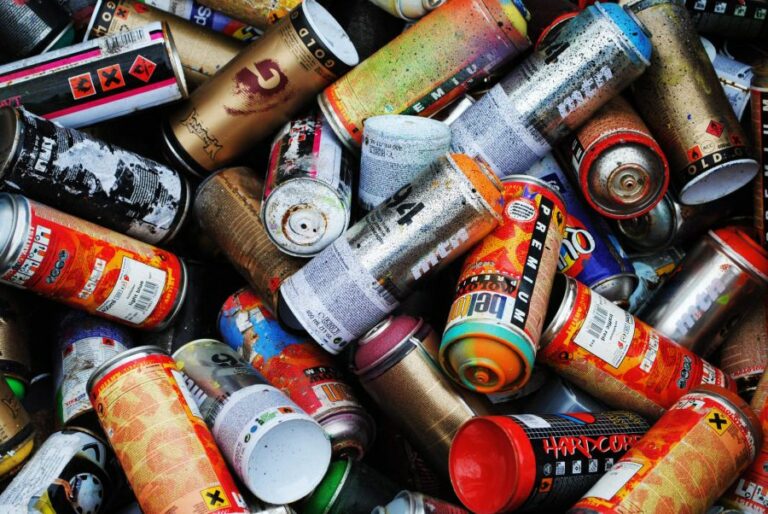
– Pick the Right UV Spray Paint
There are many UV spray paints available in the market, so it’s crucial to choose the right one for your project. Look for a paint with a high pigment concentration for a more vibrant glow.
Some reputable brands include Montana Cans, Rust-Oleum, and Krylon. Remember to read the instructions on the can to avoid any mishaps or disruptions to your project.
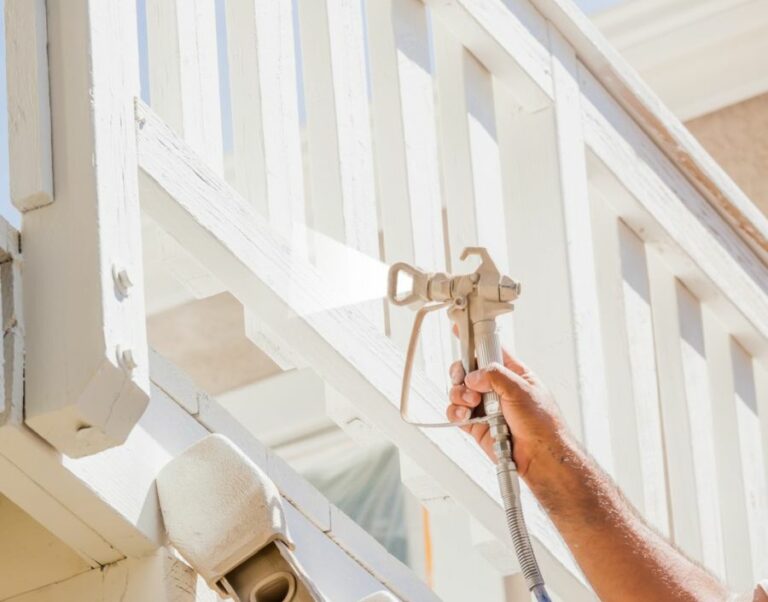
• Application Techniques
– Shake the Can Well
Before you start spraying, shake the spray paint can vigorously for at least one minute. This allows the paint particles and propellant to mix, ensuring an even distribution of paint on the surface.
– Test the Spray
Before applying the paint to your main project, test it on a small, inconspicuous area or a piece of scrap material. This helps you to familiarize yourself with the nozzle’s spray pattern and to check the paint’s color and consistency.
– Hold the Can at the Correct Distance
It’s essential to hold the spray paint can at the right distance for optimal application. The ideal distance is usually between 8 to 12 inches (20 to 30 cm) away from the surface. This allows the paint to adhere properly and prevents the paint from dripping or running.
– Apply Thin, Even Coats
When spraying, apply thin and even coats to achieve the best results. Start by applying the paint in a horizontal, sweeping motion, slightly overlapping each pass.
Then follow this with a vertical pattern, also overlapping each pass. Allow each coat to dry before applying the next, as specified by the manufacturer’s instructions.
– Use a UV Light
To enhance the paint’s glow effect, use a UV or black light during the application process to help you see the coverage more effectively. Doing this will also enable you to detect any areas that require additional coats.
– Number of Coats
To achieve a vibrant and lasting glow, apply multiple coats of paint. Start with a base coat of white or light-colored paint. This helps the UV paint to stand out more vibrantly. Next, apply at least two to three coats of UV spray paint to obtain optimal results.
• Additional Tips and Tricks
– Use Clear Coat for Extra Protection
Once the UV paint is thoroughly dry, you may want to apply a clear coat to protect the finish and prolong the paint’s life. A clear coat helps to prevent fading and peeling, especially for outdoor projects exposed to the elements.
– Charge Your Glow
For maximum glow power, expose your painted surface to a strong light source for at least 30 minutes once it’s completely dry. This “charges” the paint and allows it to glow intensely when placed in the dark or under a UV light.
• Final Thoughts
UV spray paint allows you to transform ordinary objects into glowing masterpieces with a little patience and the right technique. By following these expert tips and tricks, you’ll be able to create stunning artwork, unique decorations, or highly visible safety markers that stand out. Happy painting!
How to use UV Spray Paint
Step | Instructions |
|---|---|
1 | Choose the right UV paint: Make sure the spray paint you choose is specifically designed for UV and glow-in-the-dark effects. |
2 | Prepare the surface: Clean and dry the surface to remove any dirt, debris, or grease. If necessary, apply a primer to help the paint adhere better. |
3 | Shake the can: Shake the spray paint can for 1-2 minutes to ensure the paint is mixed properly. |
4 | Apply the base coat (optional): If your UV spray paint is transparent or light in color, it’s recommended to apply a white or light-colored base coat on the surface to help the UV effect stand out. |
5 | Spray paint from the right distance: Hold the can about 10-12 inches from the surface and spray using a back-and-forth motion, overlapping each pass slightly. Start and stop the spray off the edges of the surface to prevent the pooling of the paint. |
6 | Apply multiple coats: Allow each coat to dry (as per the manufacturer’s instructions) before applying the next coat. Apply 2-3 coats for best results. |
7 | Dry and cure: Let the paint dry and cure completely for the recommended time provided by the manufacturer. |
8 | Test your work: Test the UV effect by exposing the painted surface to a UV or black light. The paint should glow brightly and show the desired effect. |
Unveiling the Secrets of Ultraviolet Reactive Paint
UV reactive paint, also known as fluorescent, glow-in-the-dark, or blacklight paint, refers to a type of paint that glows in the presence of ultraviolet (UV) light. This paint is widely used in various applications, such as art, entertainment, theater, fashion, and safety markings.
• The Science Behind UV Reactive Paint
UV reactive paint contains phosphors, which are particles that absorb energy from UV light and re-emit it as visible light. This process, called photoluminescence, is responsible for the glow-in-the-dark appearance of UV-reactive paint.
The most common type of phosphor found in UV-reactive paint is strontium aluminate. This compound is much more efficient and long-lasting than older phosphors like zinc sulfide.
Strontium aluminate can glow for hours after being exposed to UV light, whereas zinc sulfide typically loses its glow within minutes.
– Types of UV Light
UV light is not visible to the human eye, as it has a shorter wavelength than visible light. There are three main types of UV light:
- UVA: Also known as blacklight, UVA has the longest wavelength and is the least harmful to humans. It is commonly used to activate UV-reactive paint.
- UVB: Found in natural sunlight, UVB has a shorter wavelength and can cause skin damage if exposure is prolonged.
- UVC: With an even shorter wavelength than UVB, UVC is used for germicidal purposes, such as disinfection and sterilization.
For the purpose of using UV-reactive paint, it is important to utilize UVA light, as it is the safest and most effective option.
• Applications of UV Reactive Paint
UV reactive paint is versatile and has numerous applications across different industries. Some of the most common uses of the paint include:
– Art and Design
Artists often incorporate UV-reactive paint in their work to create visually stunning and multisensory experiences. For example, some painters use the paint to create intricate murals that transform under blacklight, while other sculptors may use it to add an element of surprise to their creations.
– Entertainment and Nightlife
As UV reactive paint glows under blacklight, it is a popular choice for decorating nightclubs, music venues, and other entertainment spaces.
It is also used in creating stage props and costumes, as well as in performances and attractions that involve UV light, such as blacklight theater shows, as these performances captivate the audience.
– Fashion and Accessories
UV reactive paint can be utilized in the fashion industry to create unique clothing and accessories that glow in UV light. This includes everything from shoes and handbags to dresses and jackets.
– Safety and Signage
In environments where visibility is crucial, UV-reactive paint can be used to mark escape routes, fire extinguishers, and other essential safety equipment. Since the paint is only visible under blacklight, it maintains a discreet appearance until it is needed, making it an ideal choice for safety applications.
• Tips for Working with UV Reactive Paint
Before using UV-reactive paint, it is essential to understand how to safely work with it and get the best results. Here are some useful tips for working with this unique material:
- Choose the right paint: UV reactive paint is available in various colors and finishes, which include matte, gloss, and semi-gloss. Select the appropriate paint to achieve the desired effect.
- Prepare the surface: Make sure the surface you are painting is clean and free of contaminants before applying the UV-reactive paint. Properly sand and prime your painting surface as needed for better adherence and longevity.
- Apply multiple layers: UV reactive paint may appear translucent, so applying multiple layers of the paint can help achieve a more vibrant and noticeable glow under the UV light.
- Use a blacklight: A blacklight is essential for charging the phosphors in the paint and achieving the desired glow. Regular incandescent or LED bulbs will not work with UV-reactive paint in the same way.
- Safety first: When working with UV-reactive paint and blacklights, always adhere to safety guidelines and use protective gear, such as gloves and eyewear. Avoid prolonged exposure to UV light, as it can be harmful when not used responsibly.
In conclusion, UV reactive paint is an innovative and versatile material that can be used across an array of applications thanks to its unique glowing properties. Understanding the science behind this paint, as well as the key tips for working with it, will help ensure safe and effective use in any project.
Unmasking the Glow: Does UV Reactive Paint Illuminate in Darkness?
UV reactive paint, also known as fluorescent paint, is a popular type of paint that can create vibrant and eye-catching effects under ultraviolet (UV) light, commonly known as blacklight. But does this type of paint glow in the dark without any UV light source?
• The Science Behind UV Reactive Paint
To understand the glow-in-the-dark capabilities of UV-reactive paint, we must first delve into the science behind its composition.
UV reactive paint is formulated with special pigments that are capable of absorbing UV light energy and then re-emitting it as visible light. This property of transforming invisible energy into visible light is known as fluorescence.
When exposed to UV light, the invisible energy gets absorbed by the pigments in the paint, exciting the particles within that then release the energy as a visible light source, thus creating the glowing effect.
In the absence of UV light, the paint might not emit this effect, but there are specific glow-in-the-dark paints available that can do so.
• Glow-in-the-dark Paint vs. UV Reactive Paint
Although both glow-in-the-dark paint and UV reactive paint might seem similar, there is a distinct difference in their properties and applications.
– Glow-in-the-dark Paint
Glow-in-the-dark paint contains phosphorescent pigments that can store energy from any light source and then emit it slowly over a period of time, creating a glow-in-the-dark effect. These pigments typically consist of compounds like zinc sulfide or strontium aluminate.
The crucial difference between fluorescent and phosphorescent pigments is their ability to store and release light energy independently.
For glow-in-the-dark paint to work, it needs to be charged by exposure to light. The more intense and longer the exposure to light, the stronger and longer the glow will be.
This type of paint works effectively without the presence of a UV light source, and it is often used for safety purposes (such as emergency exit signs), decorative elements, and various artistic projects.
– UV Reactive Paint
As discussed earlier, UV-reactive paint relies on the absorption and re-emission of UV light. This type of paint does not store energy and emit it on its own as phosphorescent pigments do, making it dependent on a UV light source to create its characteristic effect.
While it will still have a visible hue even without UV light, it will not glow in the dark independently.
UV reactive paint is extensively used in the entertainment industry, events, and various artistic applications. It is especially popular for creating visually striking art installations, stage props, and body paintings that can only be appreciated under a UV light source.
• Recommendations for Using UV Reactive Paint
Given the dependency of UV-reactive paint on a UV light source, one should not expect it to glow in the dark without proper lighting conditions. To achieve the best results with UV reactive paint, I recommend the following:
- Use an appropriate UV light source, such as blacklight lamps or LED fixtures, to create the desired glowing effect.
- Apply the UV reactive paint on a light-colored or white surface, as it allows better absorption and reflection of the UV light.
- Ensure the UV light source is powerful enough and covers a wide area if you intend to illuminate a larger space or artwork.
- Apply multiple coats of UV-reactive paint to achieve a more intense and vibrant glowing effect.
• Conclusion
In conclusion, UV reactive paint does not glow in the dark without a UV light source, and it requires the presence of specific conditions to create its characteristic vibrant effect.
For those looking for a paint that can glow in the dark independently without a UV light source, glow-in-the-dark paint containing phosphorescent pigments would be a more suitable choice.
Demystifying the Process: How Glow-in-the-Dark Spray Paint Operates
One of the most attention-grabbing innovations in the realm of decorative arts and crafts is the use of glow-in-the-dark spray paint. The intriguing luminosity emitted by surfaces covered with this type of paint immediately captivates viewers, making it an ideal choice for various applications.
• A Glimpse of Luminescence
From the colors displayed on a television screen to the glow of fireflies on a warm summer night, luminescence plays a significant role in our lives. Luminescence, in its basic sense, refers to the emission of light by a material or object that has not been heated.
The two primary types of luminescence are fluorescence and phosphorescence, both of which contribute to the illuminating effect of glow-in-the-dark spray paint.
– Fluorescence: A Brief Burst of Brilliance
Fluorescent materials are known for their ability to emit light in a short-lived but impressive manner. When exposed to ultraviolet (UV) light, these materials absorb the photons and emit them back at a longer wavelength, resulting in a visible glow.
However, the glow produced by fluorescence quickly fades away once the light source is removed.
– Phosphorescence: Lingering Luminosity
Phosphorescent materials, on the other hand, have the remarkable ability to store energy from light sources and release it over an extended period. Once exposed to light, these materials continue to emit a glow even after the light source has been removed, sometimes lasting for several hours.
• The Key Ingredient: Phosphors
So, what makes glow-in-the-dark spray paint function the way it does? The secret lies in the incorporation of phosphorescent materials, more specifically, phosphors.
These particles serve as the driving force behind the paint’s extraordinary capacity to emit light in the absence of an external light source.
Phosphors used in glow-in-the-dark paint can be classified into two main categories:
– Inorganic Phosphors
Inorganic phosphors, such as zinc sulfide and strontium aluminate, are commonly used in the production of commercial glow-in-the-dark paints. While zinc sulfide was the traditional choice for many years, strontium aluminate has emerged as the preferred option due to its longer-lasting and brighter glow.
– Organic Phosphors
Organic phosphors, such as europium-doped materials, have also gained popularity in recent times, primarily for their broad range of potential colors and less toxic nature compared to their inorganic counterparts.
The use of such phosphors, however, is still relatively limited due to their higher production costs and shorter glow duration.
• Application Tips and Tricks
To maximize the effectiveness of glow-in-the-dark spray paint, consider the following tips and recommendations based on personal experience:
- Proper Surface Preparation: Clean and dry the intended surface thoroughly before applying the spray paint to ensure better adhesion and a smoother finish.
- Priming: Use a white primer to make the spray paint’s glowing effect more pronounced, as the white background helps enhance the intensity of the emitted light.
- Generous Coating: Apply multiple coats of glow-in-the-dark spray paint to achieve a more vibrant and long-lasting glow. Allow ample drying time between coats to avoid unevenness or other issues.
- Charging the Paint: Ideally, expose the painted surface to a strong light source for at least 30 minutes to charge the phosphors adequately. Note that natural sunlight typically offers the best charging results, although artificial light sources, such as LED or fluorescent lights, can also suffice in most cases.
- Recharging: Remember that the glow intensity will diminish over time, so regular exposure to light sources is needed to maintain the desired luminosity.
• Safety Considerations
As is the case with any product, carefully read and follow the manufacturer’s instructions and safety precautions when using glow-in-the-dark spray paint.
Some phosphors, particularly those of inorganic nature, may be toxic or hazardous, so proper handling, storage, and disposal are essential. Additionally, always use spray paint in well-ventilated areas to avoid respiratory irritation or other health issues.
• A World of Creative Possibilities
Glow-in-the-dark spray paint has opened up a myriad of opportunities for artists, decorators, and DIY enthusiasts alike.
The science behind its fascinating luminosity is as intriguing as its applications, which range from enhancing the ambiance of Halloween decorations to illuminating emergency exits in buildings.
One can only imagine what the future holds for the development and refinement of this incredible material. As technology advances and more sustainable and efficient phosphors are discovered, the potential for transforming the way we light up our world becomes even more tangible.