Achieve Durable Spray Paint With Maintenance Hacks
Are you tired of your spray paint projects losing their shine and durability? Fear not, because we have the perfect maintenance hacks to keep your spray paint looking fresh and lasting longer. With the tips and tricks we’re about to reveal, you’ll never have to worry about those pesky paint chips, peeling, or fading ever again. Get ready to achieve stunning, durable results with our spray paint maintenance hacks that turn amateurs into pros!
Achieve durable spray paint with maintenance hacks:
To achieve a durable spray paint finish, choose the right paint for the surface, clean and prime the surface properly, apply paint using the correct technique, protect the finish with a clear coat or sealer, and maintain the painted items through proper storage, regular cleaning, and timely touch-ups.

Looking for ways to make your spray paint last longer and look better? Read on to discover amazing maintenance hacks that will help you achieve durable and professional-looking results with your spray painting projects! Be prepared to be amazed at what you can accomplish!
Contents
- 1 Enhance Spray Paint Durability with These Maintenance Tips
- 2 Tips for Maximizing Spray Paint Durability and Strength
- 3 Secrets to Sealing and Preserving Your Spray Paint Finish
- 4 Prevent Spray Paint from Rubbing Off with These Techniques
- 5 Improve Your Spray Paint Application for Optimal Results
- 5.1 • Proper Preparation of the Surface
- 5.2 • The Right Spray Paint for the Job
- 5.3 • Shake the Spray Paint Can Thoroughly
- 5.4 • Test the Spray Paint before Application
- 5.5 • Maintain Proper Distance and Technique
- 5.6 • Apply Multiple Thin Coats
- 5.7 • Utilize Proper Ventilation and Protective Equipment
- 5.8 • Proper Cleaning and Storage of the Spray Paint Can
- 5.9 • Additional Resources for Spray Painting Tips and Techniques
Enhance Spray Paint Durability with These Maintenance Tips
Spray painting is an affordable and accessible method for giving objects a new look, whether you’re a DIY enthusiast or a professional painter. However, a durable and long-lasting finish requires some maintenance hacks to ensure the best possible results.
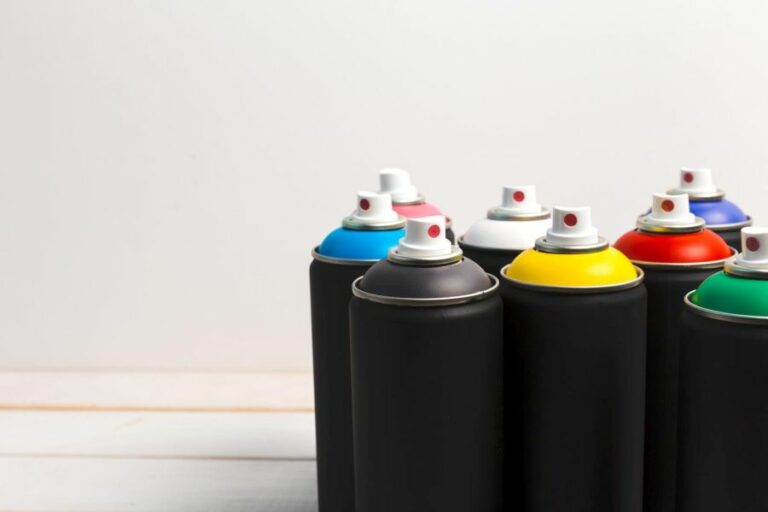
• Choose the Right Spray Paint
Before starting your spray paint project, it’s crucial to select the right type of paint for the job. Some spray paints are specifically designed for certain surfaces, such as metal, plastic, or wood, while others are more versatile.
When choosing your spray paint, consider the following factors:
- Surface compatibility
- Paint quality
- Drying time
- Coverage
- Finish (gloss, matte, or satin)
• Proper Surface Preparation
To achieve a durable spray paint finish, start by thoroughly cleaning the surface you plan to paint. Remove any dirt, grease, or debris, as these can prevent the paint from adhering properly. For metal surfaces, it’s also important to remove any rust or corrosion.
Next, apply a suitable primer for your chosen spray paint. Priming not only improves paint adhesion but can also prevent issues such as peeling, cracking, or blistering. Ensure the primer is completely dry before applying your spray paint.
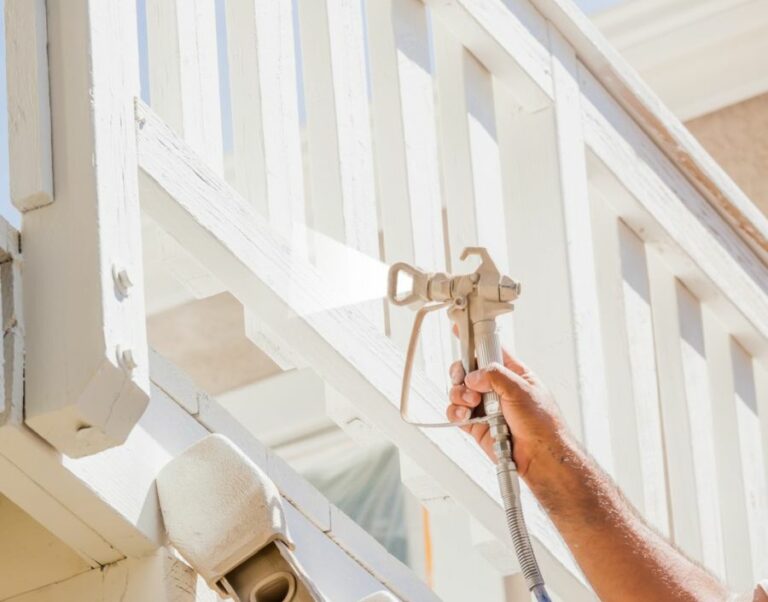
• Apply the Paint Correctly
When it comes to spray painting, proper technique is crucial for achieving a durable finish. Here are some tips to help you get the best results:
- Shake the spray paint can vigorously for at least a minute before spraying.
- Maintain a consistent distance (usually 25-30 centimeters) between the nozzle and the surface.
- Apply the paint in thin, even coats, taking care to avoid drips or pooling.
- Allow each coat to dry fully before applying subsequent coats.
Remember that patience is key when spray painting. Rushing through the process may result in a poorly applied finish that won’t last as long.
• Protect the Finish
Once you’ve achieved the desired finish with your spray paint, it’s essential to protect it with a clear coat or sealer. This can help prevent premature wear, scratches, and fading, particularly for outdoor items exposed to the elements.
Choose a compatible clear coat or sealer for your specific spray paint. Many brands offer products specifically designed to work together for the best possible finish. Ensure the paint is completely dry before applying the protective layer.
• Proper Storage and Maintenance
To keep your spray-painted items looking their best, follow these maintenance tips:
- Store items in a cool, dry location to avoid moisture damage.
- Regularly clean your painted items with a soft cloth and mild soap, avoiding harsh chemicals or abrasive cleaning tools.
- Touch up any scratches or dings as needed with a small amount of matching spray paint.
Additionally, for optimal durability, try to avoid exposing your painted items to extreme temperatures, direct sunlight, or heavy impacts.
• Final Thoughts
Achieving a durable spray paint finish may take extra time and effort, but the result is well worth it. By choosing the right paint, properly preparing the surface, applying the paint with care, and maintaining the finished product, you can ensure a long-lasting and stylish finish for your spray paint project.
Keep experimenting and practicing with different techniques and products, as experience is often the best teacher.
Tips for Maximizing Spray Paint Durability and Strength
Spray painting is a popular and efficient choice for various projects, from DIY home improvements to professional artwork. However, many face the challenge of ensuring that the paint job remains vibrant and intact for an extended period.
– Choose High-Quality Materials
1. Invest in Superior Spray Paint
To achieve a lasting spray paint finish, it’s essential to use high-quality paint. Top-notch spray paints, such as Krylon and Rust-Oleum, provide better adhesion, coverage, and durability. They do cost more than budget-friendly options, but investing in premium products will pay off in the long run.
2. Select the Right Primer
An appropriate primer will bond the spray paint to the surface and create a base for color layers. For metal surfaces, use a rust-inhibitive primer to prevent corrosion. For wood surfaces, a wood primer will help maintain the paint job.
Ensure you choose a primer that is compatible with your spray paint to enhance performance and durability.
– Prepare the Surface Adequately
3. Clean the Surface Thoroughly
A well-prepared surface ensures better paint adhesion, and thus, durability. Start by cleaning the surface with a cloth or sponge and a mild detergent solution, such as dishwashing liquid mixed with warm water. Rinse with clean water and allow it to dry completely.
4. Remove Rust, Grease, and Old Paint
Any loose material, rust, or grease can prevent the paint from adhering to the surface. Use a wire brush, steel wool, or sandpaper to remove any rust, peeling paint, or grease spots. If mold or mildew is present, use a bleach solution to treat the affected areas.
5. Sand the Surface
Sanding the surface with fine-grit sandpaper (between 180 and 220 grit) will create a smooth canvas for the paint to adhere. Sand in a circular motion, applying even pressure. Wipe off any dust with a dry cloth before moving on to the next step.
– Application Techniques for Durable Spray Paint
6. Apply Primer Correctly
Before applying the primer, shake the can well for around one minute to mix the contents thoroughly. Hold the can approximately 12 inches from the surface and apply the primer in a side-to-side sweeping motion while keeping the can in constant motion.
Applying in thin, even coats helps prevent runs and drips. Allow proper drying time, as indicated on the primer’s label.
7. Spray Paint in Multiple Light Coats
To build up a resilient and even layer of paint, apply multiple light coats rather than a single heavy coat. Hold the spray paint can around 12 inches away from the surface and use a continuous side-to-side sweeping motion. Be patient and allow each coat to dry before adding the subsequent one.
8. Utilize a Clear Top Coat
A clear top coat or sealer provides an extra layer of protection and enhances the durability of the painted surface. Choose a top coat that is compatible with your spray paint and follow the instructions on the label for proper application.
– Take Care of the Painted Surface
9. Allow Sufficient Curing Time
After painting and sealing, it’s critical to give the surface adequate time to cure fully. Different materials and paint products have varying curing times, which can range from days to weeks. Be patient and refrain from using the painted surface until it has completely cured.
10. Perform Regular Maintenance
With time and exposure to varying conditions, the painted surface may need occasional touch-ups. Keep an eye on the finish and address any signs of wear or damage promptly. This maintenance will ensure your spray paint job stays looking fresh and durable for an extended period.
• Enhance Your Skills by Learning from the Experts
The Coating Institute and The Finishing and Coatings Research Center offer expertise and resources on coatings technology, research, and professional development. Leveraging these reputable sources will equip you with valuable knowledge on how to achieve a durable and long-lasting spray paint finish.
By following these steps, selecting high-quality materials, and applying the proper techniques, you will be well on your way to creating a durable and long-lasting spray paint job that stands the test of time.
Step | Description |
|---|---|
1 | Choose the right type of spray paint for your project, such as acrylic enamel or automotive paint. |
2 | Clean and prepare the surface thoroughly by removing dirt, grease, and debris. |
3 | Lightly sand the surface to create a rough texture for better paint adhesion. |
4 | Apply a primer if necessary to ensure better adhesion and protection of the underlying material. |
5 | Apply multiple thin coats of spray paint, allowing each coat to dry completely before applying the next one. |
6 | After the final coat of paint, apply a clear coat or sealant for additional protection and durability. |
7 | Allow the paint to cure completely, which may take several days to a week, for maximum durability. |
Secrets to Sealing and Preserving Your Spray Paint Finish
Spray paint is a versatile and convenient option for various DIY projects and artwork, providing excellent coverage, durability, and adhesion. However, to maintain the aesthetics and extend the life of your spray painted surfaces, it is crucial to seal and protect the paint job adequately.
• Choosing the Right Sealant
Sealing spray paint is crucial to keep it from chipping, fading, and peeling, protecting it from various external factors. For effective results, choose a sealant that matches your project’s surface type and paint properties. Here are some common sealants to consider:
– Clear Acrylic Sealers
Clear acrylic sealers provide a protective, non-yellowing, and water-resistant film on painted surfaces. These sealers are suitable for both indoor and outdoor projects, as they offer protection against UV rays, moisture, and chemicals.
Golden Artist Colors offers a wide range of acrylic sealers that can be used for various applications.
– Epoxy Resins
Epoxy resins are ideal for high-gloss finishes and provide a durable, scratch-resistant, and water-resistant coating for painted surfaces. These sealants are perfect for table tops, bar tops, and countertops, ensuring long-lasting protection. ArtResin is a popular choice for epoxy resin applications.
– Spray Paint Sealants
Spray paint sealants are easy to use, quick-drying, and specially designed for spray-painted surfaces. These products offer a protective layer against weather conditions, fingerprints, and dust. Krylon and Rust-Oleum offer a range of spray paint sealants in matte, satin, and gloss finishes.
• Preparing the Surface
Before applying the sealant, it is essential to ensure that the painted surface is clean, dry, and free from any imperfections. Follow these simple steps to prepare:
- Allow Paint to Dry: Let the spray paint dry completely according to the manufacturer’s guidelines, usually between 24 and 48 hours.
- Inspect the Surface: Check for any dust, debris, or imperfections that may affect the sealant’s adherence.
- Clean the Surface: Wipe the area with a clean, lint-free cloth and warm water. If required, use mild soap. Allow the surface to dry completely before applying the sealant.
• Applying the Sealant
Proper application of the sealant is key to ensuring your spray paint job remains protected and lasts longer. Here are some expert recommendations on applying the sealant:
– Safety First
When working with sealants, always ensure proper ventilation and wear protective gear such as gloves, respirator masks, and safety glasses.
– Test the Sealant
Before applying the sealant, test it on a small, inconspicuous area on the painted surface. This will allow you to check for any adverse reactions between the paint and sealant, ensuring compatibility.
– Coat Application
For clear acrylic sealers and epoxy resins, follow the manufacturer’s instructions for mixing and application techniques. For spray paint sealants:
- Shake the Can: Shake the sealant can vigorously for at least 60 seconds to ensure proper mixing.
- Hold Can Upright: Hold the can 10-12 inches away from the surface at a 45-degree angle.
- Apply Thin Layers: Apply thin, even coats using a side-to-side sweeping motion, overlapping each pass by about 50%.
- Multiple Coats: For maximum protection, apply 2-3 coats, allowing each coat to dry for at least 30 minutes before applying the next.
- Drying Time: Allow the final coat to dry for 24 hours or as recommended by the manufacturer before touching or using the surface.
• Maintaining Your Spray Painted Surface
After sealing and protecting your spray paint project, taking proper care can significantly extend its lifespan. Keep the following tips in mind for maintenance:
- Cleaning: Clean the surface using a soft, damp cloth and mild soap. Avoid harsh chemicals or abrasives that may damage the sealant.
- Protect: Keep the painted surface away from direct sunlight, excessive moisture, and other factors that may cause fading, peeling, or chipping.
- Inspect: Regularly inspect the painted and sealed surface for any signs of wear or damage. If necessary, reapply the sealant as needed to ensure continuous protection.
With proper sealing, protection, and maintenance, your spray paint projects can maintain their aesthetic appeal and functionality for years to come. Experiment with various sealants and techniques to find the optimal solution for your unique project needs.
Step | Instructions |
|---|---|
1 | Allow the spray paint to dry completely on the surface you painted. |
2 | Choose a clear coat or varnish specifically designed for protecting spray-painted surfaces, such as acrylic clear coat or polyurethane varnish. |
3 | Make sure your workspace is clean and free from dust to prevent any particles from sticking to the surface while applying the protective coating. |
4 | Follow the instructions on the clear coat or varnish container to prepare for application. This may involve shaking the container or stirring the product, depending on the type of protective coating you’re using. |
5 | Apply the protective clear coat or varnish evenly over the spray-painted surface using a paintbrush, sponge brush, or a clean, lint-free cloth. Make sure to cover the entire surface evenly, without leaving any streaks or bubbles. |
6 | Allow the first coat of protective coating to dry completely, according to the manufacturer’s instructions. This may take a few hours or up to 24 hours, depending on the product and environmental conditions. |
7 | Apply additional coats of clear coat or varnish as needed, allowing each coat to dry completely before applying the next one. Typically, two to three coats should be enough for a durable and well-protected finish. |
8 | Let the final coat of protective coating dry completely before using or handling the spray-painted object. This may take up to several days, depending on the product and conditions. |
Prevent Spray Paint from Rubbing Off with These Techniques
Taking up a spray painting project can be exciting, but it can also be frustrating if the paint rubs off or does not adhere well to the surface. Whether you are an amateur or a professional, there are certain steps you must follow to ensure the paint stays put.
• Surface Preparation: The Key to Success
The first step in any spray painting project is to prepare the surface. Proper preparation helps the paint adhere better and prevents it from rubbing off. Here is a step-by-step guide to help you with surface preparation.
– Clean the Surface
Spray paint won’t adhere properly to a dirty, greasy, or dusty surface. Therefore, it is crucial to clean the object thoroughly before applying paint. For metal surfaces, use denatured alcohol or mineral spirits to remove any oil, grease, or residue.
If the surface is plastic or wood, clean it with soap and water. After cleaning, rinse and let the surface dry completely.
– Sand the Surface
Sanding helps create a rough surface, which provides better adherence for the spray paint. It also helps remove any existing paint, rust, or other imperfections. Start with a lower grit sandpaper (around 150-180) and then move to a higher grit (220-320) to achieve a smooth finish.
Be sure to wear a dust mask and safety glasses during the sanding process. After sanding, clean the surface again to remove any dust or debris that may have been generated during the process.
– Choose the Right Primer
A primer creates a bond between the surface and the paint, providing better adhesion and preventing the paint from rubbing off. Choose a primer that is specifically designed for the material you are painting, such as a metal primer for metal surfaces or a plastic primer for plastic surfaces.
Certain spray paints come with a built-in primer, which eliminates the need for a separate primer application. In such cases, make sure to follow the manufacturer’s instructions.
• Application Techniques: Enhancing Paint Adhesion
After preparing the surface, you must follow certain techniques to apply the paint in a manner that prevents it from rubbing off. Here are some application tips to remember.
– Apply Multiple Light Coats
Applying several light coats of paint is more effective than trying to cover the surface in one thick coat. Light coats dry faster and adhere better to the surface, reducing the chance of the paint rubbing off. Allow each coat to dry as per the manufacturer’s instructions before applying the next one.
Usually, 2-3 coats should suffice to achieve full coverage.
– Keep the Proper Distance
Spray paint nozzles are designed to function optimally at a certain distance from the surface. Too close, and you run the risk of creating drips and uneven coverage. Too far, and the paint may dry before it reaches the surface, leading to poor adhesion.
Maintaining a distance of approximately 8-12 inches from the surface during the application is recommended.
– Apply Paint in a Well-Ventilated Area
Proper ventilation allows the paint fumes to dissipate and aids in the drying process. An enclosed space with poor ventilation can lead to paint adhesion issues. Make sure to use spray paint outdoors or in a well-ventilated area indoors.
• Post-Application Strategies: Ensuring a Durable Finish
Now that you have applied the paint, it is essential to protect the painted surface to prevent the paint job from being compromised.
– Allow Paint to Cure Properly
Curing refers to the process where the paint hardens and bonds to the surface. Different paint types have different curing times, so ensure you follow the manufacturer’s instructions for the specific product you are using. Skipping this step may lead to the paint rubbing off easily.
– Apply Clear Coat
Applying a clear coat protects the paint from external factors such as UV rays, scratches, and moisture. Just like the primer, there are specific clear coats designed for different materials, so choose a suitable one for your project. Allow the final coat of paint to dry completely before applying the clear coat.
– Proper Handling and Maintenance
Even after the paint has dried and cured, be cautious while handling the object, as bumps and scratches may compromise the durability of the paint. Regular cleaning and maintenance will help retain the finish and prevent the paint from rubbing off.
By following these steps, you can significantly reduce the chances of your spray paint rubbing off. To learn more about spray painting techniques, visit the Finishing and Painting section of the Federal
Aviation Administration’s Advisory Circular, which offers valuable information on spray painting processes.
In conclusion, proper surface preparation, correct application techniques, and post-application care are essential components to ensure that your spray paint job doesn’t rub off. Dedicate time and effort to each of these steps, and you will create a durable, long-lasting finish on your chosen surface.
Improve Your Spray Paint Application for Optimal Results
Spray painting is an efficient and versatile technique that can transform various surfaces in a short amount of time. However, achieving a smooth and even finish requires skill, patience, and the right techniques.
• Proper Preparation of the Surface
Before you begin, it is crucial to ensure that the surface you plan to paint is clean and free of any debris, grease, or dust. The quality of the surface will directly affect how well the spray paint adheres to it. You can use a mild detergent mixed with water to clean the surface and then let it dry completely.
If needed, use fine-grit sandpaper to remove any existing paint or rough spots. After sanding, make sure to wipe the surface again with a damp cloth to remove any dust. To further aid in adhesion, consider using a primer that is specially designed for spray painting.
• The Right Spray Paint for the Job
Selecting the appropriate spray paint for your project is essential. Different spray paints have distinct formulas and finishes, so make sure to read the label and instructions carefully. Some popular options include:
- Acrylic-based spray paint: Acrylic spray paint dries quickly and is suitable for various surfaces, including metal, plastic, and wood.
- Enamel-based spray paint: Enamel spray paint is highly durable and is ideal for outdoor projects, like furniture and automotive parts.
Make sure to choose the correct formula based on your project’s requirements. For instance, if you need a highly durable and weather-resistant finish, opt for enamel-based spray paint.
• Shake the Spray Paint Can Thoroughly
Before using the spray paint, it is crucial to shake the can for at least a minute to mix the paint and the propellant.
Properly mixing the paint will ensure a smoother application and avoid any blotchiness or uneven distribution. Continue shaking the can every few minutes during use to maintain an even mixture.
• Test the Spray Paint before Application
Before applying the spray paint to your project, it’s recommended to test the paint on a scrap piece of material or a hidden area. This will help you gauge the color, finish, and spray pattern, ensuring that you achieve the desired results.
• Maintain Proper Distance and Technique
The ideal distance to hold the spray paint can from the surface is between 6 to 12 inches. Maintain a consistent distance when spraying to avoid drips, splotches, and uneven coverage.
Use a sweeping motion when spraying, starting slightly off the surface and ending off the surface in the opposite direction. Overlap each spray pass by about 50% to achieve consistent and even coverage. Avoid stopping in the middle of a pass, as this can cause buildup and drips.
• Apply Multiple Thin Coats
To achieve the best finish, it is important to apply multiple thin coats of spray paint instead of one thick coat. This method ensures a smoother and more even coverage, and it also reduces the risk of runs and drips.
Allow each coat to dry according to the manufacturer’s instructions, typically between 10-30 minutes, before applying the next coat.
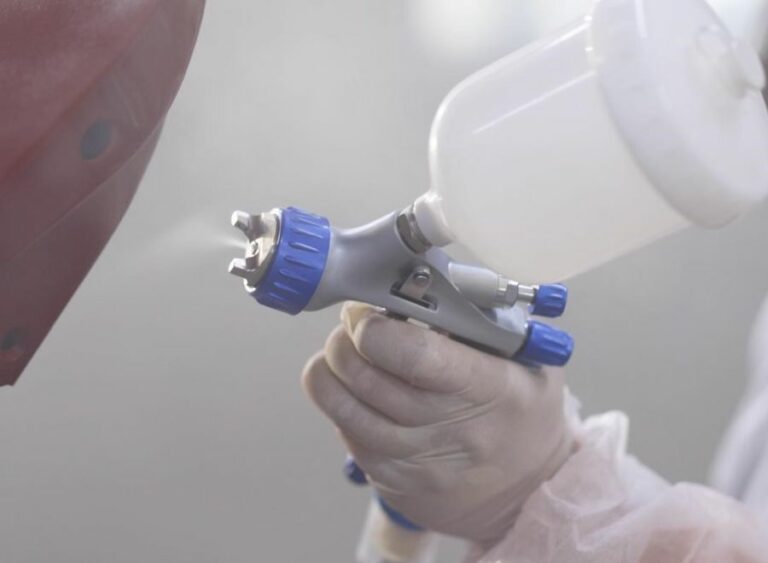
• Utilize Proper Ventilation and Protective Equipment
Spray paint contains volatile organic compounds (VOCs) that can be harmful if inhaled. Always work in a well-ventilated area, preferably outdoors. If you must work indoors, open windows and doors to ensure proper airflow.
Also, it is highly recommended to wear a mask or respirator to protect yourself from inhaling fumes, as well as safety glasses and gloves to protect your skin and eyes.
• Proper Cleaning and Storage of the Spray Paint Can
After completing your project, it is crucial to properly clean and store the spray paint can. To clear the nozzle and prevent clogging, turn the can upside down and spray for a few seconds until only air is released. Wipe the nozzle with a cloth to remove any residual paint.
Store the can in a cool and dry location, away from direct sunlight and heat sources.
• Additional Resources for Spray Painting Tips and Techniques
To further improve your spray painting skills, consider consulting resources like the Peerless Institute and the University of Cincinnati for professional advice and instructional materials.
In conclusion, proper surface preparation, the right spray paint, and consistent technique are essential to making your spray paint spray better. By following these tips and best practices, you can significantly improve your spray painting results and achieve a smooth and professional-looking finish.