Preparing Exteriors For A Fresh Coat Of Paint. What Pros Say
Ready to give your home’s exterior a fresh coat of paint? The crucial step of proper preparation is the key to achieving a flawless and long-lasting finish. With our expertise in exterior painting, we’re here to guide you through the important aspects of prepping your house and setting the stage for a stunning new look.
Preparing exteriors for a fresh coat of paint:
To prepare your home’s exterior for a fresh coat of paint, inspect the surface and identify problem areas, clean the surface thoroughly, repair damage and patch holes, sand and smooth the surface, remove old paint if necessary, apply a high-quality primer, and protect surrounding surfaces with painter’s tape and drop cloths. Proper preparation ensures a long-lasting and professional-looking result.

Ready to revive your home’s exterior with a fresh coat of paint? Read on for expert advice on surface preparations, sanding, and cleaning techniques that will ensure a flawless finish! Don’t miss out on our valuable tips and tricks to save time and effort and achieve the perfect look. Keep reading!
Contents
- 1 Exterior Preparation for a Smooth Paint Application
- 2 Steps to Prepare Your Home’s Exterior for Painting
- 3 Importance of Cleaning Exterior House Surfaces Before Painting
- 4 Guide to Painting Over Existing Exterior Paint
- 5 Primer Application: Key to Exterior Repainting Success
Exterior Preparation for a Smooth Paint Application
A well-maintained exterior not only enhances the curb appeal of your property but also protects it from harsh weather elements. A fresh coat of paint on your house’s exterior walls can significantly improve its appearance, and proper preparation is a crucial step in achieving long-lasting results.
• Inspect the Surface and Identify Problem Areas
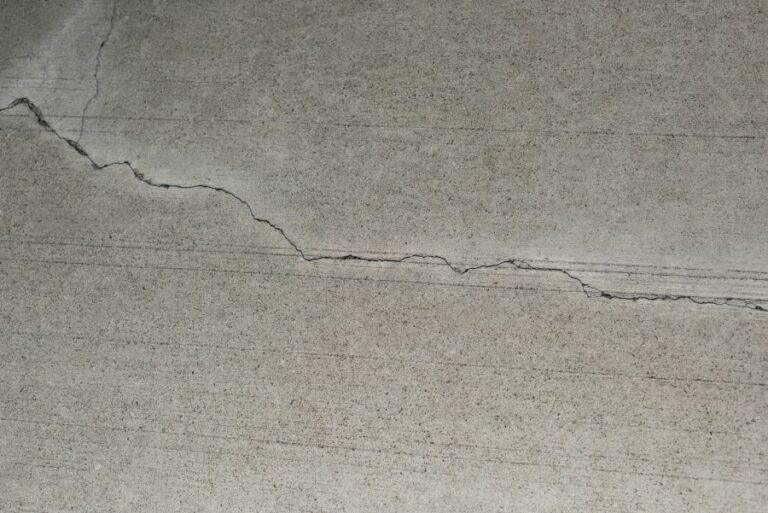
The first step in preparing exteriors for painting is conducting a thorough inspection of the surface to identify any problem areas such as cracks, chipping paint, mildew, and moisture damage. Pay close attention to corners, eaves, windows, and doors, as these areas are more prone to wear and tear.
• Cleaning the Surface
Cleaning the exterior of your house is crucial for ensuring proper paint adhesion. Start by removing dirt, dust, and debris with a broom or leaf blower.
Then, use a garden hose with a spray nozzle or a pressure washer on a low-pressure setting to remove stubborn grime and mildew. Remember, pressure washing should be done gently, as too much pressure can damage the exterior surface or force water through gaps, causing additional damage.
For surfaces with persistent dirt or mildew, mix a solution of one-part bleach to four parts water and scrub the surface using a soft brush.
• Repairing Damage and Patching Holes
Next, address any identified damages or problem areas. Use a scraper to remove loose paint and sand the edges smoothly.
For cracks and gaps, apply a high-quality exterior caulk using a caulking gun to seal the space. If your exterior has wood siding, use a wood filler to patch holes and repair any damaged areas.
For stucco exteriors, repair cracks and damaged areas with a pre-mixed stucco patch or a mixture of Portland cement, sand, and water. Remember to follow the manufacturer’s instructions regarding mixing ratios and drying times.
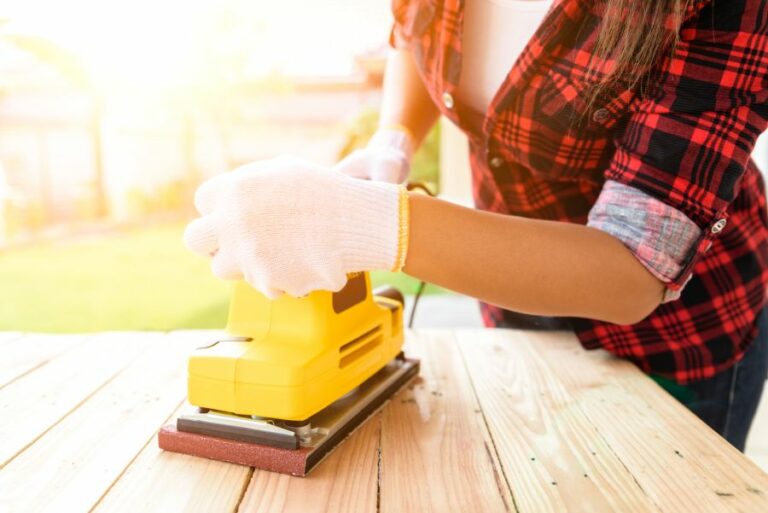
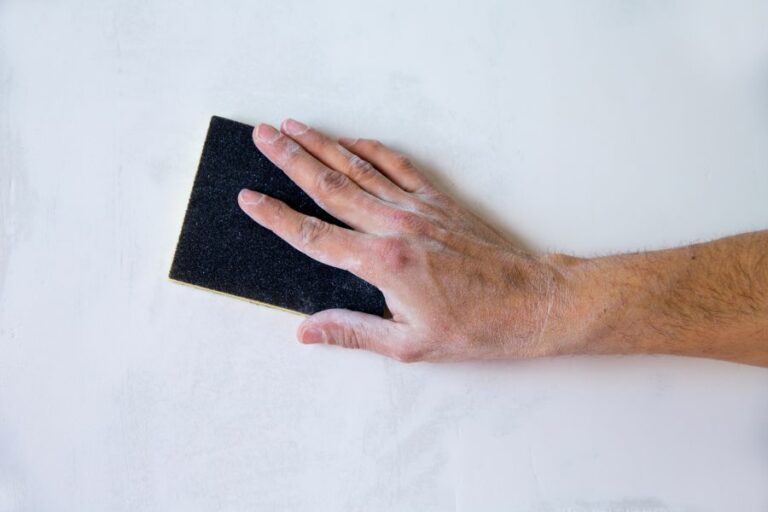
• Sanding and Smoothing the Surface
Once the repairs have been made, it’s time to sand and smooth the surface. Use medium-grit sandpaper (80 to 120 grit) for sanding the repaired areas and ensuring a smooth finish. For large surfaces or rough textures, consider using a power sander.
When sanding, make sure to apply light pressure and move in the direction of the wood grain for the best results. After sanding, use a tack cloth or damp sponge to remove any dust from the surface.
• Removing Old Paint
In some cases, you may need to remove old paint entirely. This can be done using a paint scraper and a wire brush or a more specialized paint removal tool. Be sure to wear appropriate safety gear, such as gloves and goggles, especially when working with lead-based paint.
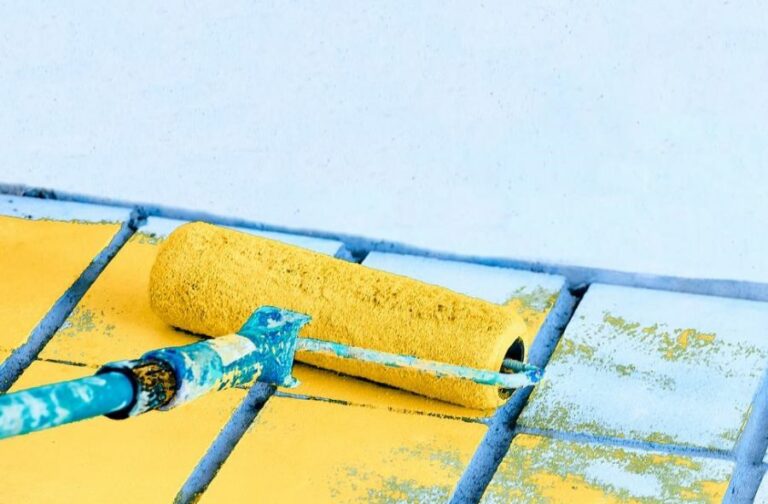
• Applying Primer
Before applying the paint, it’s essential to apply a high-quality primer. The primer ensures proper adhesion of the paint, improves color accuracy, and enhances overall durability. When selecting a primer, choose a product specifically designed for exterior use and compatible with the type of paint you plan to use.
For better results, some experts recommend tinting the primer by adding a small amount of the paint color. This helps to achieve more uniform color coverage when applying the topcoat.
• Taping and Protecting Surrounding Surfaces
Lastly, before painting, protect surrounding surfaces by applying painter’s tape to windows, doors, and trim. Also, use drop cloths or plastic sheeting to cover nearby landscaping, walkways, and outdoor furniture to protect them from paint splatters.
With these steps completed, you are now ready to apply a fresh coat of paint to your home’s exterior. By taking the time to prepare the surface properly, you can ensure a professional-looking, long-lasting result that enhances your property’s appearance and value.
Steps to Prepare Your Home’s Exterior for Painting
A properly executed exterior painting job not only enhances the overall appearance but can also significantly increase the value of your property. Adequate preparation is the key to achieving outstanding results that last.
• Cleaning the Surface
– Remove Dirt and Grime
Before you start, clean the entire surface of your house’s exterior. This step is crucial for removing dirt, dust, grime, and mildew that can interfere with paint adhesion.
You can use a scrub brush, water, and mild detergent to wash the surface, while a pressure washer can save you time and effort on larger surfaces.
– Inspect the Surface and Repair Damage
Once the exterior is clean and dry, inspect it thoroughly to identify any damaged areas. This can include peeling or chipping paint, cracks, and rotten wood. You should also check for mildew, mold, or algae growth.
– Remove Peeling and Loose Paint
Any loose or peeling paint must be removed before applying new paint. You can use a paint scraper, wire brush, or power sander for this step. Be sure to use eye protection and a respirator to avoid breathing in paint dust.
– Repair Cracks and Holes
If you find any cracks or holes, you will need to fill them using a suitable filler or caulk. It is essential to use products specifically designed for exterior surfaces, as they are more resistant to weathering. If you need to replace or repair any rotten wood, use a suitable wood filler or bonding agent.
• Preparing the Surface
– Sanding
After repairs have been completed, sand down the exterior to ensure a smooth, even surface for the paint to adhere to. Start with coarse-grit sandpaper (around 60-grit) and move up to a medium-grit (around 120-grit) for best results. Be sure to remove any dust or debris after sanding.
– Priming
Priming is essential for creating a robust surface that the paint can adhere to. It also helps to block any underlying stain or color from bleeding through. It is crucial to select a high-quality primer specifically designed for the exterior surfaces you are painting.
Choose a primer based on the type of paint you will be using:
- For latex paint, use a latex-based primer.
- For oil-based paint, use an oil-based primer.
Be sure to follow the manufacturer’s recommendations for application and drying times.
– Masking and Protecting
To ensure a clean, precise finish, you should mask off any areas you do not want to be painted using painter’s tape. This may include window frames, door frames, fixtures, or any other features not being painted.
In addition, you should place drop cloths or plastic sheeting around the work area to catch any paint drips or overspray. This will not only help keep your property clean, but it will also make the cleanup process much easier.
• Choose the Right Paint and Tools
Selecting the appropriate paint and tools is essential for a successful exterior painting project. Investing in high-quality paint is a wise idea, as this usually results in a better-looking and longer-lasting finish.
Be sure to choose a paint specifically designed for exterior use and appropriate for the surface you are painting (e.g., wood, brick, or stucco).
Moreover, having the right tools can make the entire process more manageable and efficient. Some essential tools for an exterior painting project include:
- Brushes (a mix of synthetic and natural bristles)
- Paint rollers
- Paint trays
- Extension poles
- Ladders
- Rags and cleaning supplies
• Application Tips and Techniques
– Work in the Right Weather Conditions
Ideal painting conditions are typically mild and dry, with low humidity and temperatures between 50-90F. Avoid painting in direct sunlight, as this can cause the paint to dry too quickly and result in an uneven finish.
– Paint in the Correct Order
For the best possible result, it is recommended to paint your house’s exterior in the following order:
- Trim and detailing, such as window and door frames.
- Main body, including siding or brickwork.
- Doors and windows.
– Apply Paint in Thin, Even Coats
Applying paint too thickly can lead to an uneven, lumpy finish. Instead, apply thin, even coats, allowing each to dry according to the manufacturer’s recommendations before applying the next. Most surfaces will require at least two coats for full coverage and a professional appearance.
• Conclusion
Properly preparing and executing an exterior painting project can significantly improve the appearance and value of your home. By following the steps outlined in this article, you can achieve a professional result that lasts for years to come. Good luck with your painting project!
Importance of Cleaning Exterior House Surfaces Before Painting
Painting the exterior of your house is an important task, and proper preparation is crucial to ensure a long-lasting and beautiful outcome. One key step often overlooked by homeowners is thoroughly washing the exterior surface before applying the paint.
• Importance of Washing Your House Exterior
– Improved Adhesion
Paint adheres better to a clean surface, allowing for a smoother application and a more uniform finish. Dirt, dust, and grime that have accumulated on your home’s exterior can interfere with paint adhesion, which can lead to uneven coverage, peeling, or premature fading.
– Removal of Mildew and Mold
Mildew and mold can undermine the paint’s ability to adhere to the surface properly and cause health issues for you and your family. Washing the exterior of your house helps eliminate these contaminants and ensures a healthy environment when applying the paint.
– Visual Inspection
Washing the exterior of your house enables you to more easily detect any areas that require repair or extra attention. This may include cracks, gaps, or damaged surfaces that need to be addressed before painting to ensure a professional, long-lasting result.
– Longer Paint Lifespan
Preparing your home’s exterior by washing it before painting ensures that the new paint job will have a longer lifespan. A clean surface allows for better paint adhesion and coverage, protecting your house from the elements and reducing the likelihood of paint failure in the future.
• Best Methods for Washing Your House Exterior
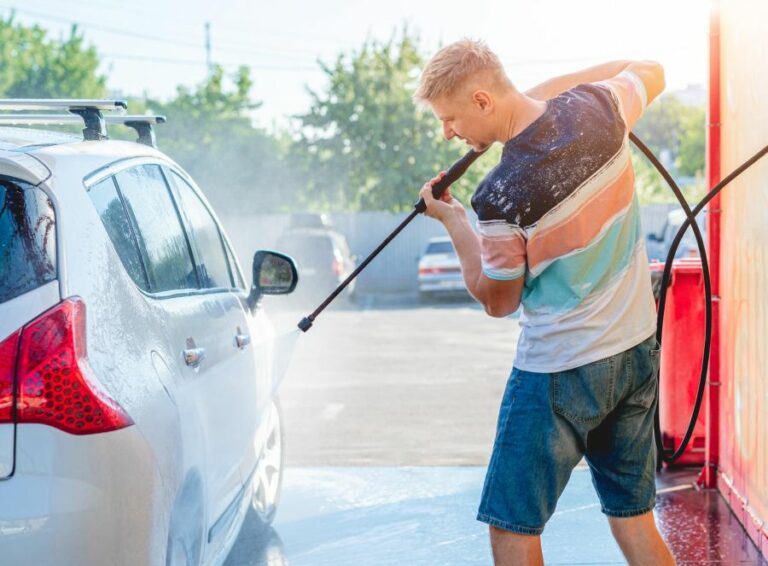
– Pressure Washing
I recommend using a pressure washer to clean the outside of your house. This method is highly efficient at removing dirt, dust, and grime, as well as mold and mildew.
Be sure to choose a pressure washer with an appropriate PSI (pounds per square inch) rating for the type of surface you are cleaning to prevent damage.
When pressure washing your home, work from top to bottom and maintain a consistent distance from the surface to avoid damage. Be extra cautious around windows, doors, or other delicate areas that may not withstand the pressure.
– Hand Washing
For homeowners who prefer not to use a pressure washer or have delicate surfaces that require a gentler touch, hand washing is a viable option.
Fill a large bucket with warm, soapy water and use a soft-bristle brush or sponge to scrub the exterior surfaces. Rinse thoroughly with a garden hose to remove any remaining soap residue.
Remember to also clean your gutters and downspouts during this process to ensure proper drainage and prevent potential damage to your house.
• Additional Preparation Steps Before Painting
– Allow Time for Drying
After washing your home’s exterior, ensure that it has ample time to dry before you begin painting. This may take up to a full day or longer, depending on the type of surface and weather conditions. If you attempt to paint on a damp surface, it can cause your paint to bubble or blister.
– Scrape and Sand
Once your exterior surfaces are clean and dry, inspect them for any loose or peeling paint. Use a paint scraper or wire brush to remove any loose paint, and then smoothen the edges where old paint remains using sandpaper. This ensures a more even and well-blended final result.
– Repair and Prime
Inspect the exterior of your house for any cracks, gaps, or damaged surfaces. Fill these areas with an exterior-grade filler or caulk and allow them to dry before applying a coat of primer. Priming is especially important when painting over bare wood, metal, or other surfaces that could create adhesion problems for the paint.
In conclusion, washing the outside of your house before painting is essential in the preparation process. This helps you achieve a more professional and longer-lasting result and protects the health and well-being of you and your family.
By following the tips and techniques provided, you can confidently paint your house’s exterior and enjoy a beautifully updated look for years to come.
Guide to Painting Over Existing Exterior Paint
The answer is yes, you can paint over old exterior paint. However, there are specific steps and considerations to take into account before embarking on this project.
• Importance of Proper Surface Preparation
Without proper surface preparation, the new coat of paint will not adhere correctly to the old paint, resulting in peeling, cracking, or chipping.
– Cleaning the Surface
Old exterior paint can accumulate dirt, mildew, mold, and chalking (fine paint dust). Thus, it is essential to clean the surface before applying a new coat of paint.
Pressure washing is the most efficient method of cleaning exterior surfaces. Use a mixture of water and mild detergent to remove dirt and contaminants, and ensure that the surface is rinsed thoroughly after washing.
– Removing Loose and Peeling Paint
It is crucial to remove any loose, flaking, or peeling paint before repainting the exterior. To do this, use a scraper or a wire brush, followed by sanding the edges of the remaining paint to create a smooth transition.
– Addressing Cracks, Holes, and Damages
Ensure that you fill any cracks, holes, or damaged areas with an exterior-grade filler. This step will help maintain the integrity of the new paint job and prevent water ingress.
– Priming the Surface
Priming is essential before applying a new coat of paint over old exterior paint, particularly if the old paint is showing signs of wear, such as chalking or staining. Use an exterior primer that is compatible with the type of paint you plan to use.
• Choosing the Right Paint
Selecting the right paint is vital for a successful exterior paint job over the old coat. The two main types of paint used for exteriors are latex (water-based) and oil-based (alkyd) paints.
– Latex Paints
Latex paints are a popular choice for exterior painting due to their durability, ease of application, and quick drying time. They are also resistant to UV radiation, which can cause fading, and they do not yellow over time.
Moreover, latex paints expand and contract with the surface, so they are less likely to crack or peel compared to oil-based paints.
– Oil-Based (Alkyd) Paints
Oil-based or alkyd paints offer a hard-wearing finish with a high gloss sheen. These paints are especially suitable for surfaces requiring extra durability, such as doors, windows, and trim.
Oil-based paints are also resistant to mildew and water damage. However, they take longer to dry than latex paints and can become brittle, chalky, and yellow over time.
It is essential to choose a paint that is compatible with the existing coating on your home. Applying latex paint over old oil-based paint can lead to adhesion and compatibility problems. In this case, you should use an oil-based paint or apply a suitable primer before using latex paint.
• Expert Tips for Painting over Old Exterior Paint
The following expert tips can help you achieve a flawless, long-lasting paint job when painting over old exterior paint:
- Wait for suitable weather conditions: Avoid painting in extremely hot, cold, or wet conditions, as this can negatively affect the paint’s performance.
- Apply two coats of paint: Two coats of paint provide better coverage and durability compared to a single coat. Be sure to follow the manufacturer’s recommended drying time between coats.
- Maintain a wet edge: To avoid lap marks or streaks, maintain a wet edge by working in small sections and applying the paint from previously painted areas to unpainted areas.
- Use quality brushes and rollers: Choose quality brushes and rollers designed for the type of paint you are using. This will help you achieve a smooth, even finish and make the application process easier.
- Follow the manufacturer’s instructions: Ensure you are using the paint according to the manufacturer’s instructions, which typically include information on application techniques, drying times, and coverage.
By following these tips and carefully preparing your home’s exterior, you can successfully paint over old exterior paint, giving your home a fresh, revitalized appearance.
Steps | Description |
|---|---|
1. Inspect the old paint | Check for peeling, cracking, or chipping. If the old paint is in good condition, you can paint over it. |
2. Clean the surface | Remove dirt, dust, and grime from the old paint using a pressure washer or a scrub brush and mild detergent. |
3. Scrape off loose paint | Use a paint scraper or stiff-bristle brush to remove any loose or peeling paint from the surface. |
4. Repair damaged surfaces | Fill any cracks, holes, or dents in the surface with exterior filler or caulk, and sand it smooth once dry. |
5. Prime the surface (if necessary) | Apply a coat of primer to the surface if the old paint is severely damaged, if you’re changing paint types or colors, or if the manufacturer recommends it. |
6. Apply the new paint | Use a brush, roller, or paint sprayer to apply at least two coats of new exterior paint, allowing each coat to dry completely before applying the next one. |
Primer Application: Key to Exterior Repainting Success
When it comes to repainting the exterior of your home, there is more to the process than simply applying a fresh coat of paint. One critical step in preparing the surface for application is priming.
• Understanding the Role of Primer
At its core, the primer is a preparatory coating applied before the actual paint. It possesses specific properties that aid in adhesion, ensuring the paint adheres effectively to the surface.
In addition to promoting adhesion, primers also create a uniform and smooth surface for the paint. Furthermore, primers enhance the durability and lifespan of the paint job, protecting the surface from potential damage and environmental elements.
– The Effect of Primer on Exterior Paint Performance
Priming the exterior surface of your home offers several benefits that cannot be ignored, including:
- Improved Adhesion: Properly primed surfaces provide a stable and receptive base for the paint, which can prevent peeling, flaking, or blistering.
- Durability: By providing a strong bond between the paint and substrate, primer ensures the paint job lasts longer and withstands potential damage.
- Uniform Appearance: Primers help in masking surface imperfections and improving paint performance, leading to a more uniform, even, and professional-looking finish.
- Enhanced Color Vibrancy: A primed surface allows for better color turnout by ensuring optimal absorption of the paint.
- Stain Blocking: Primers can prevent stains and tannins from bleeding through the paint, preserving its aesthetic appeal.
• When to Prime Before Repainting
In general, it is highly recommended to prime before repainting exterior surfaces to achieve a satisfactory outcome. That being said, it is essential to evaluate specific situations to determine if priming is required for your repainting project.
– New or Bare Surfaces
When repainting a new or bare surface, priming is vital to ensure proper adhesion and coverage. A primed surface allows the paint to adhere effectively, reducing the likelihood of peeling or cracking.
Furthermore, primers can help block porous surfaces like wood or masonry from absorbing the paint, leading to an even and uniform finish.
– Significant Color Changes
If you’re planning to repaint your exterior with a dramatically different color, priming becomes particularly important.
A primer can create an even base for the new color, preventing the old color from bleeding through or affecting the new shade’s depth and vibrancy.
– Damaged Surfaces
Priming is necessary when addressing damaged surfaces, including peeling or flaking paint, wood rot, and mildew growth. Thoroughly cleaning and priming the affected areas before applying a fresh coat of paint can help provide a stable surface for the new paint to adhere properly.
• Exceptions to the Priming Rule
While priming is typically a crucial step, certain situations may not necessitate it.
– Previously Primed and Painted Surfaces
If the exterior surface has been previously primed and painted, and the existing paint is in good condition, you may not need to re-prime before repainting. However, it is essential to lightly sand the surface to promote adhesion and remove any loose or peeling paint.
– Self-Priming Paints
Certain high-quality exterior paints on the market today include built-in primers. These self-priming paints contain a blend of paint and primer, eliminating the need for a separate priming step.
If you are using a self-priming paint, carefully follow the manufacturer’s recommendations for preparation and application.
• Final Thoughts on Priming Before Repainting
Ultimately, priming before repainting exterior surfaces is a critical step to ensure a long-lasting, professional, and visually appealing paint job. While some exceptions may apply, it is wise to consider the overall benefits of priming to your project’s success.
Taking the time to prime your exterior surfaces can ultimately save you time, money, and effort in the long run.