Surface Preparation Equipment Checklist. What Pros Say
Preparing surfaces for various applications, whether painting, flooring installation, or concrete repair, is crucial for a project’s success. We have compiled a comprehensive surface preparation equipment checklist to help you ensure that the surface is correctly prepared. With our expertise and well-crafted checklist, you can confidently tackle any surface preparation task and achieve professional results.
Surface preparation equipment checklist:
A surface preparation equipment checklist includes abrasive blasting equipment (blasting pot, air compressor, blast nozzle, blast hose), surface grinding equipment (concrete grinder, diamond grinding discs), pressure washing equipment (pressure washer, accessories), chemical stripping equipment (chemical strippers, scrapers and brushes), and personal protective equipment (respiratory, eye and face, hand, and hearing protection).

Looking to achieve flawless surface results? We’ve got you covered. Our comprehensive ‘Surface Preparation Equipment Checklist’ guides you through the essential tools for any project. Dive in to ensure you have the right equipment for a smooth, professional finish. Read on to discover more!
Contents
- 1 Essential Checklist for Surface Preparation Equipment
- 2 Discover the 9 Key Steps in Surface Preparation
- 3 Exploring Various Stages of Surface Preparation
- 4 Most Popular Surface Preparation Techniques Unveiled
- 5 Top Power Tools for Effective Surface Preparation
Essential Checklist for Surface Preparation Equipment
Surface preparation is a crucial step in many industries, particularly when it comes to manufacturing, construction, painting, and coating. Therefore, it’s essential to have the proper equipment to ensure the desired results.
• Abrasive Blasting Equipment
Abrasive blasting, also known as sandblasting, is one of the most popular methods for surface preparation. This process involves propelling abrasive media against a surface at high speed to remove contaminants, old coatings, and imperfections. Essential abrasive blasting equipment includes:
1. Blasting Pot
A blasting pot is the primary piece of equipment needed for abrasive blasting. It’s the vessel that holds the abrasive media and propels it using compressed air. Ensure the size and capacity of the blasting pot is sufficient for the scale of the project.
2. Air Compressor
Air compressors are vital to the abrasive blasting process, providing the necessary air pressure to propel the abrasive media.
Make sure the air compressor has the correct output capacity (measured in cubic feet per minute or CFM) and pressure (measured in pounds per square inch or PSI) for your specific application.
3. Blast Nozzle
Blast nozzles focus and direct the abrasive media onto the surface. These come in different shapes and sizes, designed to optimize performance and efficiency. Choose a suitable nozzle based on the size of the area to be blasted and the desired surface finish.
4. Blast Hose
A durable, high-quality blast hose is necessary for transferring the abrasive media from the blasting pot to the nozzle. Ensure that the hose is compatible with the chosen abrasive media and that it has a proper inner diameter and length.
• Surface Grinding Equipment
Surface grinding is another technique used to prepare surfaces, particularly for removing old coatings, leveling uneven areas, and smoothing rough surfaces. Essential surface grinding equipment includes:
5. Concrete Grinder
A concrete grinder is an essential tool for smoothing and leveling concrete surfaces. These machines can be handheld or walk-behind devices, depending on the scale and specific requirements of the project. Be sure to choose the appropriate disc size and grit for the surface you’re working on.
6. Diamond Grinding Discs
Diamond grinding discs are crucial consumables for the concrete grinding process, available in various grit sizes for different surface finishes. Choose the right disc based on the desired outcome and the hardness of the surface material.
• Pressure Washing Equipment
Pressure washing is an effective method to remove contaminants such as dirt, dust, and loose debris from surfaces. The necessary equipment includes:
7. Pressure Washer
A pressure washer is a primary tool for this cleaning technique, utilizing high-pressure water spray to clean surfaces. Ensure the pressure washer has the appropriate pressure rating (measured in PSI) and flow rate (measured in gallons per minute or GPM) for the specific task.
8. Pressure Washer Accessories
Various accessories can enhance the efficiency of your pressure washer, such as different nozzle tips or extension wands to help you reach difficult areas. Be sure to select the correct accessory for the specific surface you’re cleaning.
• Chemical Stripping Equipment
Chemical stripping is an effective way to remove old coatings, paint, and adhesives from various surfaces. The essential equipment for this method includes:
9. Chemical Strippers
Select the appropriate chemical stripper based on the type of coating to be removed and the material of the surface. Be aware of any environmental or health and safety concerns related to the chosen stripper.
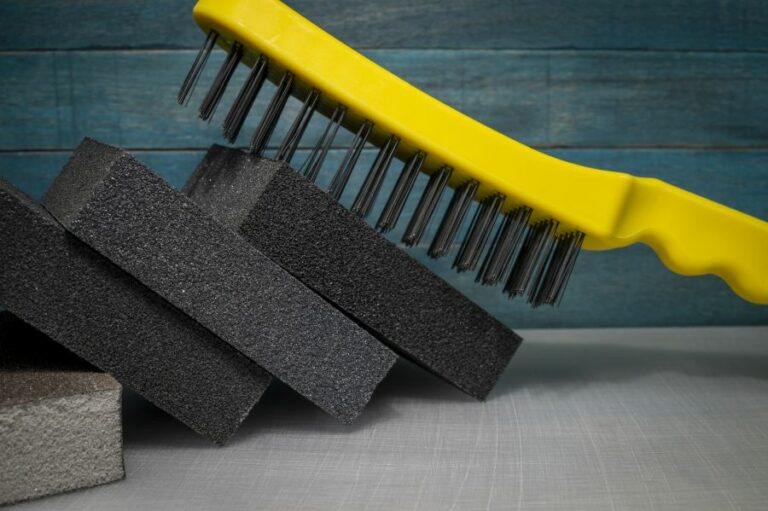
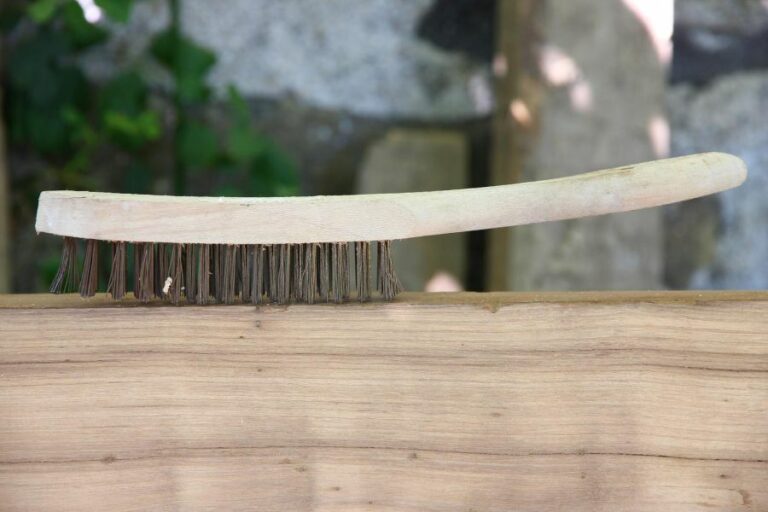
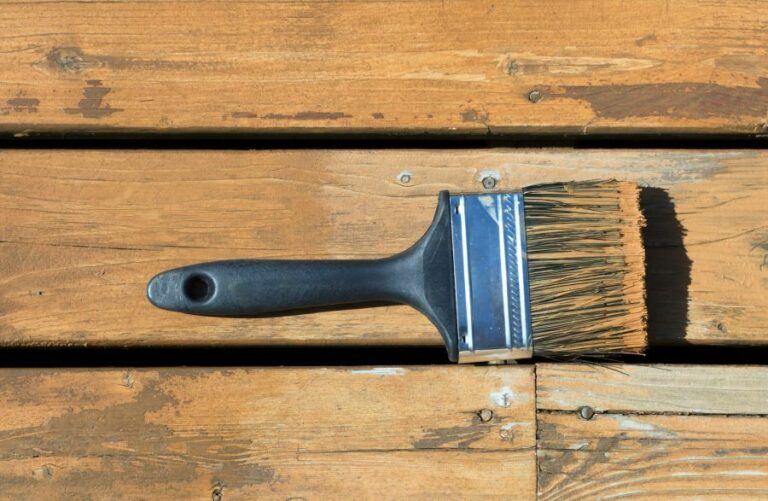
10. Scrapers and Brushes
Quality scraping tools and brushes are necessary for mechanically removing the loosened coating or residue after applying the chemical stripper. Choose the appropriate tool based on the type and size of the surface.
• Personal Protective Equipment (PPE)
No matter the method used, proper PPE is crucial to ensuring the safety of workers during surface preparation. Essential PPE includes:
11. Respiratory Protection
Dust, fumes, and chemicals produced during surface preparation can pose significant health risks. Ensure workers wear the appropriate respiratory protection, such as dust masks or air-supplied respirators.
12. Eye and Face Protection
Goggles, safety glasses, or face shields are necessary to protect workers from airborne debris, chemicals, and high-pressure spray.
13. Hand Protection
Appropriate gloves, suited to the specific surface preparation task, are necessary to protect hands from abrasion, cuts, and chemical exposure.
14. Hearing Protection
Loud noise is common in many surface preparation processes, particularly abrasive blasting, and grinding. Provide earplugs or earmuffs for workers exposed to high noise levels.
In conclusion, proper surface preparation can make or break the success of your project. By ensuring you have the correct equipment and PPE in place, you’re setting the foundation for a successful and safe work environment.
Make sure to regularly assess your equipment for any necessary maintenance or updates to continue to achieve the best possible results.
Discover the 9 Key Steps in Surface Preparation
In the world of construction and renovation, surface preparation is a crucial step to ensure the success of a project. This process creates a suitable foundation for the application of coatings, adhesives, or other materials.
Experience has taught me that skipping or neglecting this step can lead to a host of problems, such as compromised adhesion, reduced durability, and shorter life spans for materials. Let’s dive into the essential nine-step process of surface preparation.
• 1. Assessment and Evaluation
The first step involves evaluating the condition of the surface, which may include analyzing existing materials, finishes, or coatings. Assess the surface thoroughly to identify any potential issues, such as contamination, corrosion, or damage.
It’s crucial to determine the appropriate cleaning and treatment methods to address these issues during the preparation process.
• 2. Cleaning
Once the assessment is complete, cleaning the surface is the next vital step. Remove any loose dirt, debris, or contaminants with a stiff-bristled brush or vacuum cleaner. For more stubborn stains or contaminants, a suitable cleaning agent or solvent may be necessary.
Remember, the goal is to achieve a clean, contaminant-free surface to ensure the effectiveness of subsequent surface preparation steps.
• 3. Degreasing
Following the initial cleaning, degreasing is essential if grease or oil is present on the surface. This step involves using suitable cleaning agents or degreasers to remove any grease, oil, or waxy residue from the surface.
It is crucial to utilize the correct degreasing agents for the specific surface type and to follow the manufacturer’s instructions carefully.
• 4. Repair and Restoration
With the surface clean and degreased, the next step is to address any damage or irregularities on the surface that may impact its integrity or the performance of the applied materials.
This process may involve filling cracks or holes with a suitable patching compound, repairing damaged areas, or removing any loose, blistered, or unsound material from the surface.
• 5. Stripping and Removal
For surface areas with existing coatings, finishes, or adhered materials, removal is often necessary. Use chemical strippers, scraping tools, or abrasive methods to remove these materials, ensuring a clean and even surface for the application of new coatings or adhesives.
• 6. Abrasive Blasting
Abrasive blasting is a common technique used to remove existing coatings, rust, or other contaminants, as well as to create a rough surface profile to promote better adhesion for the new materials. Several methods are available, including sandblasting, shot blasting, and water jet blasting, to mention a few.
The Society for Protective Coatings (SSPC) offers a range of guidelines and resources on abrasive blasting techniques and best practices.
• 7. Grinding and Sanding
Another method for refining the surface and creating the desired roughness for improved adhesion is grinding or sanding. Using abrasive tools or materials like sandpaper or a grinding wheel, carefully refine the surface, keeping an even and consistent profile throughout.
• 8. Surface Profiling
Surface profiling refers to creating the correct surface roughness needed for the specific coating or adhesive to be applied. The requirements may vary depending on the material used, but the objective is to balance optimized adhesion and coverage with a controlled level of roughness.
• 9. Priming
Finally, once the surface meets the requisite roughness and cleanliness standards, apply a primer if the chosen coating or adhesive requires it. Primers generally consist of a thin coating that promotes adhesion and serves as a barrier to protect the underlying surface.
By following these nine essential steps in surface preparation, you can significantly improve the success, durability, and longevity of your construction and renovation projects.
Remember that thorough and careful preparation is the foundation of any well-executed project, and taking the time to get it right will save time, money, and headaches in the long run.
Step Number | Surface Preparation Step |
|---|---|
1 | Assess the surface condition and cleanliness |
2 | Remove any loose material or debris |
3 | Wash and degrease the surface |
4 | Strip off any old coatings or paint |
5 | Repair any surface defects, cracks or damage |
6 | Smooth and level the surface |
7 | Apply appropriate surface treatments, such as priming or sealing |
8 | Allow the surface to dry fully before applying any new coatings or paint |
9 | Inspect and validate the prepared surface for proper adherence, cleanliness, and quality |
Exploring Various Stages of Surface Preparation
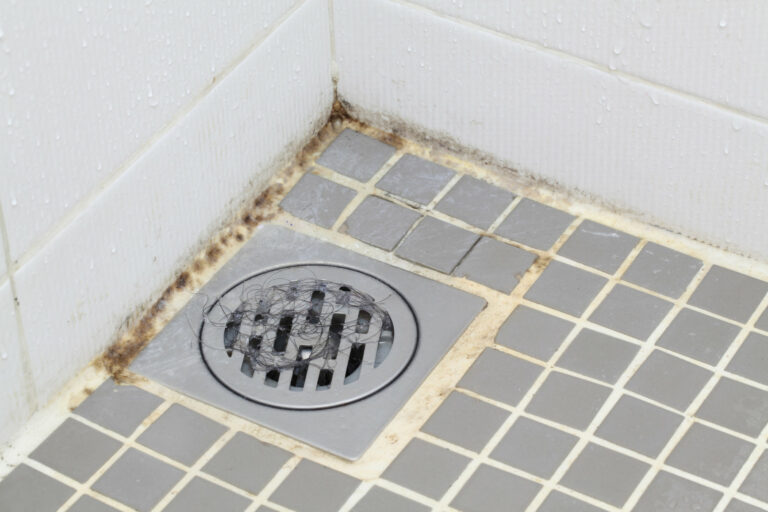
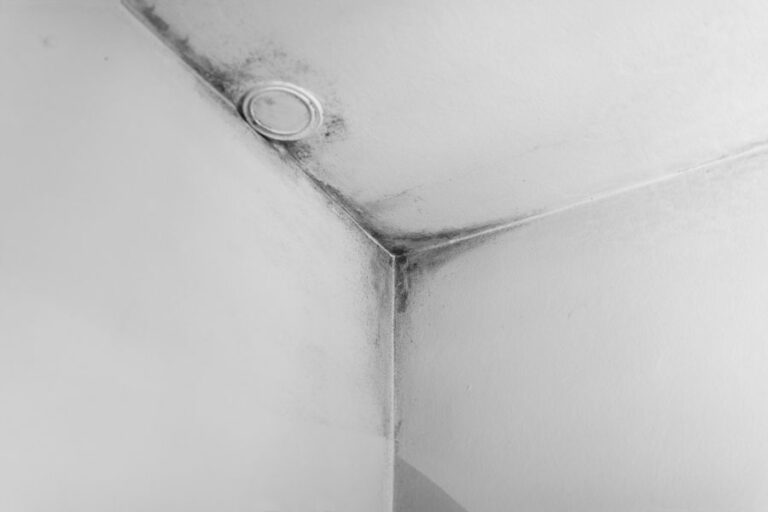
Surface preparation is a critical process used for maintaining and improving various types of surfaces, such as concrete, metals, wood, and more. It involves various techniques and steps to ensure that the surface is clean, smooth, and well-prepared for further procedures like painting or sealing.
• Surface Evaluation and Inspection
The first stage of surface preparation is evaluating and inspecting the surface. This includes checking for any flaws, defects, or contaminants that can hamper the surface’s overall strength.
1. Identifying Contaminants
Contaminants, such as oil, grease, dirt, and dust, can impair the surface’s quality or prevent further procedures like painting or sealing from properly adhering to the surface. Identify and remove them using various cleaning agents and tools that are purpose-specific to the requirements of the project.
2. Assessing the Surface Condition
Check for cracks, pits, and any irregularities in the surface. For concrete surfaces, ensure that the surface is sound, solid, and has a proper profile for the intended use. For metals, check for rust, mill scale, or any other signs of corrosion.
3. Determining the Correct Method for Surface Preparation
Select an appropriate surface preparation method based on the surface condition and the desired final product. There are various techniques for surface preparation, such as sanding, grinding, abrasive blasting, and chemical treatments.
Each method has its pros and cons, and choosing the right one for the project is crucial for success.
• Surface Cleaning
Once the contaminants and defects have been identified, the next stage is to clean and remove these substances from the surface.
4. Degreasing
Degreasing is the process of removing oils and greases from the surface using specialized cleaning agents and solvents. This is vital to ensure that the coatings, paints, or sealants can adhere properly to the surface.
I recommend using water-based or biodegradable degreasers, which are environmentally friendly and provide excellent cleaning performance.
5. Removing Dust and Dirt
A thorough cleaning of dust and dirt from the surface is necessary to prevent it from interfering with the adhesion of any coatings, paints, or sealants. For large surfaces, this can be done using brooms, brushes, or vacuum cleaners.
6. Removing Rust and Mill Scale
For metallic surfaces, rust and mill scale can have a damaging effect on the coating’s adhesion and long-term performance. Several methods, like grinding, sanding, or chemical treatments, can be used to remove rust and mill scale from the metal surface effectively.
For large-scale projects, experts often recommend abrasive blasting as the most efficient way to remove rust and mill scale from metal surfaces.
• Surface Profiling
The next stage is to create the correct surface profile, which ensures that the coatings, paints, or sealants can properly adhere to the surface.
7. Sanding or Grinding
Sanding or grinding can be used to smoothen or roughen the surface as necessary. This process improves the surface’s adhesion properties and allows for proper anchoring of the desired coating or treatment.
When sanding or grinding, use a dust extraction system to maintain a clean and safe working environment.
8. Abrasive Blasting
Abrasive blasting is a powerful method used to create the desired surface profile on various surfaces, including metal, concrete, and more. This technique utilizes high-pressure air and abrasive materials to create a roughened or smoothened surface, depending on the type of abrasive used.
I recommend using non-silica abrasives, such as garnet or steel shot, to minimize health hazards associated with silica dust.
9. Chemical Treatments
For specific projects, chemical treatments can be used to alter the surface’s chemical composition, allowing for proper bonding with the applied coating, paint, or sealant. Chemical treatments include acid etching, passivation, and pickling.
The National Association of Corrosion Engineers (NACE) provides detailed guidelines for proper surface preparation techniques for various surfaces and materials.
• Finishing and Inspection
The final stage of the surface preparation process is conducting a thorough inspection of the surface to ensure quality and consistency.
10. Visual Inspection
Visually inspect the surface for any remaining contaminants, imperfections, or inconsistencies. This is a crucial step to ensure that the surface is ready for the intended procedure.
11. Surface Profile Measurement
Using specialized equipment like profilometers, measure the surface’s profile to ensure that it meets the specified requirements for the desired coating or treatment.
• Conclusion
To achieve a high-quality and long-lasting result, proper surface preparation is essential. By following these stages, professionals can ensure that their projects are carried out with precision and care, leading to a durable and reliable surface for years.
Stage | Description |
|---|---|
1. Inspection | Initially examine the condition of the surface to determine the level of surface preparation required. |
2. Cleaning | Remove dirt, dust, grease, and other contaminants to ensure proper adhesion of coatings or treatments. |
3. Repair | Fix any defects, cracks, or damage on the surface before moving forward with the surface preparation. |
4. Profiling | Create the desired surface profile to promote adhesion and achieve the required finish. |
5. Abrasive Blasting | Use abrasive blasting techniques to strip, etch, or roughen the surface as needed for the specific project. |
6. Priming | Apply appropriate primer or undercoat to improve adhesion and enhance the properties of the final coating or treatment. |
7. Final Inspection | Ensure the surface is fully prepared and ready for the application of the final coating or treatment. |
Most Popular Surface Preparation Techniques Unveiled
Surface preparation is a critical factor in any coating or bonding process. The proper selection and execution of a surface preparation technique are essential to achieve optimal adhesion, protective coating performance, and, ultimately, the longevity of the coated or bonded materials.
Among various surface preparation techniques, abrasive blasting is often regarded as the most common and effective method.
• Understanding Abrasive Blasting
Abrasive blasting, also known as sandblasting or blast cleaning, is a powerful technique used to clean and prepare surfaces before applying coatings, linings, or bonding materials. It works by propelling a stream of abrasive particles against a workpiece (material being treated) under high pressure.
These particles remove contaminants, such as rust, paint, and scale, while also creating a surface profile that enhances the adhesion of coatings or bonding agents.
Abrasive blasting can be used on various materials, including metals, plastics, wood, and glass. The choice of abrasive media and equipment depends on factors like the desired profile, material type, and specific application requirements.
• Types of Abrasive Blasting and Their Applications
There are several types of abrasive blasting, each suitable for diverse applications, materials, and desired results. Here are some notable examples:
– Dry Abrasive Blasting
Dry abrasive blasting is the most common form of this technique, where the abrasive material is propelled using compressed air. One major advantage of dry abrasive blasting is its ability to remove heavy depositions of contaminants quickly and efficiently.
It can be carried out using various types of equipment, including portable blasters, blast rooms, and blast cabinets, depending on the application and scale.
– Wet Abrasive Blasting
In wet abrasive blasting, water is introduced during the blasting process via equipment modifications. It has several advantages compared to dry blasting. These include reduced dust generation, lower abrasive consumption, and decreased heat generation during blasting.
Wet abrasive blasting is commonly used in applications where dust control or surface cooling is crucial.
– Vacuum Abrasive Blasting
Vacuum abrasive blasting, or closed-loop blasting, uses a vacuum system to recover the spent abrasive and debris, which are separated and recycled. This method is characterized by its cleanliness, as it minimizes dust generation and waste disposal requirements.
It is ideal for applications such as shipbuilding, aerospace, and nuclear industries, where cleanliness and environmental concerns are significant factors.
– Automated and Robotic Abrasive Blasting
Automated systems and robotic equipment enable consistent, efficient, and precise control of abrasive blasting. These systems often minimize the need for manual operator intervention, resulting in safer, faster, and more accurate results.
They are generally employed in large-scale industrial applications where increased productivity and reduced labor costs outweigh the initial investment in advanced technology.
• Selecting the Right Abrasive Media
The selection of the right abrasive media is essential for achieving desired results, cost-efficiency, and minimizing damage to the workpiece. Some factors to consider while selecting abrasive media include hardness, size, shape, density, and type of material being treated.
Here are a few examples of common abrasive media:
- Steel shot and grit: Suitable for aggressive cleaning and profiling on metal surfaces
- Aluminum oxide: Hard and reusable, ideal for aggressive cleaning and etching on various materials
- Glass beads: Gentle yet effective cleaning; commonly used in peening applications and removing automotive paint without damaging the substrate
- Garnet: An eco-friendly option suitable for cleaning and profiling corrosion-resistant materials like aluminum and stainless steel
- Plastic abrasives: A gentle option suitable for removing paint from sensitive surfaces like fiberglass and aircraft components
• Final Thoughts on Abrasive Blasting
Abrasive blasting is a versatile, efficient, and common technique for surface preparation. It can be tailored to specific applications, materials, and desired results through the careful selection of appropriate media and equipment.
While there are alternative surface preparation methods, such as chemical cleaning and power-tool cleaning, abrasive blasting remains the go-to method to quickly and effectively remove unwanted materials, creating an optimal substrate for coatings and bonding materials.
As practitioners, we recommend staying abreast of best practices and evolving technologies to maximize the benefits of this integral process in various industries.
Top Power Tools for Effective Surface Preparation
Surface preparation is a critical step in any construction or renovation project. It lays the groundwork for the success of all subsequent steps, such as the application of coatings, adhesives, and sealers.
• Grinders and Sanders
Angle Grinders: An angle grinder is a versatile and powerful tool used to remove rust, corrosion, paint, or other materials from a surface and prepare it for further work.
Depending on the specific attachment used, these tools can also effectively grind and shape various materials, including concrete, metal, and wood. Angle grinders come in various sizes, typically from 4 to 9 inches, with different power outputs to match the scale of the job at hand.
Personally, I recommend the Metabo 5″ Angle Grinder for its versatility and power.
Rotary Sanders: For smaller-scale surface preparation tasks, a rotary sander can be used to remove paint, varnish, or other materials from wooden or metal surfaces. Orbital sanders and palm sanders are two popular types of rotary sanders.
These tools are often handheld and use a rotating sanding pad with an abrasive disc to perform the task.
• Shot Blasters
Shot blasting is a high-speed and efficient process used for cleaning and profiling large surfaces, such as concrete floors, steel structures, and bridges.
These machines use a wheel or a nozzle to propel steel shots at high velocity toward the surface, removing contaminants and creating a clean, roughened profile.
The Blastrac 1-8DPS30 is a popular example of a shot blaster, well-suited for medium-sized surface preparation projects.
• Scarifiers and Planers
- Scarifiers: Also known as surface planers, milling machines, or surface grinders, scarifiers are often used for the removal of heavy coatings and built-up materials and for leveling uneven surfaces. These power tools use tungsten carbide cutting teeth or steel flails to chip away at the surface material. Scarifiers can be used on surfaces such as concrete, asphalt, and steel, offering a versatile solution for heavy-duty surface preparation.
- Concrete Planers: Specifically designed for preparing concrete surfaces, concrete planers use rotating drums with abrasive cutting teeth or grinding stones to grind away surface imperfections or coatings. These machines can expose aggregate, level uneven surfaces, and produce a consistent profile for improved adhesion of coatings or sealants.
• Pressure Washers
Using water pressure to clean and prepare surfaces, pressure washers are an excellent choice for surface preparation, particularly on surfaces that are sensitive to more aggressive techniques.
These machines come in various strengths and are often further adjustable to suit the specific surface being worked on. Gas-powered and electric pressure washers are the two primary types, with the latter being more compact and quieter but typically less powerful than their gas counterparts.
I recommend the Krcher HD 2.3 for its balance of power and user-friendliness.
• Blasting Cabinets
For smaller objects and intricate surfaces, a blasting cabinet can be used to remove rust, paint, and other contaminants.
These enclosed units use compressed air to propel a stream of abrasive material, such as sand, glass beads, or steel grit, onto the surface being prepared. Blasting cabinets provide a controlled environment for precise and thorough surface preparation.
• Surface Preparation for Specific Materials
Certain materials or surfaces may require specialized tools or techniques for proper surface preparation. Examples include diamond grinding for concrete and needle scalers for removing rust or paint from metal surfaces.
It is essential to research the best methods and tools for preparing specific materials to ensure optimal results.
– The Importance of Proper Surface Preparation
Investing in the appropriate power tools for surface preparation is crucial to the success of any project. Using the right tools can ensure a clean, well-prepared surface that will improve the longevity and effectiveness of your coatings, sealants, or adhesions.
Furthermore, proper surface preparation minimizes risks related to material failure, saving time and money on future repairs or replacements.
For more information on surface preparation and best practices, SSPC (The Society for Protective Coatings) is a valuable resource offering guidelines, specifications, and training materials on surface preparation and coating application processes.