Refreshing Outdoor Areas With Spray Art. What Pros Say
Are you looking to revitalize your outdoor spaces with a unique and exciting splash of color? Look no further, as we have the perfect solution for you! Embrace the vibrant world of spray art to transform your outdoor areas completely. We have all the insightful tips and tricks to help you create refreshing, eye-catching artworks that instantly elevate your surroundings. Let’s dive in and unleash your inner artist!
Refreshing outdoor areas with spray art:
Spray art is an affordable and creative way to revitalize outdoor spaces using various colors, textures, and finishes. By preparing the surface, utilizing blending, stenciling, layering, and texturing techniques, and maintaining the artwork with UV protection and regular cleaning, artists can create unique and engaging visual experiences that transform and brighten outdoor areas.

Ready to refresh your outdoor space with a touch of spray art? Read on to unlock creative ideas and inspiring techniques to transform your garden or patio into a lively, colorful sanctuary. Let your imagination run wild and enhance your outdoor living experience!
Contents
- 1 Revitalize Outdoor Spaces with Spray Art Techniques
- 2 Can Spray Paint Withstand Outdoor Use?
- 3 Ideal Conditions for Outdoor Spray Painting Projects
- 4 Inappropriate Situations for Exterior Spray Painting
- 5 Pros and Cons of Outdoor Spray Painting
Revitalize Outdoor Spaces with Spray Art Techniques
• Why Choose Spray Art?
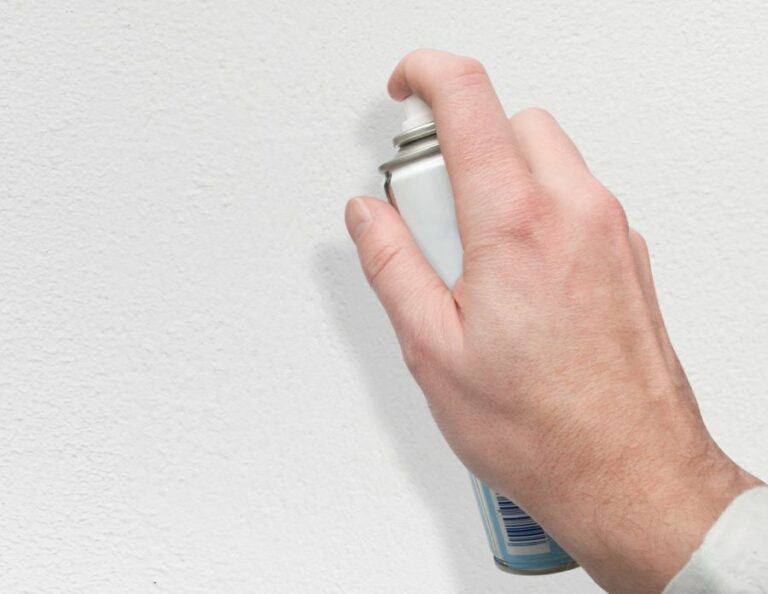
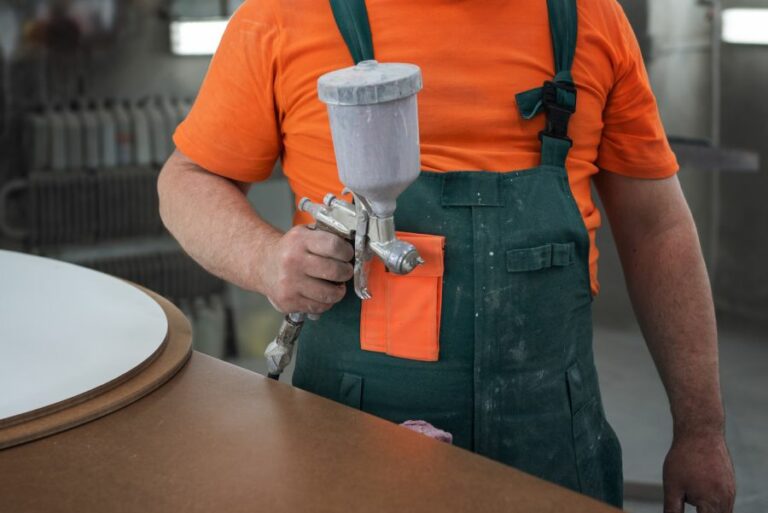
Spray art, also known as spray painting, provides a unique and creative way to transform outdoor spaces. It is an affordable and exciting alternative to traditional painting, offering a wide range of colors, textures, and finishes.
When done properly, spray art adds a vibrant and refreshing feel to any outdoor area. The medium’s adaptability allows artists to incorporate their style, making each piece unique and engaging.
Getting started with spray art only requires a few essential tools and a mindset that isn’t afraid to experiment.
• Essential Tools and Materials for Spray Art
To begin transforming an outdoor area with spray art, gather the necessary tools and materials. These items will ensure a hassle-free and enjoyable experience:
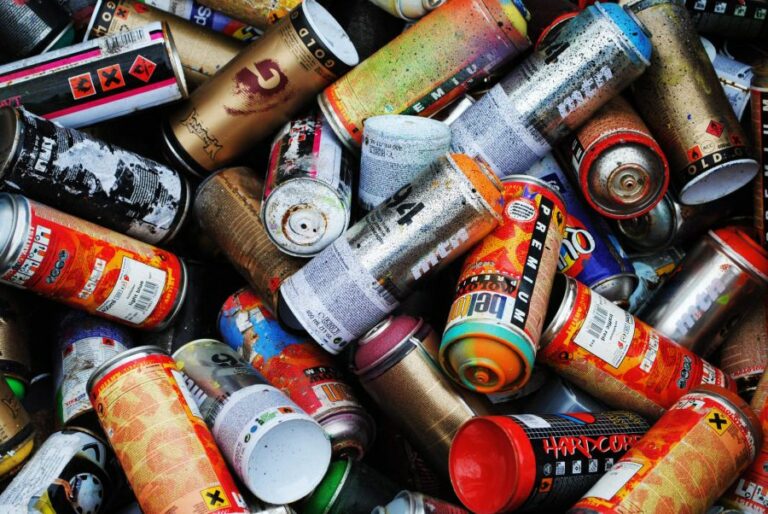
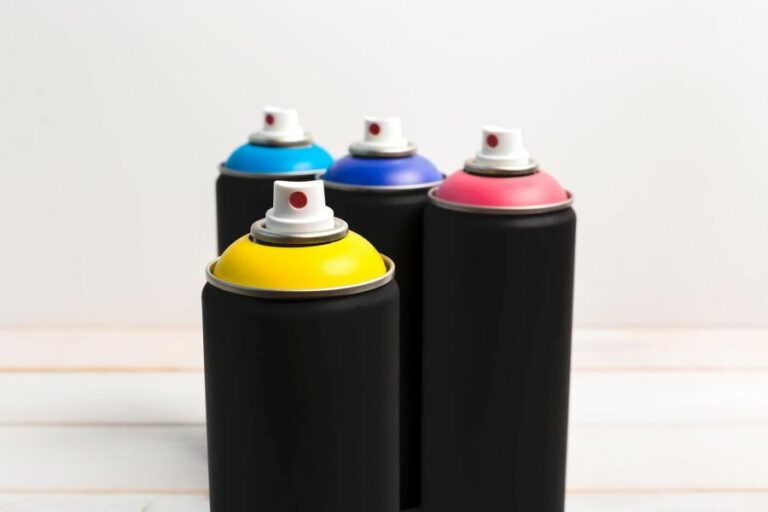
- Spray paint: Choose high-quality spray paints, as they offer better color and coverage. A variety of finishes, like gloss, semi-gloss, and matte, are available to suit the desired style.
- Masking tape: Use masking tape to create sharp lines, cover areas that should not be painted, or develop intricate designs.
- Drop cloths: Protect the surfaces surrounding the painting area by laying down drop cloths.
- Gloves: Wearing gloves prevents the paint from staining hands and ensures easy cleanup.
- Safety goggles: Safety goggles protect eyes against potential paint splatter.
- Respirator mask: A respirator mask helps protect against inhaling harmful chemical fumes and paint particles.
- Stencil: Utilize stencils to create detailed and intricate designs with ease.
• Preparing the Outdoor Surface
Before beginning the spray art project, take the necessary steps to prepare the surface:
- Clean: Remove any dirt, debris, or loose paint from the surface. A power washer or a scrub brush with a detergent-water mixture can effectively clean the area.
- Repair: Fill any holes, cracks, or gaps in the surface. Allow the filler to dry, then sand it smooth.
- Prime: Apply a suitable primer to the surface, ensuring better paint adhesion and durability. Allow the primer to dry completely.
Excellent surface preparation is crucial for a long-lasting and visually striking spray art transformation.
• Techniques for Creating Striking Spray Art
These popular spray art techniques can help in achieving an incredible and eye-catching outdoor transformation:
– Blending
Blending is a technique where two or more colors are merged to create a smooth and natural transition. It is often used to create gradients or subtle shading. Start by spraying one color, then while the paint is still wet, add a second color nearby.
Blend the colors together with a sweeping motion, going back and forth until the transition appears seamless.
– Stenciling
Stencils are an excellent way to add intricate patterns or designs to an outdoor area. Place the stencil on the surface and secure it with masking tape. Apply the spray paint using a gentle misting motion. Remove the stencil carefully to reveal the design.
– Layering
Layering creates depth and provides a sense of dimension to spray art. Select an image or pattern, then break it into separate layers. Spray each layer using different colors, starting with the background and working toward the foreground elements.
Allow each layer to dry before applying the next. The final result will be a visually striking, multi-dimensional effect.
– Texturing
Texturing adds visual interest to the spray art by creating different paint finishes. To achieve a textured effect, try spraying paint on various unconventional tools, such as sponges, crumpled paper, or even leaves, and then press them on the surface.
• Maintenance Tips for Spray Art
To ensure that the spray art remains vibrant and fresh-looking, follow these simple maintenance tips:
- UV protection: Apply a clear UV-resistant topcoat to protect the spray art from fading due to sunlight exposure.
- Graffiti protection: If the outdoor area is prone to graffiti, apply an anti-graffiti coating to make any potential defacement easier to clean off.
- Regular cleaning: Gently clean the surface with a soft brush or cloth and a detergent-water solution to remove dirt and grime.
With proper maintenance, spray art can retain its beauty for years.
• Conclusion
Spray art has the potential to refresh and rejuvenate any outdoor area, providing a unique and engaging visual experience.
Spray art enthusiasts can create lasting expressions that brighten any outdoor space by investing in the right tools, preparing the surface, utilizing creative techniques, and maintaining the artwork.
Can Spray Paint Withstand Outdoor Use?
Spray paint is a popular and versatile medium for outdoor projects, from painting furniture and fences to creating large-scale murals. A common question among users is whether spray paint can withstand outdoor conditions in the long run.
• Factors Impacting the Outdoor Durability of Spray Paint
Several factors impact the durability of spray paint when used outdoors, such as:
– Type of Paint
Not all spray paints are created equal. Some are specifically designed for outdoor use and are formulated to withstand harsh weather conditions, UV exposure, and moisture.
When selecting spray paint for outdoor use, look for labels that mention “exterior,” “outdoor,” “all-weather,” or “UV-resistant” to ensure that you are using the appropriate product.
For example, Krylon and Rust-Oleum offer lines of outdoor spray paint that provide long-lasting durability and protection against the elements.
– Surface Preparation
Proper surface preparation is crucial for ensuring the longevity of spray paint outdoors. Cleaning the surface, removing any loose paint, rust, or other debris, and applying a primer before painting can significantly enhance the paint’s adhesion and durability.
– Application Technique
Using the correct technique to apply spray paint can also affect its lasting power outdoors. Apply multiple thin, even coats, allowing each coat to dry thoroughly before applying the next. This ensures uniform coverage and helps prevent chipping or peeling.
– Environmental Conditions
Exposure to harsh weather conditions, such as extreme temperatures, heavy rain, or intense sunlight, can reduce the durability of spray paint used outdoors. These factors can cause the paint to fade, crack, or peel over time.
• Tips for Maximizing the Outdoor Durability of Spray Paint
To ensure that your outdoor spray paint projects last as long as possible, follow these helpful tips:
– Choose the Right Paint
As mentioned earlier, select a spray paint specifically designed for outdoor use. These paints are formulated to withstand the elements and last longer than general-purpose spray paint.
– Proper Surface Preparation
Before you start your project, clean the surface thoroughly to remove any dirt, grease, or grime that could interfere with the paint’s adhesion. Use a wire brush or sandpaper to remove any loose paint or rust, and fill cracks or holes with a suitable filler, if necessary.
Next, apply a primer that’s compatible with the spray paint you’ve chosen. Primers provide a solid base for the paint to adhere to and can significantly improve its durability.
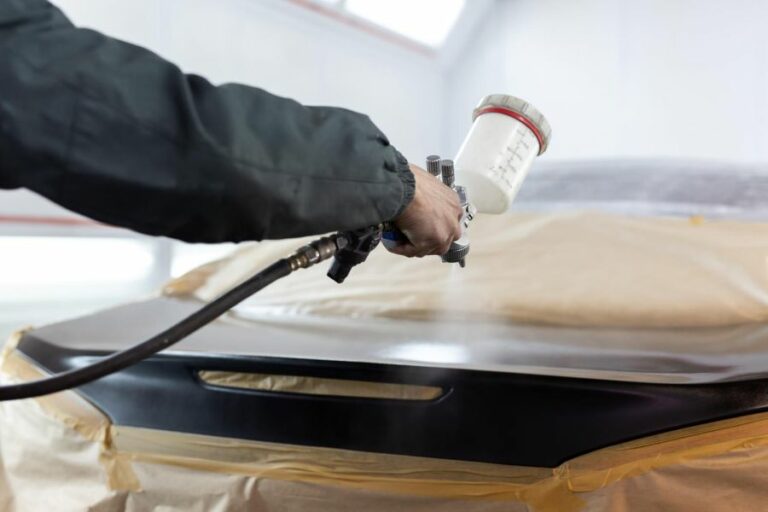
– Apply the Paint Correctly
When applying spray paint, hold the can 8-12 inches away from the surface and use sweeping motions to create thin, even coats. Apply multiple coats until the desired level of coverage is achieved, allowing each coat to dry for the recommended time before applying the next.
– Provide Additional Protection
Consider applying a clear protective coat over the spray paint once it has dried. This extra layer can help shield the paint from UV rays, water, and other harmful elements that could damage the finish.
– Regular Maintenance
To further increase the lifespan of your spray paint job, perform regular maintenance checks and touch-ups as needed. This will help prevent minor damages from becoming larger issues that require extensive repairs or repainting.
• In Conclusion
Spray paint can indeed hold up outdoors, provided you take the necessary precautions and use the right products. Choosing an outdoor-specific spray paint, preparing the surface adequately, and using proper application techniques will significantly improve the durability and longevity of your results.
Follow these recommendations and guidelines, and your outdoor spray paint projects will stand the test of time.
Ideal Conditions for Outdoor Spray Painting Projects
As a seasoned professional with years of experience in spray painting, I understand that choosing the right outside conditions can make all the difference in achieving a smooth and even finish.
– Temperature: Finding the Sweet Spot
One of the most critical factors to consider is the temperature. Most spray paints work best between 50°F (10°C) and 90°F (32°C). Below or above this range can cause various problems with the paint’s adherence and finish.
Challenges in Cold Temperatures
When the temperature is too cold, spray paint can become thicker and challenging to apply evenly. The paint may not adhere adequately to the surface, resulting in an uneven or patchy appearance.
Furthermore, drying times are longer in colder conditions, potentially causing the paint to run or drip. For these reasons, it’s best to avoid spray painting when temperatures are below 50°F (10°C).
Problems in Hot Temperatures
On the opposite end of the spectrum, high temperatures can also create issues. When it’s too hot, spray paint may dry too quickly, leading to poor coverage and adhesion. It’s especially crucial to avoid direct sunlight, as it can heat the surface, causing the paint to bubble, crack, or peel.
Therefore, aim to work in temperatures below 90°F (32°C) for best results.
– Humidity: Striking the Right Balance
Humidity plays a significant role in how well your spray paint dries. The ideal range for spray painting is 40% to 50% relative humidity. This range allows for optimal drying without introducing potential distortion or adverse effects on the paint.
Issues with High Humidity
Spray painting in high humidity can lead to longer drying times and may cause the paint to absorb moisture, resulting in a cloudy or milky appearance. It can also make it difficult for the paint to adhere properly, leading to the likelihood of peeling or reduced durability.
Complications in Low Humidity
In contrast, spray painting in extremely low humidity may cause the paint to dry too quickly, leading to an uneven finish with poor coverage. While it’s less common, overly dry conditions can still pose challenges when aiming for a professional result.
– Wind: Keeping it Calm
Windy conditions are less than ideal when spray painting outdoors. A gentle breeze is acceptable, but strong winds can distort the spray patterns and create overspray, leading to an uneven application and possibly damaging surrounding surfaces.
It’s best to avoid spraying on very windy days altogether or work in a sheltered area where the wind is less likely to affect your project.
– Timing: Picking the Right Part of the Day
Taking the time of day into consideration is important for achieving a successful finish. The early morning and late afternoon often provide optimal conditions as the temperature is typically moderate, and the sun is not directly overhead.
This timing helps prevent the potential issues associated with extreme temperatures and direct sunlight.
– Surface Preparation: Laying the Groundwork
Before you begin spray painting, it’s essential to prepare the surface properly. This includes cleaning the surface to remove dust, dirt, and grease and sanding if necessary to create a smooth, even base.
• In Conclusion: Achieving Spray Painting Success Outdoors
To recap, the optimal conditions for spray painting outdoors include the following:
- Temperature between 50°F (10°C) and 90°F (32°C)
- Relative humidity between 40% and 50%
- Minimal wind exposure
- Painting during early morning or late afternoon hours
By paying attention to these crucial factors and preparing your surface thoroughly, you can ensure a successful outdoor spray painting project with a professional finish.
Inappropriate Situations for Exterior Spray Painting
Spray painting is an efficient and convenient method to give objects a fresh, new look. However, outdoor spray painting requires careful planning and consideration of various factors.
• Temperature Concerns
Spray paint is sensitive to temperature fluctuations, thus presenting a challenge when attempting to paint outdoors.
– Too Cold
When the temperature is below 50°F (10°C), it is best not to spray paint outside. Colder temperatures can cause slow drying and poor paint adhesion. Lower temperatures may also make the paint thicker and harder to apply evenly.
– Too Hot
Similarly, avoid applying spray paint when the temperature is above 90°F (32°C). High temperatures can result in the paint drying too quickly, causing uneven coverage, bubbling, or even cracking.
• Humidity: The Enemy of Spray Paint
High humidity levels can cause spray paint to take longer to dry or even fail to adhere to the painted surface. It is recommended to avoid spray painting outside when the relative humidity exceeds 85%. To check local weather conditions for humidity levels, visit the National Weather Service website.
• Bad Weather: Rain and Snow
Precipitation is another major concern when spray painting outdoors. Paint should not be applied during rain or snow events. Water can weaken the paint’s binding ability and affect the overall finish.
Ensure that the surface is completely dry before painting, and check the weather forecast for any incoming rainy weather.
• Windy Conditions
Strong winds can cause several complications when spray painting outdoors. They can carry dirt, dust, and debris into the wet paint, resulting in a poor, uneven finish. Additionally, wind can cause the paint to drift and overspray on nearby surfaces, leading to unintended paint dispersion.
Avoid spray painting on windy days or create a temporary windbreak to reduce wind impact.
• Poor Air Quality
Air pollution can have a negative influence on both the spray painter and the final result of the paint job. Airborne contaminants, such as smog or smoke, can mix with the wet paint, leading to a dull or mottled finish.
Furthermore, prolonged exposure to harmful air pollution, like volatile organic compounds (VOCs) present in many spray paints, can negatively impact the painter. Keep an eye on local air quality reports and postpone outdoor spray painting activities during times of poor air quality.
• Protecting Surrounding Areas
When spray painting outside, be extra cautious in protecting surrounding surfaces, plants, and objects from paint exposure.
– Overspray
Outdoor spray painting can result in overspray, where paint particles drift and land on unintended surfaces. To prevent this, use drop cloths, painter’s tape, and plastic sheeting to cover and protect nearby surfaces. Keep in mind that windy conditions make overspray control more challenging.
– Environmental Impact
Many spray paint products contain potentially harmful chemicals that may pose risks to the environment. Avoid spray painting near bodies of water or endangered plant life. Choose environmentally friendly, low-VOC paints whenever possible.
• How to Spray Paint Outdoors Safely and Effectively
Choose the best day and time for spray painting by considering the factors discussed above. It is recommended to start early in the day or late afternoon when temperatures are mild, and humidity levels are low.
– Proper Ventilation
Always ensure proper ventilation to minimize inhalation of harmful fumes. Wear a respirator or mask designed for paint fumes in addition to safety goggles and gloves.
– Test Spray First
Before spray painting the intended surface, do a test spray on a scrap piece of material to ensure proper paint flow and coverage.
– Apply Thin Coats
To prevent drips, sags, or a rough finish, apply multiple thin coats of paint while allowing each coat to dry according to the manufacturer’s instructions.
In conclusion, it is crucial to consider temperature, humidity, weather conditions, wind, air quality, and protecting the environment when planning to spray paint outdoors. By following these guidelines, you can successfully and safely complete your outdoor spray painting project with excellent results.
Pros and Cons of Outdoor Spray Painting
When it comes to spray painting, many people wonder if it’s better to work outside or indoors.
• Advantages of Spray Painting Outside
– Better Ventilation
One of the primary benefits of spray painting outdoors is improved ventilation. As spray paint fumes can be hazardous to inhale, working outside ensures that you have access to fresh air, which can reduce the risk of health issues related to inhaling the fumes.
– More Space
Spray painting outdoors often provides more space for you to work, allowing for larger projects without the limitations that come with working in confined indoor spaces. This can also make it easier to work on all sides of a project, making the painting process quicker and more efficient.
– Reduced Mess
Working outside helps mitigate the mess associated with spray painting. Any overspray or paint splatters are less likely to cause issues outdoors, as they may end up on grass or pavement rather than on valuable items indoors, like furniture or flooring.
• Disadvantages of Spray Painting Outside
– Weather Factors
One of the main challenges of spray painting outside is the impact of various weather conditions on the paint application. Wind, rain, and temperature can all negatively affect your spray paint job, leading to uneven or undesirable results.
Wind
Strong wind can cause overspray and make it difficult to apply paint evenly. It can also lead to dirt and debris getting embedded in the paint, compromising the finished appearance.
Rain
Wet or damp conditions can cause the paint to run or not adhere properly. It is recommended to avoid spray painting outside during or shortly after rainfall.
Temperature
Extreme temperatures, whether hot or cold, can also affect paint application. Hot temperatures can cause the paint to dry too quickly, leading to clumping or uneven coverage. Conversely, cold temperatures can slow down the drying process and increase the risk of paint runs.
– Environmental Concerns
Spraying paint outside can lead to environmental pollution, as the paint particles can be carried in the air and contaminate the surrounding environment. It is essential to be mindful of this when choosing to spray paint outdoors and always dispose of used paint cans responsibly.
– Insects and Debris
Insects and debris can easily become trapped in the wet paint when working outside. Be mindful of the surrounding environment and choose a location with minimal distractions to avoid compromising the quality of your paint job.
• Tips for Spray Painting Outside
While spray painting outside can present challenges, the following tips can help you achieve the best possible results:
– Choose Ideal Weather Conditions
Ideally, spray paint when the temperature is between 50F and 90F (10C and 32C) with low humidity and minimal wind. This helps ensure better paint adhesion and reduces drying difficulties.
– Protect Your Work Surface
Place a tarp, drop cloth, or plastic sheeting under and around your project to catch any overspray and protect the surrounding area.
– Keep Distance in Mind
When spray painting, hold the can approximately 6-12 inches (15-30 cm) from the surface for optimal coverage and to reduce overspray. Practice your technique on a scrap piece of the material beforehand to ensure consistent application.
– Apply Multiple Thin Coats
Applying multiple thin coats of paint will yield better results than a single thick coat. Allow each coat to dry according to the manufacturer’s instructions before applying the next one.
– Use a Spray Paint Handle
A spray paint handle can provide better control and reduce hand fatigue during the painting process, resulting in a more even application.
• Conclusion
While there are drawbacks to spray painting outside, the benefits of improved ventilation and working space often outweigh the challenges.
By choosing ideal weather conditions, protecting your work surface, practicing proper technique, and following the additional tips provided, you can achieve professional results when spraying painting outside.