Outdoor Furniture Touch-Up Paint, 25 Things You Should Know
Are you tired of dull, weather-beaten outdoor furniture stealing the charm of your patio? It’s time to bring those pieces back to life with a proper makeover! This blog post serves as your ultimate guide to revamping your backyard haven. Discover the best paint options, step-by-step DIY tutorials, and expert tips to transform your old furniture into stylish, vibrant masterpieces.
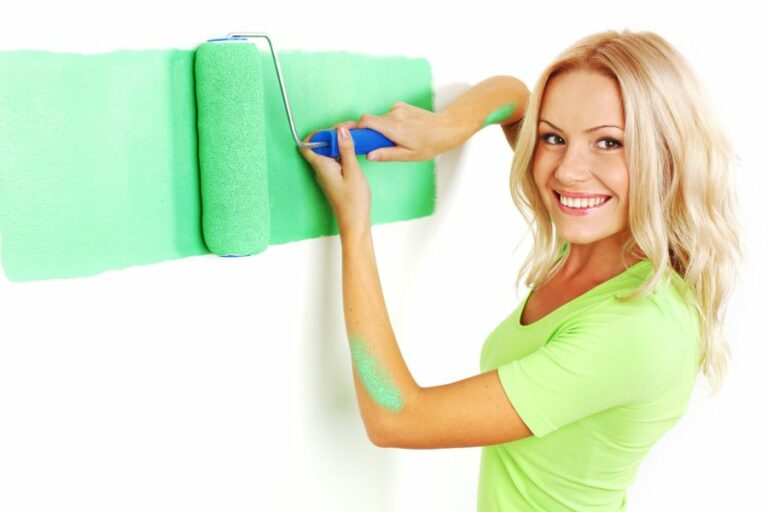
Outdoor furniture touch-up paint:
Outdoor furniture is constantly exposed to damaging elements like sunlight, rain, and wind, which cause wear and tear. Using touch-up paint for various materials such as metal, wicker, plastic, and wood can help maintain the furniture’s appearance and longevity by protecting it against corrosion, rust, and UV damage. Prepare the surface, choose the appropriate paint type, and apply the touch-up paint carefully to keep your outdoor space fresh and welcoming. Regular maintenance should also be prioritized to ensure longer-lasting furniture.

Discover the transformative power of touch-up paint on your outdoor furniture! This informative guide reveals expert tips, product recommendations, and step-by-step techniques for a flawless application. Revive and protect your backyard oasis today!
Contents
- 1 Exterior Furniture Touch-Up Paint Solution
- 2 How to Apply Touch-Up Paint on Outdoor Furniture: A Guide
- 3 What is the process for repairing chipped paint on outdoor furniture?
- 4 Which Type of Paint is Best Suited for Outdoor Furniture?
- 5 What is the process for touching up paint on metal furniture?
Exterior Furniture Touch-Up Paint Solution
• Why You Need Touch-Up Paint for Outdoor Furniture
Outdoor furniture is frequently exposed to natural elements such as sunlight, rain, and wind, which can quickly degrade their appearance and protective coatings.
Touch-up paint not only helps to maintain the overall look and aesthetics of your furniture but also plays a crucial role in extending its lifespan by protecting it from corrosion, rust, and damage caused by UV rays.
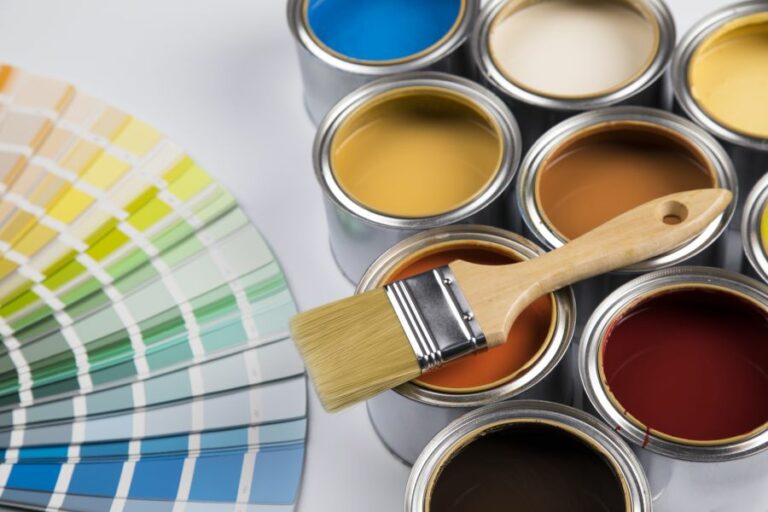
• Types of Touch Up Paint for Outdoor Furniture
There are various types of touch-up paint available to cater to different materials and finishes. Some of the most common types include:
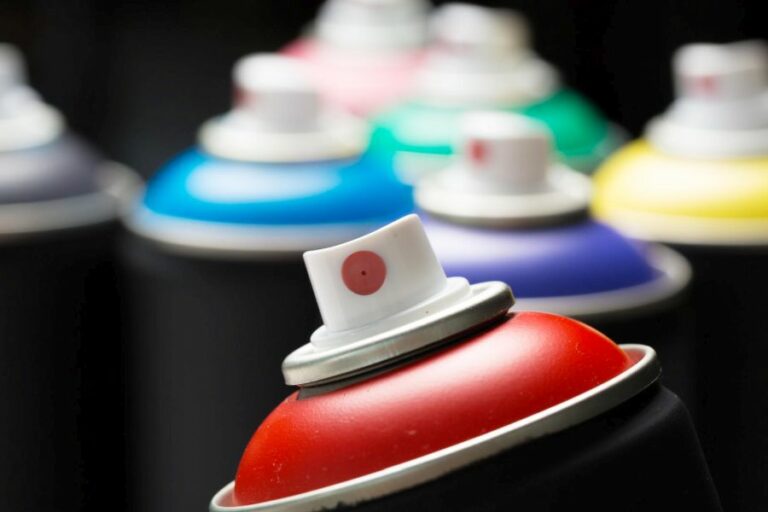
– Spray Paint
Spray paint is an excellent option for outdoor furniture due to its ease of application and quick drying time. It works well on materials like metal, wicker, and plastic. It is available in different finishes (gloss, satin, or matte) and a wide range of colors to match your furniture.
– Brush-On Paint
Brush-on paint is ideal for small touch-ups or when you want more control over the application. It works well for materials such as wood and metal. Brush-on paint is available in various finishes and colors as well.
– Paint Pens
Paint pens are a convenient option for small touch-ups on metal or plastic outdoor furniture. They’re simple, portable, and easy to use, making them perfect for quick fixes.
• Preparing the Outdoor Furniture for Touch Up
Before using touch-up paint on your outdoor furniture, it’s essential to prepare the surface to ensure proper adhesion and a long-lasting repair. Here’s a step-by-step guide to help you in the process:
– Step 1: Clean the Furniture
Thoroughly clean the furniture using a mild detergent or soap and water. This will help in removing any dirt, dust, and grime that may have accumulated. Rinse well with water and let the piece dry completely before moving on to the next step.
– Step 2: Sand the Surface
Using sandpaper or a sanding sponge, lightly sand the area that needs the touch-up. This will create a smooth surface, which will allow the paint to adhere properly.
For outdoor metal furniture, use fine-grit sandpaper (180-220 grit) to remove any loose or flaking paint without damaging the metal. For wood furniture, use medium-grit sandpaper (120-150 grit).
– Step 3: Apply a Primer (Optional)
For metal furniture, applying a primer before painting can help prevent rust and provide a better surface for the paint to adhere to. Choose a primer specifically designed for outdoor metal surfaces, and apply it according to the manufacturer’s instructions.
• How to Apply Touch-Up Paint to Outdoor Furniture
After preparing the furniture, it’s time to apply the touch-up paint. Follow these steps for the best results:
– Step 1: Choose the Correct Paint
Select the right type of touch-up paint that matches the material and finish of your furniture. When possible, try to use the same paint brand as your furniture to ensure the best color match.
– Step 2: Test the Paint
Before applying the paint to your furniture, test it in an inconspicuous area to ensure it matches the existing color and finish. This can save you from potential problems if the paint color or finish doesn’t match.
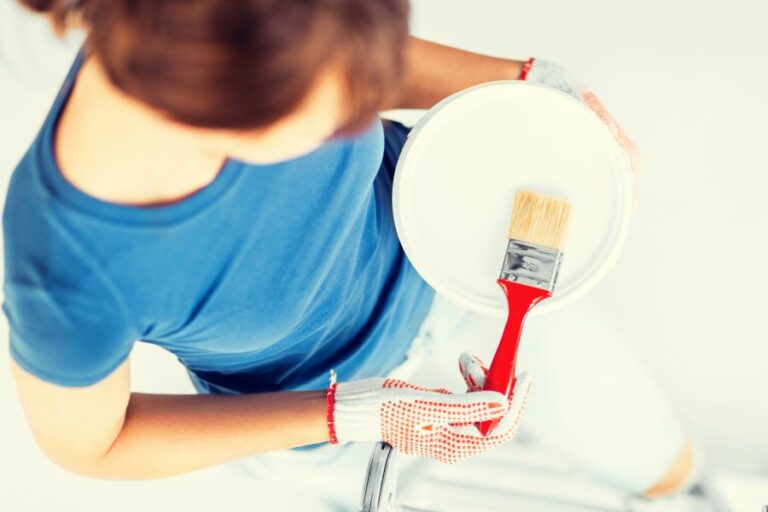
– Step 3: Application
- For spray paint: Shake the can well and hold it about 10-12 inches away from the surface while spraying. Use thin, even coats, releasing the nozzle at the end of each pass for a smooth finish. Allow each coat to dry before applying the next one. Typically, two to three coats should suffice.
- For brush-on paint: Dip a small brush into the paint and apply thin, even layers to the desired area. Allow each layer to dry before adding another coat. It may take two or more coats to reach full coverage.
- For paint pens: Shake the pen well before using it. Gently press the tip on a scrap surface to release any air bubbles and allow the paint to flow. Apply the paint using a steady hand and even pressure on the pen. Allow the paint to dry between coats.
– Step 4: Protect the Finish
Once the touch-up paint has dried, applying a clear protective topcoat can further protect your furniture from wear and tear. Choose a topcoat suitable for outdoor use and the material of your furniture. Follow the manufacturer’s instructions for application and drying time.
• Maintaining Outdoor Furniture
To keep your outdoor furniture looking its best and minimize the need for touch-ups, here are some maintenance tips:
- Routinely clean your furniture with mild detergent and water to remove dirt and grime.
- Protect your outdoor furniture from prolonged exposure to direct sunlight, rain, and wind by using weatherproof covers or storing them indoors during extreme weather conditions.
- Inspect your furniture regularly for any signs of damage, rust, or wear and take the necessary action to repair it.
In conclusion, outdoor furniture touch-up paint is an essential tool in maintaining and preserving the appearance and durability of your outdoor furniture.
By selecting the appropriate paint type for your furniture’s material, properly preparing the surface, and applying the touch-up paint with care, you can keep your outdoor space looking fresh and welcoming.
Don’t forget also to prioritize regular maintenance to ensure your furniture stays in excellent condition for longer.
How to Apply Touch-Up Paint on Outdoor Furniture: A Guide
Outdoor furniture often bears the brunt of harsh weather conditions, from scorching sun to torrential rains and even snow. As a result, the paint tends to chip, peel, and fade over time. To restore your outdoor furniture to its former glory, it’s essential to touch up the paint regularly.
• Choose the Right Paint
When it comes to touching up paint on outdoor furniture, selecting the right paint is crucial. Using the wrong type of paint can lead to further damage, peeling, or chipping. Here are some factors to consider when choosing paint for your furniture touch-up:
- Exterior paint: Be sure to use paint specially designed for outdoor use. Exterior paints are formulated to withstand harsh weather conditions and provide a durable finish.
- Type of paint: The specific type of paint you choose will depend on the material of your furniture. For example, metal furniture requires a different paint than wood furniture. Ensure you choose a paint that is compatible with your furniture’s material. Common types of outdoor furniture paint include acrylic, latex, and oil-based paints.
- Color matching: When touching up paint on outdoor furniture, it’s essential to match the color as closely as possible. Try to find the exact paint shade used for your furniture, or try to mix colors to achieve a precise match. Be sure to test the color before applying it to the entire piece of furniture.
• Prepare the Furniture Surface
Proper surface preparation is essential for a successful touch-up paint job. Follow these steps to prepare your outdoor furniture for paint touch-up:
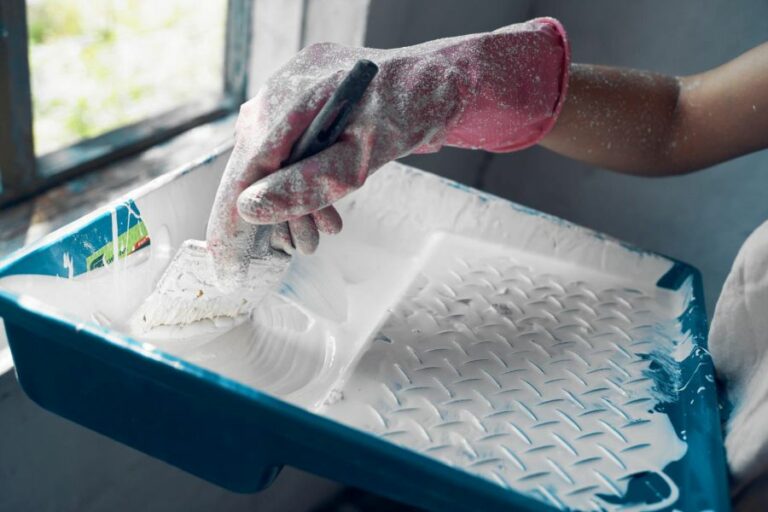
- Clean: Use a soft brush and a mixture of mild soap and water to clean your furniture thoroughly. Be sure to get into all the crevices and remove any dirt, dust, or debris that may have accumulated. Rinse the furniture with clean water and leave it to dry completely.
- Sand: Lightly sand the surface of the furniture to remove any loose paint, wood fibers, or rust (for metal surfaces). This will help create a smooth surface for the paint touch-up. Be sure to use sandpaper with the appropriate grit (usually between 120-220 grit) for your furniture’s material. After sanding, wipe the surface clean with a damp cloth to remove any dust.
• Gather Your Paint Supplies
Before starting your paint touch-up project, ensure you have all the necessary tools and materials at hand:
- Paintbrushes or paint roller
- Drop cloth or newspaper to protect surfaces
- Painter’s tape
- Sandpaper
- Paint primer and paint (if needed)
- Clean rags or paper towels
- A small container to hold paint
• Touch Up the Paint on Your Furniture
With your paint chosen and your furniture prepared, follow these steps to touch up the paint on your outdoor furniture:
- Protect the area: Lay down a drop cloth or newspaper underneath your furniture to protect the ground or floor from paint drips and spills.
- Mask off: Use painter’s tape to mask off any areas on your furniture that you don’t want to be painted. This may include hardware or portions of the furniture that are still in good condition and don’t require a touch-up.
- Apply primer: If you’re using a primer (recommended for metal surfaces or significant touch-up jobs), apply a thin coat of primer to the areas that need paint touch-up. Allow the primer to dry completely, following the manufacturer’s recommended drying time.
- Apply paint: Stir your paint thoroughly to ensure proper color blending. Dip your paintbrush or paint roller in the paint and apply a thin, even coat to the areas that need touching up. Be sure to feather the edges of the touch-up paint with the existing paint, so it blends seamlessly. Avoid overloading your brush or roller with paint, as this can cause drips and uneven coverage.
- Let it dry: Allow the paint to dry completely, following the manufacturer’s recommended drying time. Depending on the paint and environmental conditions, this may take a few hours to a full day.
- Inspect: Once the paint is dry, inspect your furniture for any missed spots or uneven paint application. If necessary, apply a second thin coat of paint and let it dry again.
- Remove tape: Carefully peel off the painter’s tape to reveal your refreshed outdoor furniture.
• Maintenance Tips
To prolong the life of your outdoor furniture’s paint job, follow these maintenance tips:
- Use furniture covers: Protect your outdoor furniture from the elements by using weatherproof furniture covers when not in use.
- Reapply sealants: Apply a clear sealant or topcoat, especially for wood furniture, every few years to maintain its durability and protection.
- Inspect annually: Regularly inspect your outdoor furniture for any signs of paint chipping, peeling, or fading. Address these issues promptly with touch-up paint as needed.
Restoring your outdoor furniture with paint touch-ups not only improves its appearance but it also prolongs its life span. By following these steps and maintaining your furniture correctly, you can enjoy beautiful, vibrant outdoor furniture for years to come.
Step | Description |
|---|---|
1 | Clean the surface: Remove dirt, dust, and other contaminants from the surface of the furniture using mild soap and water. Rinse thoroughly and let it dry before proceeding. |
2 | Sand the area: Lightly sand the area where you want to touch up the paint using fine-grit sandpaper (180-220 grit). This will help the paint adhere better to the surface and create a smoother finish. |
3 | Match the paint: Find a paint that closely matches the color of your outdoor furniture. Make sure it is suitable for outdoor use and the material of your furniture (e.g. metal, wood). |
4 | Apply primer (if needed): If the furniture material or existing paint requires a primer, apply a thin coat of primer to the area being touched up. Allow it to dry according to the instructions on the primer can. |
5 | Apply paint: Using a small brush or foam applicator, apply a thin coat of paint to the area being touched up. Be sure to feather the edges of the paint so that it blends seamlessly with the existing paint. Allow the paint to dry according to the instructions on the paint can. |
6 | Apply additional coats (if needed): If the touch-up paint is not adequately covering the area or the color appears uneven, apply additional thin coats as needed, allowing each coat to dry before applying the next. |
7 | Seal the paint (optional): If desired, apply a clear sealer, such as a polyurethane or varnish, to the touched-up area to protect the paint and ensure a longer-lasting finish. Follow the instructions on the sealer can for proper application and drying times. |
What is the process for repairing chipped paint on outdoor furniture?
Maintaining the aesthetics and functionality of outdoor furniture is essential for enhancing the overall look of your outdoor space. Chipped paint on outdoor furniture can be unsightly and eventually lead to more significant issues if not addressed promptly.
• Identifying the Type of Paint and Material
Before diving into the actual repair process, it’s essential to know the type of material your outdoor furniture is made from and the kind of paint used. This will help you choose the right products for fixing the chipped paint.
Common materials include wood, metal, and plastic, while paint types include latex, acrylic, enamel, and oil-based. Refer to the manufacturer’s documentation if you are unsure about the furniture material and paint type.
• Gathering Necessary Tools and Materials
To fix chipped paint on your outdoor furniture, you will need a few essential tools and materials. These include:
- Safety gear (gloves, dust mask, goggles)
- Sandpaper (80-grit, 120-grit, and 220-grit)
- Paint scraper or putty knife
- Wood filler (for wooden furniture) or metal filler (for metal furniture)
- Paintbrushes
- Primer (compatible with the furniture material)
- Paint (matching the existing color and type)
- Clean cloth
- Masking tape
- Drop cloth or plastic sheeting
• Preparing the Outdoor Furniture for Repair
– Cleaning the Furniture
Before repainting chipped areas, it’s crucial to ensure that your outdoor furniture is clean and dry. Dirt and debris can affect the adhesion of the new paint, so use a clean cloth or brush to remove any loose dirt.
If necessary, you can use mild soapy water to clean the furniture, but ensure it dries completely before moving on to the next step.
– Sanding the Chipped Area
Using 80-grit sandpaper, sand the chipped area gently to remove loose paint and create a smooth surface. Ensure that you feather the edges, blending the chipped area with the surrounding paint. This will help the new paint adhere properly and ensure a smooth appearance.
After sanding the chipped area using the 80-grit sandpaper, switch to 120-grit sandpaper, and sand the area once again, followed by 220-grit sandpaper for a smoother finish. Remember to dust off the furniture after each sanding session to keep the surface clean.
• Repairing Wood or Metal Furniture
– Filling in Gaps, Holes, or Dents
If your wooden or metal furniture has dents, gaps, or holes caused by the chipping, you need to use a compatible filler to repair the area. For wooden furniture, use a wood filler, while for metal furniture, opt for a metal filler. Follow the manufacturer’s instructions on how to apply and dry the filler.
– Sanding the Filled Area
After allowing the filler to dry according to the manufacturer’s instructions, use 120-grit sandpaper to sand the area smoothly. It should blend seamlessly with the surrounding area. Finish by sanding with 220-grit sandpaper for an even smoother surface.
• Priming and Painting the Chipped Area
– Applying a Primer
Before applying the paint, it’s crucial to use a primer. The primer will help the paint adhere better to the surface, ensuring a long-lasting and durable finish. Choose a primer that is compatible with your furniture’s material and the type of paint being applied.
Mask off any areas you don’t want to paint, and cover the surrounding area with a drop cloth or plastic sheeting to prevent any accidental paint drips or spills. Apply a thin coat of primer, following the manufacturer’s instructions for application and drying time.
– Painting the Chipped Area
Once the primer has dried, you can now apply paint to the chipped area. Make sure to use paint that matches the existing color and type of paint on your outdoor furniture. Stir the paint thoroughly before application.
Apply the paint using a paintbrush, using even strokes and ensuring full coverage of the chipped area. Depending on the paint’s opacity, more than one coat may be necessary to achieve a seamless finish. Allow each coat of paint to dry according to the manufacturer’s instructions before applying another coat.
– Final Touches
Once the paint has dried completely, remove the masking tape and carefully inspect the repair job. If you’re satisfied with the results, your outdoor furniture is ready for use.
• Preventing Future Chipping
To prevent chipping in the future, it’s essential to maintain your outdoor furniture by cleaning and inspecting regularly. Keep the furniture protected from harsh weather conditions, and if chipping does occur, address it promptly using the steps above.
Investing in high-quality paint and primer can also help prevent chipping and ensure that your outdoor furniture remains in excellent condition.
Step | Instructions |
|---|---|
1 | Assess the damage and gather your supplies – sandpaper, outdoor paint, a paintbrush or sponge, and a sealant. |
2 | Clean the furniture using water and a gentle cleanser to remove any dirt or debris. |
3 | Allow the furniture to dry completely before proceeding. |
4 | Lightly sand the chipped area to smooth the edges and remove any loose paint. |
5 | Wipe down the area to remove any dust from sanding. |
6 | Apply an even coat of outdoor paint to the chipped area, extending slightly beyond the chipped area to blend with the existing paint. |
7 | Allow the paint to dry according to the manufacturer’s instructions. |
8 | Apply a second coat of paint if needed for full coverage and allow to dry. |
9 | Apply a sealant to protect the paint from the elements and allow to dry. |
Which Type of Paint is Best Suited for Outdoor Furniture?
When it comes to choosing the right paint for outdoor furniture, there are several factors to consider. It’s essential to select a paint that can withstand the elements, be easy to maintain, and enhance the overall appearance of your outdoor space.
• Acrylic Latex Paint
Acrylic latex paint is an excellent option for outdoor furniture because of its durability and versatility. It’s available in a wide range of colors and finishes, making it easy to customize your furniture to match the surrounding decor.
– Benefits of Acrylic Latex Paint
- Durability: Acrylic latex paint forms a strong and flexible film on the surface of your furniture, helping it to resist fading, cracking, and peeling, even under harsh weather conditions.
- Water Resistance: This type of paint is water-resistant, meaning it prevents moisture from seeping into the furniture’s material and causing damage.
- Quick Drying: Acrylic latex paint typically dries within a couple of hours, allowing you to complete your painting project quickly.
- Easy Maintenance: Acrylic latex paint is easy to clean with soap and water, making maintenance effortless.
– Personal Recommendation
I recommend using high-quality acrylic latex paint like Benjamin Moore’s Aura Exterior Paint. This paint is known for its long-lasting finish and excellent color retention, ensuring your outdoor furniture stays looking great for years to come.
• Exterior Oil-Based Paint
Exterior oil-based paint is another reliable option for outdoor furniture, as it provides a durable finish that can withstand harsh weather conditions. Oil-based paint is commonly used for projects with wooden or metal surfaces that require added protection and longer-lasting results.
– Benefits of Exterior Oil-Based Paint
- Durability: Oil-based paint provides a hard-wearing finish that can endure wear and tear on furniture exposed to the elements.
- Adhesion: This type of paint boasts excellent adhesion properties, ensuring it stays put on your furniture and won’t easily chip or peel off.
– Personal Recommendation
My recommendation for exterior oil-based paint is Sherwin-Williams’ All Surface Enamel Oil Base. With a reputation for excellent durability and application, you can trust this paint to provide long-lasting protection for your outdoor furniture.
• Spray Paint
Spray paint is a popular choice for outdoor furniture because it’s easy to apply and works well on various surfaces, including metal, plastic, and wood. Spray paint can add a new lease of life to old or rusted furniture in just a few simple steps.
– Benefits of Spray Paint
- Easy Application: Spray paint provides an even and smooth finish, making it ideal for those who may not be experienced with painting furniture.
- Fast Drying: Spray paint typically dries quickly, usually within an hour, allowing you to finish your painting project in no time.
- Wide Range of Colors and Finishes: You’ll find countless color and finish options with spray paint, making it effortless for you to customize your outdoor space to your liking.
– Personal Recommendation
For spray paint, I recommend Krylon Fusion All-in-One. It is known for its excellent adhesion properties, and it’s suitable for use on various surfaces. The paint also dries quickly, allowing you to see the transformation in no time.
• Applying the Paint: Preparation and Tips
Before applying your chosen paint to your outdoor furniture, follow these steps to ensure a successful painting project:
- Clean the Furniture: Start by wiping down the furniture with a damp cloth to remove any dirt or debris. For furniture with caked-on dirt, use a soft brush and soapy water to clean thoroughly.
- Sand the Surface: Lightly sand the entire surface of the furniture to remove any existing paint, rust, or rough spots. This process will help the new paint adhere better to the surface.
- Apply a Primer if Necessary: If you’re painting metal furniture or a surface that has never been painted before, applying a suitable primer is necessary. This step will improve paint adhesion and ensure an even finish.
- Apply the Paint: Following the manufacturer’s instructions, apply the chosen paint using a brush, roller, or spray can. Apply at least two coats, allowing each coat to dry thoroughly before applying the next one.
- Apply a Protective Sealer: For added durability and protection, consider applying a clear sealer over the painted surface once the paint has fully cured. This step will protect your painted furniture from elements and prolong its lifespan.
With these tips in mind and the right type of paint, you can transform your outdoor furniture and create a welcoming and stylish space to enjoy for years to come.
What is the process for touching up paint on metal furniture?
Metal furniture is known for its durability and sleek appearance, both of which make it a popular choice for both indoor and outdoor spaces. However, even the sturdiest metal pieces can become scratched, chipped, or faded over time.
Touching up paint on metal furniture is not only necessary for maintaining its aesthetic appeal but also for preventing rust and corrosion. With the right tools and techniques, you can easily touch up the paint and restore your metal furniture to its former glory.
• Identifying the Paint Type and Color
Before you can begin touching up your metal furniture, it’s important to identify the type of paint and the specific color used on the piece. Knowing this information will ensure that the touch-up paint matches the original finish and adheres properly to the metal surface.
– Paint Types
There are two primary types of paint used on metal furniture: acrylic and enamel. Both types can provide a durable and attractive finish, but they have some key differences.
- Acrylic paint is water-based and dries quickly, making it easy to work with. It is generally more flexible and less prone to cracking than enamel paint. Acrylic paint is also typically easier to clean up and has fewer harmful fumes.
- Enamel paint is oil-based and provides a harder and more durable finish than acrylic paint. However, it takes longer to dry and can be more difficult to work with, especially for inexperienced painters. Enamel paint also usually requires the use of harsher chemicals for cleanup.
To determine which type of paint was used on your metal furniture, take a look at the finish. If it appears glossy and smooth, it’s likely an enamel paint, while a more matte finish would suggest acrylic paint.
Additionally, you can consult the manufacturer’s documentation or contact the manufacturer directly to confirm the paint type.
– Color Matching
Once you’ve determined the type of paint, you’ll need to find the appropriate color match. It’s crucial to select a paint that is as close as possible to the original shade to ensure a seamless touch-up job. There are a few ways to find the right color match:
- Locate any leftover paint from the original paint job or a labeled paint can.
- Contact the furniture manufacturer to inquire about purchasing their specific touch-up paint.
- Take a small, inconspicuous sample of the paint (e.g., from the underside of the furniture) to a paint supplier for color matching and mixing.
Keep in mind that paint colors may fade over time, so the touch-up paint might not be an exact match. However, a close match will still greatly improve the appearance of your metal furniture.
• Gathering the Necessary Supplies
Once you have the appropriate touch-up paint, gather the following supplies to prepare for the touch-up process:
- Fine-grit sandpaper (220-grit or finer)
- Clean, lint-free cloths
- Painter’s tape
- A small, high-quality brush (angle or flat)
- A clean container for mixing paint, if needed
- Protective gloves and eyewear, if desired
It’s important to have all the necessary supplies on hand before you begin to ensure a smooth and efficient touch-up process.
• Preparing the Metal Surface
Before applying any touch-up paint, it’s crucial to prepare the damaged area to ensure the best results properly. Follow these steps to prep the surface:
- Clean the area with a mild detergent and water, using a lint-free cloth. This will remove any dirt, grease, or debris that could affect paint adhesion. Allow the surface to dry completely.
- Use fine-grit sandpaper to gently sand the damaged area, removing any loose or flaking paint. Be sure to feather the edges so that the touch-up paint will blend seamlessly with the existing paint. Wipe away any dust or debris with a clean cloth.
- If necessary, use painter’s tape to mask off any areas of the furniture that you do not want to paint. This will help ensure a clean and precise touch-up job.
• Applying the Touch-Up Paint
With the surface prepped and your supplies ready, it’s time to apply the touch-up paint. Keep the following tips in mind for the best results:
- Apply the paint in thin coats, allowing each coat to dry completely before applying the next. This will help to ensure a smooth and even finish.
- Use a small, high-quality brush to apply the paint to the damaged area precisely. A brush with a flat or angled tip works best, as it will allow for greater control and accuracy.
- Do not glob or overwork the paint, as this can lead to a lumpy or uneven finish. Instead, apply the paint with light, even strokes, blending the edges with the existing paint as you go.
Once you have applied the touch-up paint and are satisfied with the coverage, allow the paint to dry according to the manufacturer’s instructions. This may vary depending on the type of paint and environmental conditions.
• Final Touches and Care
After the touch-up paint has dried, remove any painter’s tape and carefully inspect the furniture for any missed spots or uneven areas. If needed, lightly sand and reapply touch-up paint as necessary.
To protect your newly touched-up metal furniture and keep it looking its best, consider applying a clear coat or sealant to the entire piece, according to the manufacturer’s recommendations. Regularly clean and maintain your metal furniture to prevent further damage and keep it looking great.
Touching up paint on metal furniture doesn’t have to be a daunting task. By following these steps and using the proper tools and techniques, you can restore the beauty of your metal furniture and enjoy it for years to come.
Step | Description |
|---|---|
1 | Clean the furniture: Before starting any touch-up work, ensure that the metal furniture is clean and free from dirt, dust, or grease. Use a mild detergent, warm water, and a soft cloth to clean the surface. |
2 | Sand the area: Lightly sand the area where the paint is chipped or scratched using fine-grit sandpaper. This will remove any loose paint and create a smooth surface for the new paint to adhere to. |
3 | Prime the area: Apply a coat of metal primer to the sanded area. This will ensure that the new paint adheres properly and help prevent rusting. Allow the primer to dry completely as per the manufacturer’s instructions. |
4 | Match the paint: Choose a paint that matches the existing color of the metal furniture. This can be either spray paint or liquid paint applied with a brush, depending on the size and complexity of the area that needs touching up. |
5 | Apply the paint: Apply thin, even coats of paint to the primed area, allowing each coat to dry completely before applying the next one. It may take several coats to achieve the desired coverage and finish. |
6 | Seal the paint: Once the paint is fully dry, apply a clear sealer or topcoat to protect the paint. This will ensure that the touch-up lasts longer and remains resistant to chipping and fading. |